Things You'll Need
Digital photo
Photo editing software
Pattern printing software
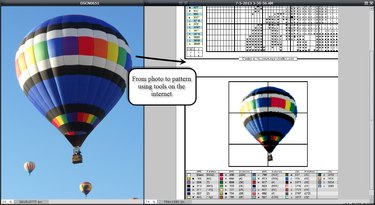
Your local craft store is filled with hundreds of cross stitch patterns and kits -- but none of them contain a pattern for the beautiful photo you took with your digital camera. With just a little effort, though, you can generate your own pattern from a personal photo for a unique and personal project. This requires some familiarity with photo editing software, but you can do it with programs freely available online.
Clean up the picture
Step 1
To go from picture to pattern, you'll obviously need a picture of some kind, like a photo taken with a camera or smartphone, or a photo you've scanned to your computer. You'll also need software to edit the picture and software to convert the picture to a pattern. Please see the last slide for an itemized list of tools and materials.
Video of the Day
Step 2
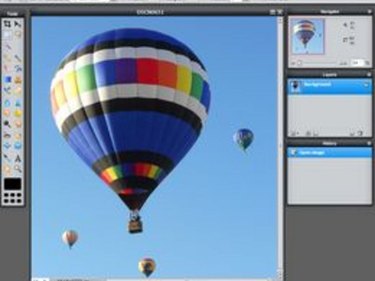
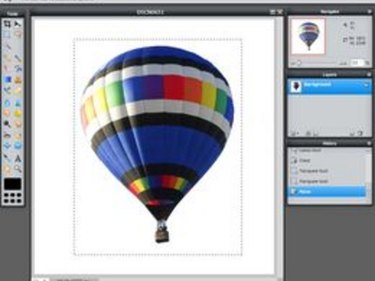
Open your picture in an photo editing program. Decide which elements you want to keep for your pattern and which need to be erased. You'll generally want to remove busy backgrounds (unless you're doing a landscape), small objects, and items that detract from the main focus of the picture. For the best results, you'll probably want to focus on one central element and erase the rest.
Step 3
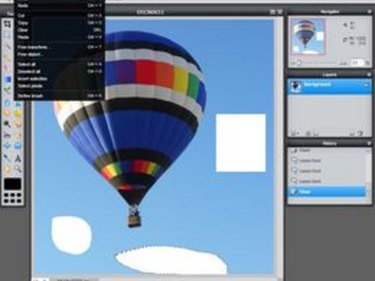
Select a region of the picture that you want to remove and delete it. In most photo editors, you can generally use the rectangular selection tool to draw a box around the area and then use the Delete key to clear the area.
Step 4

Delete more complex or oddly shaped areas with a Magic Wand tool (if your editing program has this). Then clear the selected area, again by pressing the Delete key.
Step 5
Use the Eraser tool to clean up any remaining details (using the Zoom tool for a better look, if needed). Crop or move the image if you want the main image to be centered. Save the image with a new file name so that you don't lose the original.
Resize the picture
Video of the Day
Step 1
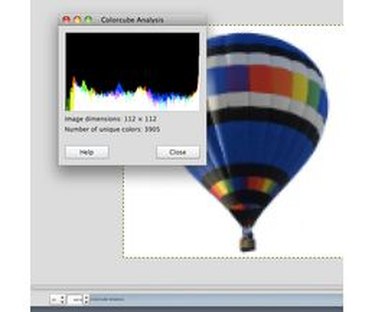
Calculate the size of your pattern in stitches. Suppose you want to create a 8 by 8 inch pattern. If you are stitching on 14 count Aida cloth, then each inch of pattern has 14 stitches. The height and width will be 14 stitches per inch multiplied by 8 inches, or 112 by 112 stitches (14 x 8 = 112).
Working with 18 count Aida? Then an 8 x 8 inch pattern will be 144 by 144 stitches (18 x 8 = 144). If your pattern will be a rectangle, then just compute each dimension separately.
Step 2
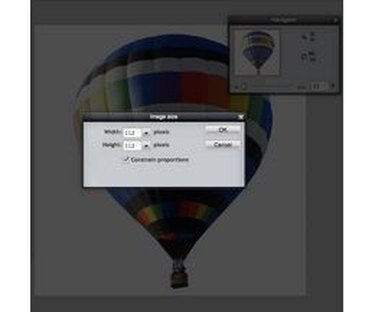
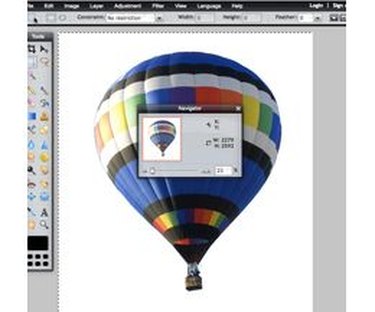
Resize your picture to the dimensions you calculated in the previous step. Each pixel in the picture will become a stitch, so the pixel size of your picture needs to match the stitch size of your pattern. For example, if you calculated that your pattern size should be 112 by 112 stitches, then resize your picture to 112 by 112 pixels.
Step 3
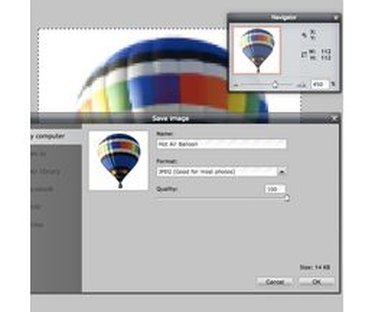
Save the image when you are satisfied with the new size.
Reduce the number of colors
Step 1
Decide on the number of colors appropriate for your project and skill level. A simple design for a beginner might use 6 to 12 colors, while a detailed design for an expert might use as many as 50 or 60 colors.
Step 2
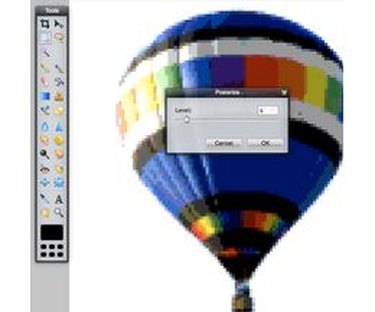
Apply a filter like "posterization" to reduce the number of colors. Posterization is a photo editing tool that simplifies the number of colors in a photo. The lower the posterization level, the fewer colors appear in the picture. Use lower levels like 3 or 4 for simple pictures, and higher levels for more detailed pictures. Check the help for your photo editor if you need to learn how to use this feature.
Step 3
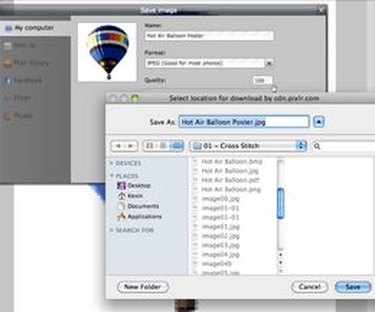
When you are satisfied with the number of colors, save the image.
Create the pattern
Step 1
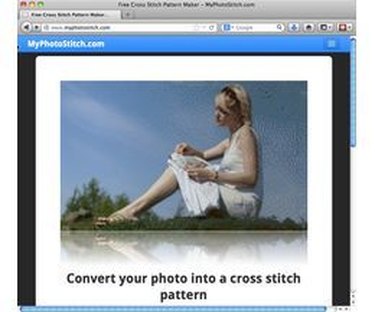
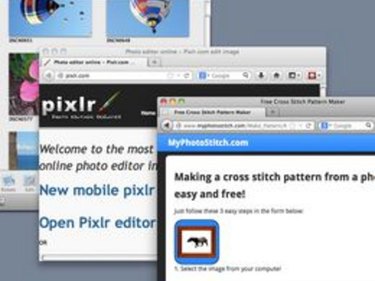
Open a web browser to the address http://www.myphotostitch.com. This Web site allows you to upload your picture, and then it creates a pattern for you. Scroll down the page until you find the links to the basic "pattern creation form" or the "advanced pattern form" and select one of the links. The advanced form provides more control than the basic form, but the basic form is easier if you are just starting out.
Step 2
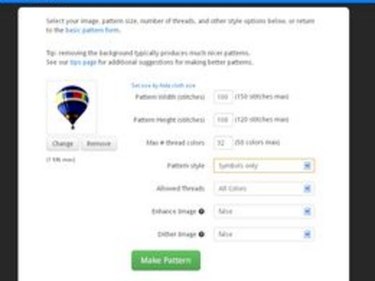
Click the "Select Image" button to load your edited image. Enter the desired pattern size, number of colors, and other options as needed. At myphotostitch.com, the advanced form allows you more control over dimensions and colors, while the basic form lets you select from a predefined set of sizes and colors.
Step 3
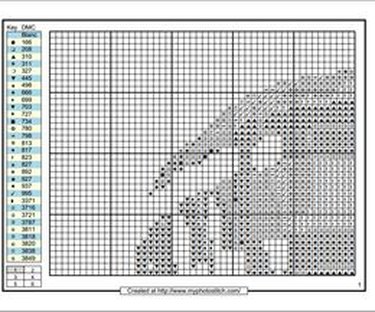
Download and print your pattern.
Tip
Work with a copy of your picture, not the original. This way, if you make a mistake, you won't lose the original.
The software used here was www.pixlr.com and www.myphotostitch.com, but you can use any software you prefer.
Warning
Create designs from your own pictures, or use a picture which you have permission to use. Using photos that belong to someone else without their permission violates their copyright.