Things You'll Need
Bag of small or medium safety pins (75 or so)
Seed beads (any color or colors you prefer)
Strong, clear craft and jewelry adhesive
Paper plate
Toothpicks
Elastic jewelry cord
Scissors
Large safety pin

Safety pins and seed beads pair to create custom jewelry pieces with unlimited color combination options. Bracelets and rings can be made to accommodate any size wrist or finger, and hidden stretchy cord within ensures the pieces fit snugly without falling off. Brooch pins offer an even easier project for beginning crafters. Small safety pins are the most versatile in handcrafted jewelry projects, as the pin is narrow enough to accept beads and short enough that the jewelry doesn't look like a series of safety pins, unless you inspect the pieces closely.
Colorful Ring or Bracelet
Step 1
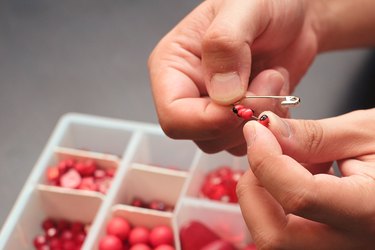
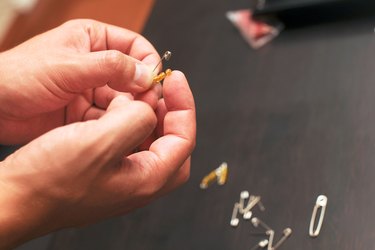
Open one safety pin and slide a stack of beads onto the exposed pin, leaving just enough space to snap the pin closed. Use beads of all the same color or slightly lighter and darker for a monochromatic look, or use random colors for a festive colorful ring or bracelet.
Video of the Day
Step 2
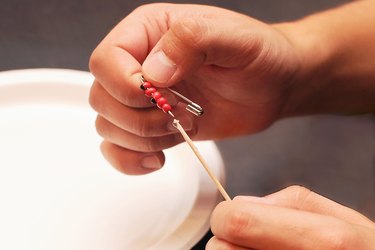
Squirt a small pool of craft and jewelry adhesive onto a paper plate. Dip the end of a toothpick into the adhesive, then spread the substance over the tip of the pin. Close the pin.
Step 3
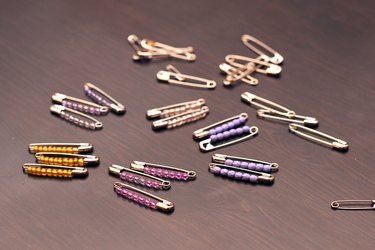
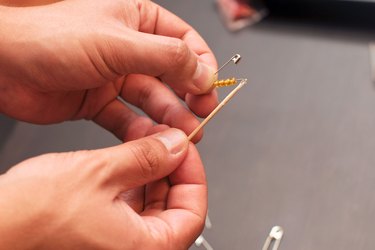
Open and fill additional safety pins with beads, gluing each closed as you work. To create rainbow lines on your bracelet or ring, use one color bead on each safety pin; for instance, one pin of red, one of orange, one of yellow, then a green and blue, using up all the colors you wish to include. Fill up enough safety pins to go around your wrist or finger halfway; blank safety pins make up the other half of the piece.
Step 4
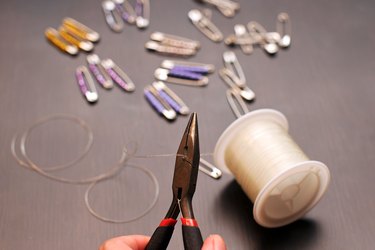
Cut two 12-inch pieces of elastic jewelry cord for a bracelet or two 4-inch pieces for a ring.
Step 5
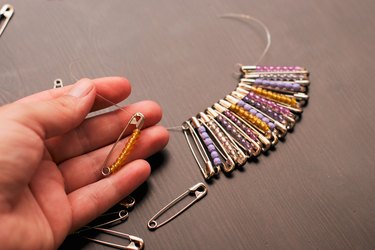
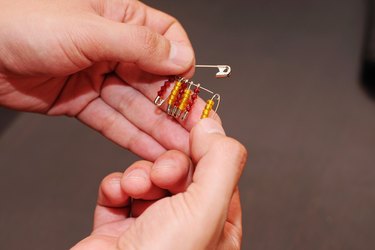
Thread one end of one elastic piece through the top hole of a beaded safety pin; then thread it through the bottom hole of a plain, unbeaded pin. Continue threading one beaded pin aligned upright, one unbeaded pin upside-down, until the strand of pins looks long enough to wrap around your wrist or finger. If unsure, carefully wrap the item around your wrist or finger to measure it, being sure the pieces do not slide off the elastic rope.
Step 6
Thread the remaining piece of elastic through the opposite ends of the safety-pin string -- the ends that do not have elastic running through them already.
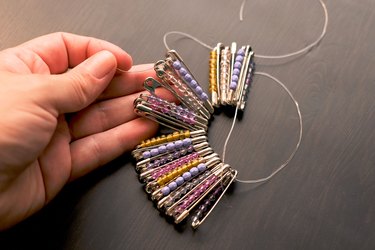
Step 7
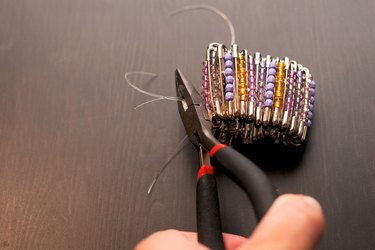
Grab the loose ends of both elastic pieces and wrap the safety-pin string into a circle. Check again to ensure the piece fits either your wrist or finger, adding or removing pins as needed to fit snugly. Tie the ends of the elastic cords to one another -- top elastic to top elastic, bottom to bottom. Trim off the excess elastic beyond the knot. Add a dab of craft adhesive over the knots and allow it to dry completely.
Beaded Brooch
Step 1
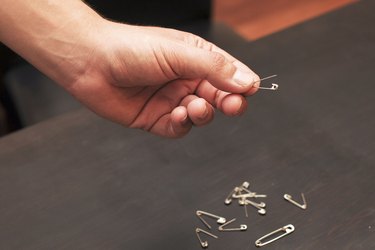
Open 5 to 10 small or medium safety pins -- as many as will fit onto a larger pin; the number varies based on the pins used.
Step 2
Stack seed beads onto each open pin, allowing enough room to close the pins again. Arrange the beads in the desired colors, such as black and orange for Halloween.
Step 3
Squirt a dab of craft glue onto the head of each open safety pin, or use a toothpick to spread the glue on them more easily. Close each pin.
Step 4
Open a large safety pin and string the beaded pins onto it, securing the large pin through the hole in the bottom of each beaded pin. Apply a dab of glue to the head of the large pin; then close the pin again.
Tip
Slightly tight is better than slightly loose for elastic-based jewelry; if the item fits tightly, it won't fall off.
Warning
Use caution when handling safety pins to avoid pricking your fingers. While children are capable of doing this project, the beading portion is best left to an adult if the children are very young.
Video of the Day