Home Sweet Home
Hacks, Tips & Tricks
Squeaky Clean
DIY Decor
Carpentry & Remodeling
Maintenance & Repair
Green Thumb
All Home Sweet Home
Chow Down
Main Dishes
Sweet Treats
Snacks
Copycat Recipes
Drinks & Cocktails
Sides & Appetizers
Veggie Faves
Food Hacks
All Chow Down
Get Crafty
Sew Simple
Fun Crafts
Art Projects
All Get Crafty
Let’s Celebrate
Valentine's Day
St. Patrick's Day
Easter
Mother's Day
Father's Day
4th of July
Back to School
Halloween
Thanksgiving
Christmas
New Year
Weddings
Baby Showers
Birthdays
Parties & Events
Gifts
All Let’s Celebrate
JOIN OUR NEWSLETTER
JOIN OUR NEWSLETTER
Home
Chow Down
Main Dishes
Main Dishes
By
Kirsten Nunez
Cottage Pie
Chow Down
By
Kirsten Nunez
How to Make Ramen Better: 3 Easy Ramen Noodle Meals
Chow Down
By
Damarys Ocaña Perez
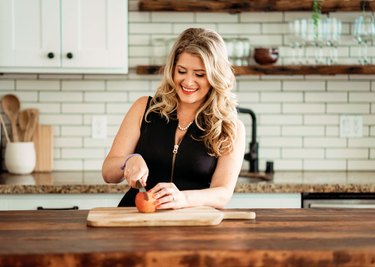
Kalejunkie: The Power of a Good Meal
Chow Down
By
Bianca Fernandez
Mini Cat Pancakes for a Purr-fect Breakfast Bite
Chow Down
By
Kirsten Nunez
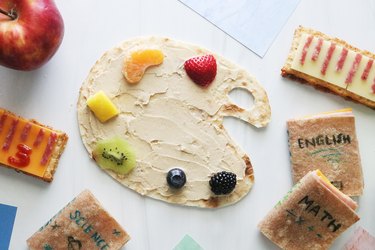
No-Cook School Lunch Ideas for a Creative Midday Meal
Chow Down
By
Adrienne Farr
Natasha Feldman Is Bringing Dinner Parties Back—Minus the Stress
Chow Down
By
Fred Decker
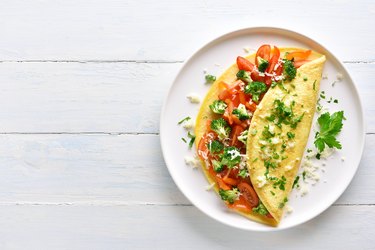
A Guide to Cooking Outstanding Omelets Every Time
Chow Down
By
Fred Decker
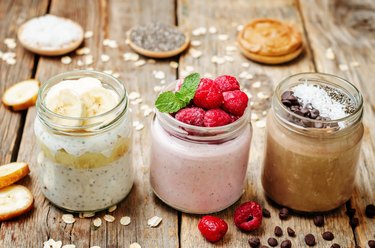
A Mini Guide to Oatmeal, from Overnight Oats to Porridge
Chow Down
By
Kirsten Nunez
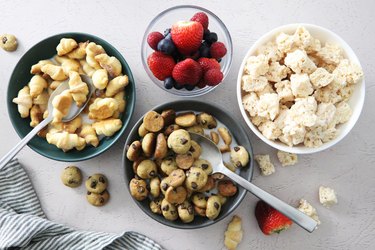
Homemade Cereal: Mini Croissants, Mini Cookies & More!
Chow Down
By
Damarys Ocaña Perez
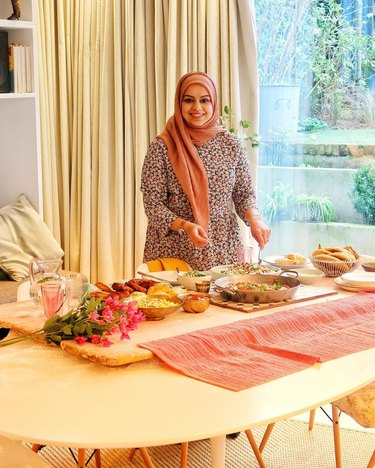
Creator Spotlight: Anisa Karolia, Author of The Ramadan Cookbook
Chow Down
By
Anna Buckley
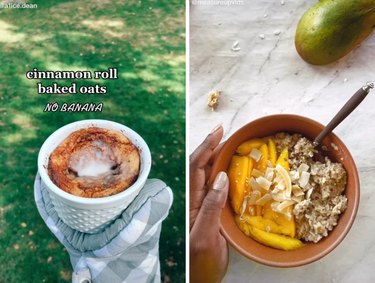
Amazing Oatmeal Recipes From TikTok (Yes, Oatmeal!)
Chow Down
By
Fred Decker
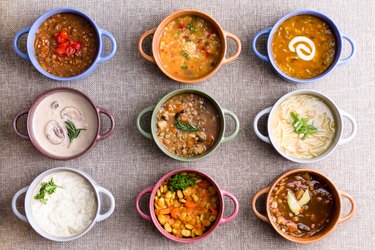
A Soup-er Wonderful Soup Guide for Your Consideration
Chow Down
By
Fred Decker
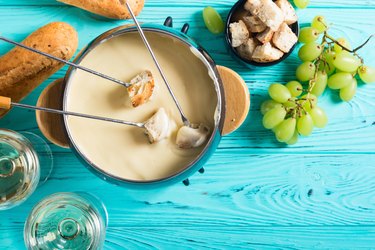
Fondue 101: Tips for Designing the Perfect Dip
Chow Down
By
Stephanie Valente
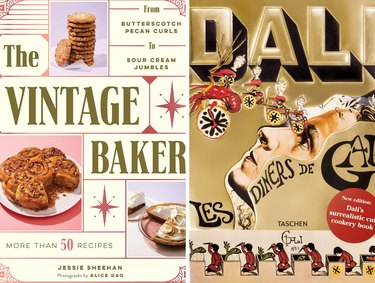
Vintage Cookbooks for Your Next Nostalgic Meal
Chow Down
By
Damarys Ocaña Perez
Creator Spotlight: Celebrating Jewish Joy With Amy Kritzer Becker of "What Jew Wanna Eat"
Chow Down
By
Kirsten Nunez
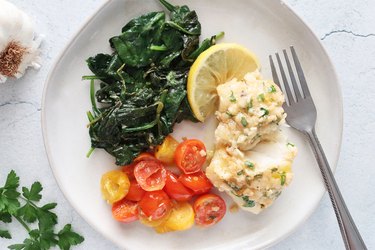
15-Minute Garlic Butter Cod Recipe
Chow Down
By
Kirsten Nunez
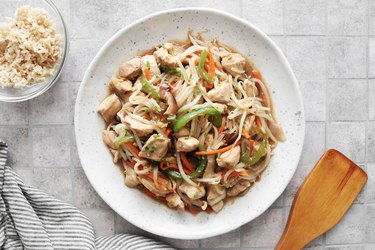
30-Minute Chicken & Bean Sprouts Stir-Fry
Chow Down
By
Kirsten Nunez
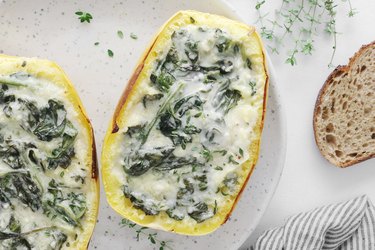
Stuffed Spaghetti Squash Recipe
Chow Down
By
Jackie Dodd
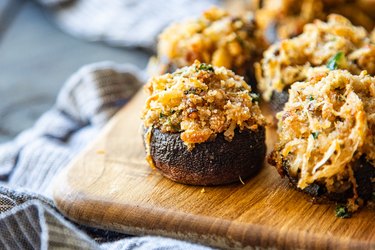
Garlic Parmesan Stuffed Mushrooms Recipe
Chow Down
By
Kirsten Nunez
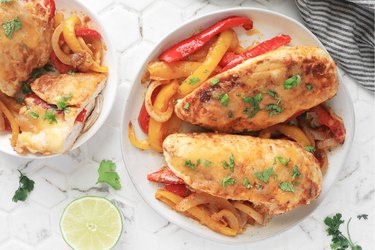
Fajita Stuffed Chicken Breast Recipe
Chow Down
By
Kirsten Nunez
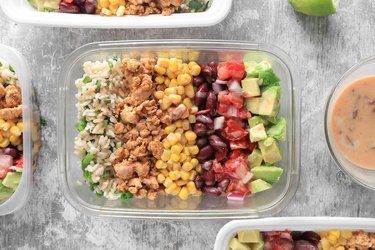
Easy Chicken Burrito Bowls Recipe
Chow Down
By
Kirsten Nunez
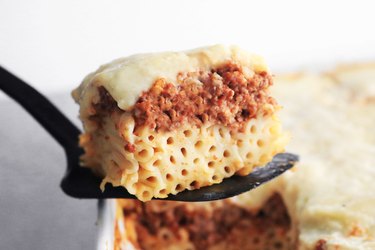
Homemade Pastitsio (Greek Lasagna) Recipe
Chow Down
By
Kirsten Nunez
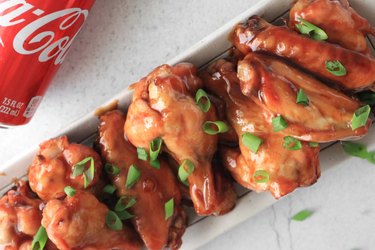
Coca-Cola Chicken Wings Recipe
Chow Down
By
Jackie Dodd
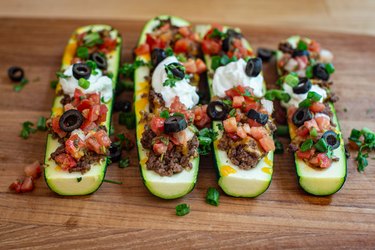
Stuffed Zucchini Boats Recipe
Chow Down
By
Kirsten Nunez
Tuna Melt Stuffed Peppers Recipe
Chow Down
By
Kirsten Nunez
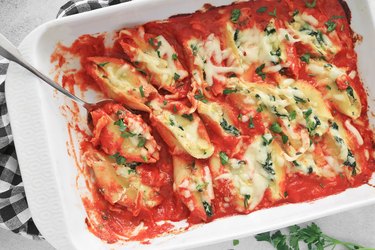
Spinach Artichoke Stuffed Shells Recipe
Chow Down
By
Jackie Dodd
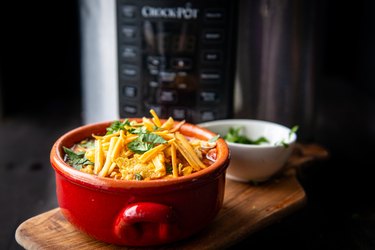
Chicken Enchilada Soup Recipe
Chow Down
By
Kirsten Nunez
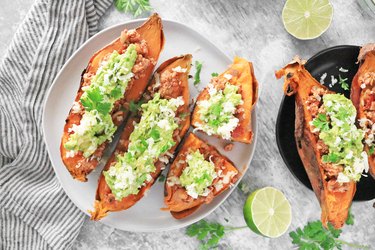
Turkey Taco Stuffed Sweet Potatoes Recipe
Chow Down
By
Kirsten Nunez
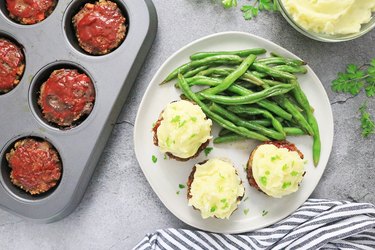
Meatloaf Muffins With Mashed Potatoes Recipe
Chow Down
By
Kirsten Nunez
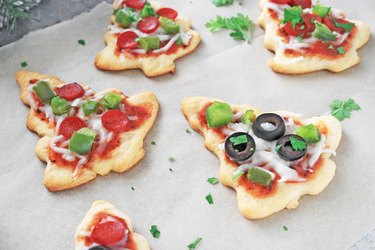
How to Make Mini Christmas Tree Pizzas
Chow Down
By
Kirsten Nunez
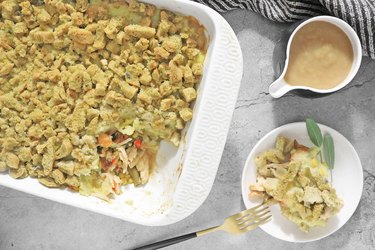
Thanksgiving Dinner Turkey Casserole Recipe
Chow Down
By
Jackie Dodd
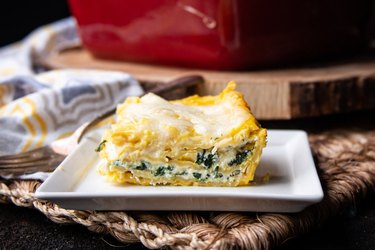
Butternut Squash Lasagna Recipe
Chow Down
By
Jackie Dodd
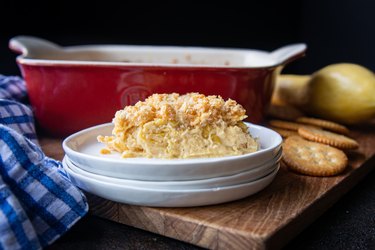
Southern Squash Casserole
Chow Down
By
Jackie Dodd
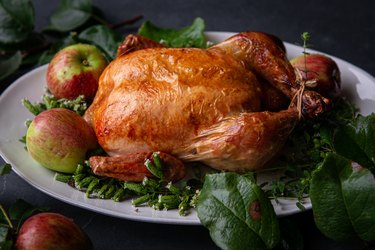
Apple Cider Roast Chicken Recipe
Chow Down
By
Michael Munoz
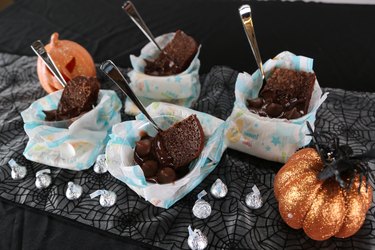
DIY "Poopy Diaper" Dessert Cups
Chow Down
By
Jonathan Fong
DIY 'Freddy vs. Jason' Cupcakes
Chow Down
1
2
3
4
5
>
Report an Issue
Contact*:
Severity*:
High
Normal
Low
Description*:
Screenshot loading...
Cancel
Submit