Home Sweet Home
Hacks, Tips & Tricks
Squeaky Clean
DIY Decor
Carpentry & Remodeling
Maintenance & Repair
Green Thumb
All Home Sweet Home
Chow Down
Main Dishes
Sweet Treats
Snacks
Copycat Recipes
Drinks & Cocktails
Sides & Appetizers
Veggie Faves
Food Hacks
All Chow Down
Get Crafty
Sew Simple
Fun Crafts
Art Projects
All Get Crafty
Let’s Celebrate
Valentine's Day
St. Patrick's Day
Easter
Mother's Day
Father's Day
4th of July
Back to School
Halloween
Thanksgiving
Christmas
New Year
Weddings
Baby Showers
Birthdays
Parties & Events
Gifts
All Let’s Celebrate
JOIN OUR NEWSLETTER
JOIN OUR NEWSLETTER
Home
Home Sweet Home
Home Sweet Home
By
Teo Spengler
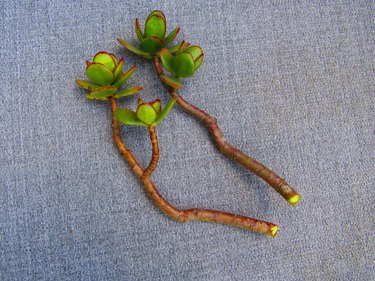
How to Propagate Jade Plants
Home Sweet Home
By
Elba Valverde
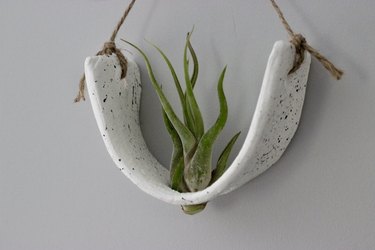
DIY Air-Dry Clay Plant Pots
Home Sweet Home
By
Teo Spengler
Houseplant Help: Spider Plant (Chlorophytum comosum)
Home Sweet Home
By
Kalia Silva-Phillips
Custom-Painted Wood Wall Letters
Home Sweet Home
By
Teo Spengler
Houseplant Help: Snake Plant (Dracaena trifasciata)
Home Sweet Home
By
Elba Valverde
How to Do Bleach Art—and Make a Table Runner
Home Sweet Home
By
Teo Spengler
Houseplant Help: Peace Lily (Spathiphyllum)
Home Sweet Home
By
Beth Huntington
How to Bleach Wooden Salad Bowls and Other Thrift Finds
Home Sweet Home
By
Teo Spengler
How to Propagate Pothos
Home Sweet Home
By
Teo Spengler
What to Plant In Your Garden In Early Spring
Home Sweet Home
By
Teo Spengler
Houseplant Help: Jade Plant (Crassula ovata)
Home Sweet Home
By
Teo Spengler
Houseplant Help: Golden Pothos (Epipremnum aureum)
Home Sweet Home
By
Teo Spengler
Houseplant Help: Dracaena fragrans (Corn Plant)
Home Sweet Home
By
Kathryn Walsh
How to Make a Custom Cleaning Calendar for 2024
Home Sweet Home
By
Teo Spengler
New USDA Plant Hardiness Zone Map — What's Your Zone Now?
Home Sweet Home
By
Kathryn Walsh
Trend Report: All Things Peppermint
Home Sweet Home
By
Damarys Ocaña Perez
Char Miller-King Is Changing Woodworking Perceptions
Home Sweet Home
By
Kathryn Walsh
Seasonal Clothing Care Tips, From Salt Stains to Sweater Pilling
Home Sweet Home
By
Kirsten Nunez
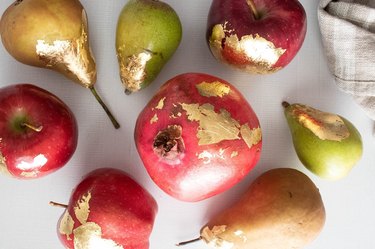
Edible Gold Leaf Fruit for a Glimmering Tablescape
Home Sweet Home
By
Sophie Boudreau
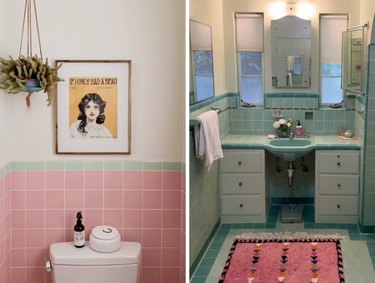
Pretty in Pink! Retro Pink Tile Bathroom Inspiration
Home Sweet Home
By
Sophie Boudreau
Candles That Look Like Food, From Croissants to Iced Coffee
Home Sweet Home
By
Kathryn Walsh
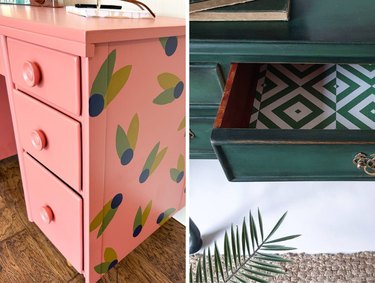
Desk Makeover Ideas to Dress Up Any Workspace
Home Sweet Home
By
Damarys Ocaña Perez
Detroit Hives Is on a Mission: To Save Bees & Build Community
Home Sweet Home
By
Beth Huntington
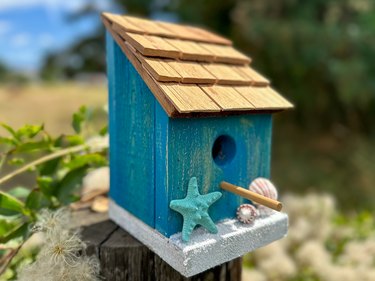
A Rustic Cottage Bird House Inspired by the Beach
Home Sweet Home
By
Kathryn Walsh
Switch It Up! Light Switch Cover Makeover Ideas
Home Sweet Home
By
Sophie Boudreau
Fall Candles Galore! Our Favorite Seasonal Scents
Home Sweet Home
By
Kathryn Walsh
Tiles for Miles! Vintage Bathroom Tile Designs With Lots of Charm
Home Sweet Home
By
Kathryn Walsh
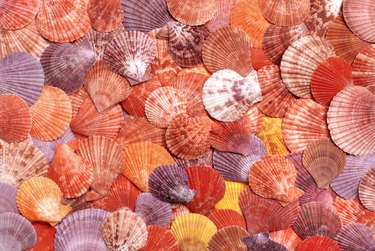
Mermaidcore Ideas That'll Make a Splash
Home Sweet Home
By
Kathryn Walsh
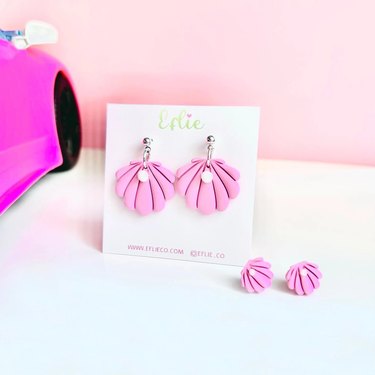
Barbie Earrings...Just Like the Ones in the Movie!
Home Sweet Home
By
Beth Huntington
An Upcycled Glass Bird Bath to Complete Your Garden Oasis
Home Sweet Home
By
Kathryn Walsh
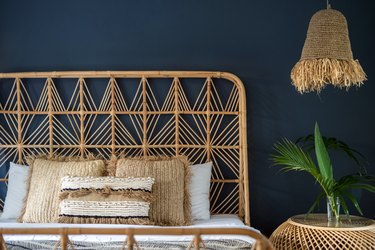
DIY Headboard Ideas to Beautify Your Bed
Home Sweet Home
By
Kathryn Walsh
Trend Report: Tile Styles, From Checkerboard to Mosaic
Home Sweet Home
By
Kathryn Walsh
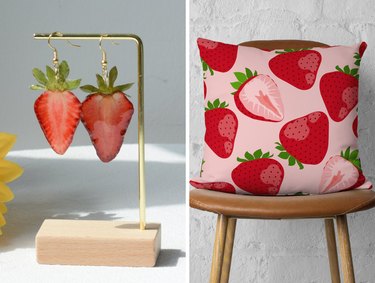
Strawberry-Themed Home Decor & More to Sweeten Your Space
Home Sweet Home
By
Kathryn Walsh
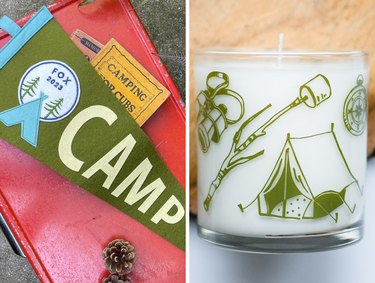
Calling All "The Parent Trap" Fans: Summer Camp Vibes Are Here!
Home Sweet Home
By
Sophie Boudreau
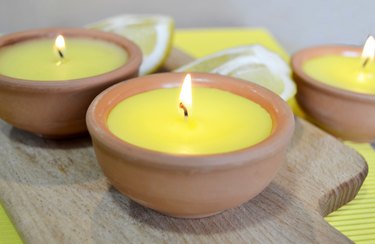
Easy DIY Tips For a Bug-Free Summer
Home Sweet Home
By
Hilary Ribons
Laundry Lowdown: Ironing Out Your Most Pressing Laundry Questions
Home Sweet Home
1
2
3
4
5
>
Report an Issue
Contact*:
Severity*:
High
Normal
Low
Description*:
Screenshot loading...
Cancel
Submit