While most may view round and odd-shaped objects as difficult to wrap, these types of packages present the perfect opportunity to bring a smile to someone's face with an imaginatively wrapped gift. Play with color and texture to delight the eye and please the senses.
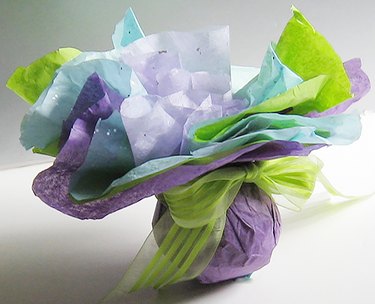
A Bouquet of Papers
Things You'll Need
Measuring tape
Tissue paper, various colors
Scissors
Double-sided tape
Ribbon
Step 1:
Measure the circumference of the round gift.
Video of the Day
Step 2:
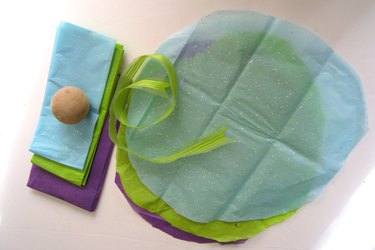
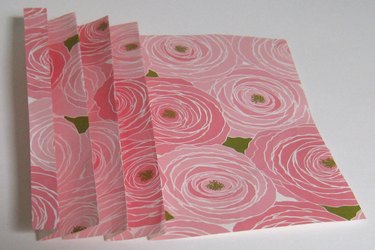
Select at least four different colors of tissue paper. Determine which color paper you want to be on the outside of the bouquet. Cut the paper into a circle twice the size of the gift's circumference and place it right-side down on your work surface.
Step 3:
Video of the Day
Cut the next color paper into a circle 3/4 inch larger than the first one. Cut the third color paper 3/4 inch larger than the second and the fourth 3/4 inch larger than the third. Place each circle right-side down successively on top of the smaller one.
Step 4:
Place the gift in the center of the stack. Gather the stack of papers in your hands, pull up and twist them slightly to create a bouquet of papers above the ball.
Step 5:
Tie a coordinated-color ribbon around the bouquet and make a pleasing bow with nicely trimmed edges. Fluff the tissue paper for a pleasing effect.
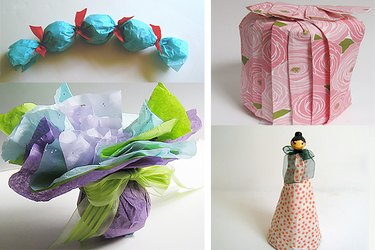
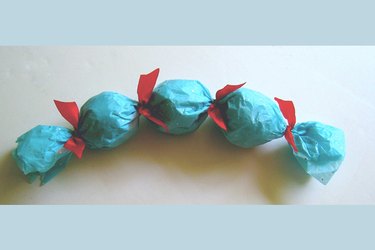
Fruit Roll
Things You'll Need
3 pieces of round fruit
Tissue paper
Scissors
Ribbon
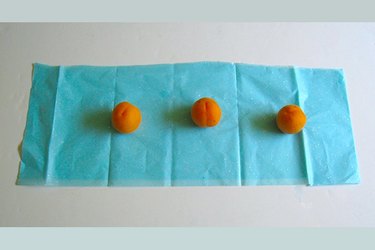
Step 1:
Line up the three pieces of round fruit such as apricots on a sheet of tissue paper (use two sheets for a heavier feel) so there are 2 inches of paper at each end and in between each piece of fruit. Trim the paper as necessary.
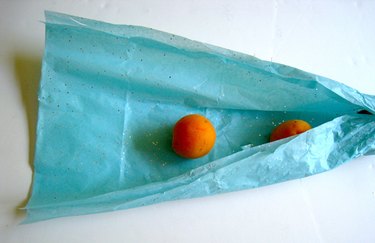
Step 2:
Bring the fruits closer to the front edge of the paper and start rolling the paper around the three lined-up fruits. Pinch the ends of the right side of the paper.
Step 3:
Finish rolling the paper around the fruits so that the edge of the paper is at the back. Pinch the ends of the left side of the roll. Tie a colorful ribbon bow at each end and between each piece of fruit for a joyous celebratory look.
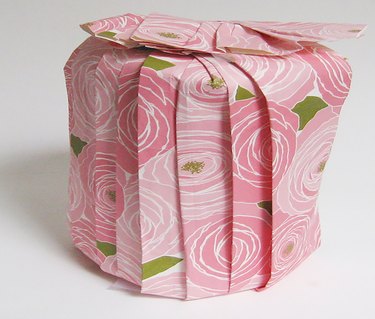
Pleated Circular Wrap
Things You'll Need
Measuring tape
Wrapping paper
Scissors
Double-sided tape
Step 1:
Determine the size paper you will need by measuring the circumference and height of the object you want to wrap. Cut paper to measure four times the circumference of the object and about 3 inches higher than it.
Step 2:
Make pleats about 1/2 inch wide across the paper, leaving about 1/2 inch between each pleat.
Step 3:
Place the pleated paper right-side down on the work surface and place the object in the center of the pleated paper. Wrap the pleated paper around the object, putting double-sided tape on the right-hand edge of the paper to secure the wrapping.
Step 4:
Pull the pleated paper together at the top of the package and twist to form a spiral, fanning out the pleats on the top for a decorative touch.
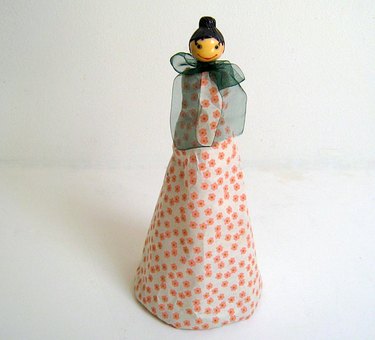
Lady Cheese Grater
Things You'll Need
Measuring tape
Tissue paper
Scissors
Double-sided tape or glue
Ribbon
Step 1:
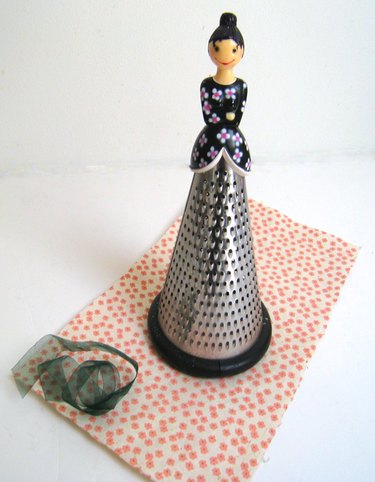
Measure the diameter of the bottom of the skirt—the fullest part—and the height of the area you want to wrap.
Step 2:
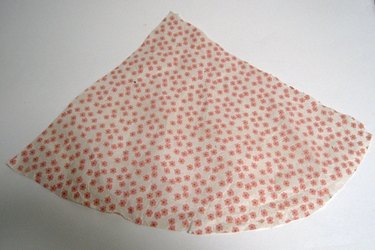
Cut the paper about 1/2 inch wider than the fullest part of the skirt, angled from widest at the bottom to narrowest at the top. The less paper at the top, the better for a smooth look.
Step 3:
Wrap the paper around the figure, overlapped slightly, and tape or glue it in place. Tie a pretty ribbon around her neck.