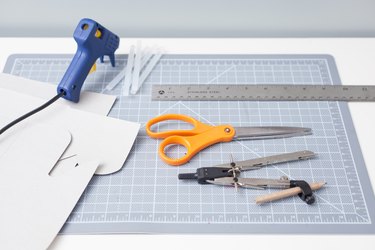
Things You'll Need
Thin cardboard
Compass and pencil
Ruler
Calculator (optional)
Scissors
Glue or tape
Round boxes can be made from cardboard by cutting simple circular and rectangular shapes. The construction is fairly simple and requires just a little patience and care. Some simple math is involved, or you can use a trial-and-error method--and not to worry, the box can be covered in decorative paper to hide any slight flaws in construction.
Step 1
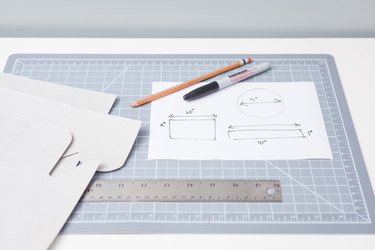
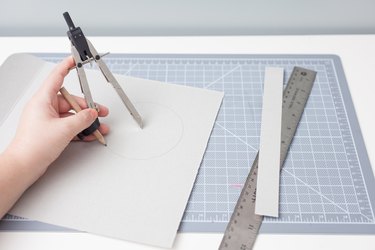
Decide the dimensions for the box. You need the diameter of the circular base of the box and the height of the box. To find the circumference of the box, multiply the diameter by pi (3.14). For example, if you want your box to be 12 inches in diameter, the circumference will be 12 x 3.14, or about 37 5/8 inches.
Video of the Day
Step 2
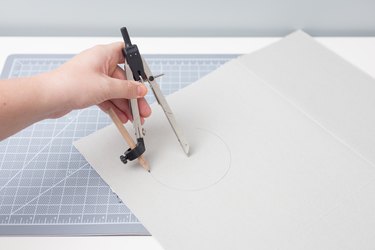
Draw the shapes you need. Using the compass, draw a circle of the desired diameter. Draw another circle around this one, keeping the point of the compass in the center of the smaller circle and widening the radius by 1/2 inch. You should have an inner circle and a larger outer circle. Draw a rectangle with a length equal to the calculated circumference of the smaller circle plus 1/2 inch; the width will be the desired height of the finished box.
Step 3
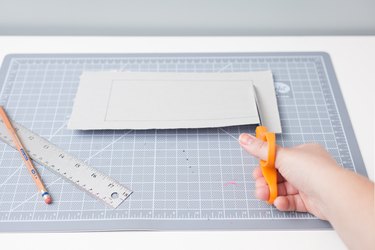
Cut out the rectangle and the larger circle. Using scissors, snip the edges of the circle shape at 1/4-inch intervals up to the edge of the smaller, inner circle. Fold the snipped edge sections of the circle up to form the base of the box with the pencil lines inside the box.
Step 4
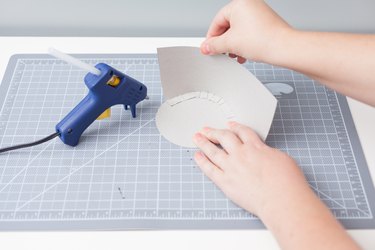
Take the rectangle and start taping or gluing the overlapping folded edge pieces of the circle along its length with the bottom edge of the rectangle and the circle piece level on a flat surface. Continue this a few inches at a time until you have stuck the rectangle around the entire circumference. Glue or tape the 1/4-inch overlap at the end of the rectangle.
Step 5
Make the lid by repeating the method for the base, but make the diameter of the inner circle 1/8-inch larger than for the base, and make the height of the rectangle shorter.
Tip
Using glue will make a more attractive box, but requires more patience as you will need to wait for it to dry as you work. Tape is easier but will be visible on the inside of the box.
You can cover the inside and outside of the box and lid with decorative paper, fabric or paint.
To avoid calculations, determine the circumference of the circular lid and base by placing a piece of string around the edge of the circle and cutting it to the length of the circumference. You can use the length of string as a guide to draw the rectangle.
Warning
When snipping the edge of the circle, be careful to only snip up to and not over the pencil line of the inner circle.
Video of the Day