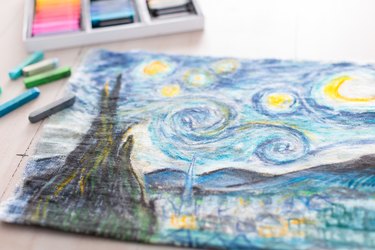
Impressionism broke all the of traditional rules of painting by using bright splashes of color, quick dashes of paintbrush and chalk. This particular wet chalk painting technique turns chalk into a creamy medium by using the pastels on a piece of cloth that has been soaked in milk. The milk works as a sealing agent yielding paint on canvas like results.
Video of the Day
Things You'll Need
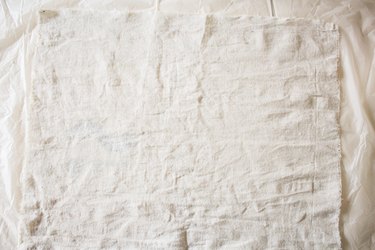
12-inch piece of cloth with a rough weave, such as canvas or muslin
Milk
Chalk pastels
Scrap paper or plastic bag to cover working surface
Aluminum foil
Iron
Step 1
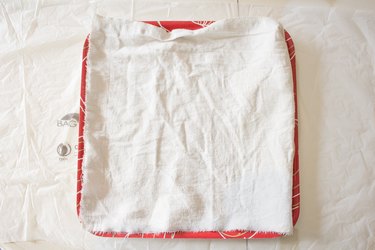
Cover your working surface with scrap paper or plastic bag and place the cloth on a tray or in a shallow dish.
Video of the Day
Step 2
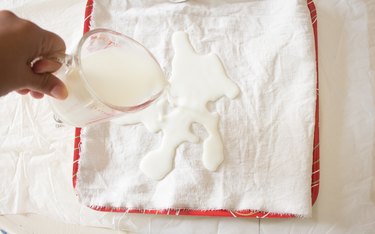
Pour milk all over cloth and allow to soak for 3 to 5 minutes.
Step 3
Remove the cloth from the tray and place directly onto your working surface.
Step 4
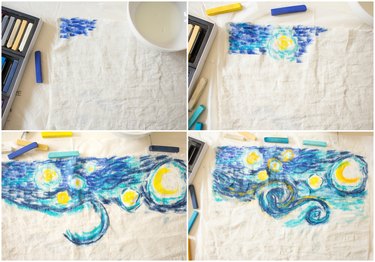
Using chalk pastels, draw your desired picture or design onto the wet cloth.
Tip
Keep a small bowl of milk close by and dip the chalk into the milk and use on areas that might be drying. Alternatively, you can place some milk in a spray bottle and spray the surface as it dries.
Step 5
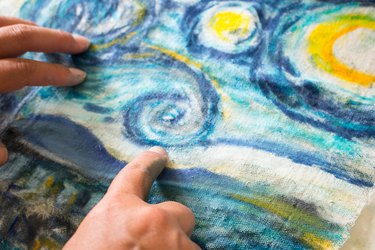
If you wish, you can use the tip of your finger to blend chalk into cloth.
Step 6
Place the finished piece on top of scrap paper and place both onto an ironing board.
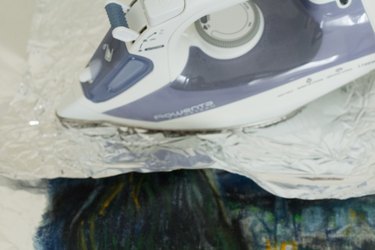
Step 7
Pre-heat iron to the 'wool' setting and place a piece of foil over the painting and press the iron over foil. As the cloth dries, the milk will serve a sealant.
Step 8
Continue ironing until the cloth is dry.


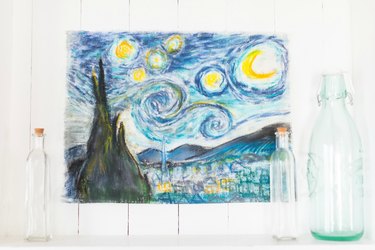
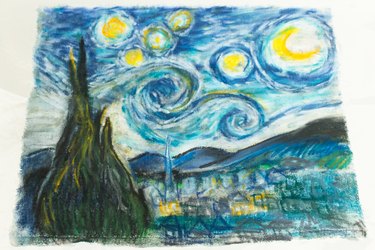
Enjoy your finished art by framing it and hanging on the wall, or use it to cover a book.