Things You'll Need
Post, 4-by-4-by-24-inches
Straightedge
Cordless drill
7/16-inch bit
Hammer
2 T-nuts with bearings
Table saw
Orbital sander
80-grit sandpaper
100-grit sandpaper
Bar clamp with 4-inch jaws
Medium gloss aerosol lacquer
180-grit sandpaper
Vinyl strips, 1-inch wide
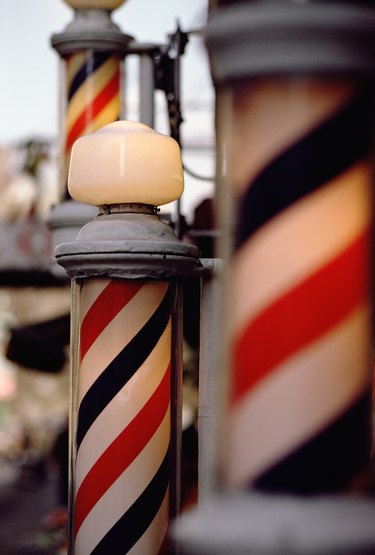
You can make a retro barber shop pole for display using a 4-by-4 post. Bring back the days before modern hair style shops took over the business. Barber shop poles have gained prominence as a collectible in the past few years, and even if you have to make it yourself, it still carries the ambiance of days gone by. Keep it in a game or hobby room for that added touch of retro decorating.
Step 1
Stand the post upright. Using a straightedge, draw an "X" across the top of the post from corner to corner. Drill down into the intersection 1/2-inch deep with a cordless drill and 7/16-inch bit. Hammer one T-nut into the hole. Repeat at the other end.
Video of the Day
Step 2
Raise the blade on the table saw to 1 1/2 inches from the tip of the highest tooth to the point where the blade emerges from the table. Tilt the blade to 30 degrees. Slide the fence over to within 1/32 inch of touching the blade.
Step 3
Place the post behind the blade, against the fence. Turn on the saw and run the post across the blade four times to miter off all four corners. Turn off the saw.
Step 4
Tile the blade to 45 degrees. Slide the fence over to the right 1/2 inch. Place the post behind the blade against the fence. Turn on the saw and miter off all eight corners. Turn off the saw.
Step 5
Place the post on a worktable. Use an orbital sander with 80-grit sandpaper to round off all the corners. Sand back and forth on the post until it becomes completely round. Wrap the post with a piece of 100-grit sandpaper in the palm of your hand. Stroke it vertically and spin the paper around the post until smooth.
Step 6
Clamp the post in a bar clamp with 4-inch jaws. The jaws of the clamp should be resting on the T-nuts where the bearing protrudes slightly. Clamp it just tight enough so the post will revolve on the T-nuts.
Step 7
Spray the pole with medium gloss aerosol lacquer. Spin it around with one hand as you spray a light coat of lacquer on it. Wait 15 minutes for the lacquer to dry. Sand it again with 180-grit sandpaper and spray it with another coat of lacquer. Wait 30 minutes for the lacquer to dry.
Step 8
Peel the backing from one of the vinyl strips. It doesn't matter which one you start with. Stick it to the end of the pole angling diagonally across the pole. The angle isn't critical. Spin the pole with one hand as you press the strip down onto the pole, peeling the paper backing off as you go. When you get to the end of the pole, cut the strip off even with the pole on both ends. Repeat with a different colored strip, spaced 1 inch from the other strip.
Tip
You can add as many strips as you want, or you can only put one strip on. Barber poles can have red, black, white or any variations you like, even green, yellow or blue. Stand the pole upright on a 1/2-inch dowel or bolt inserted into the T-nut bearing. If you can't find sticky-backed vinyl strips at a hobby shop, go to a sign shop. They can make you any width, color or length. The measurements here are for examples. You can make your pole any length or width. You can use any size strips you like.
Warning
Always wear breathing and eye protection when working with wood.
Video of the Day