Things You'll Need
Medium to large gravel
Rubber mallet
Nail
Can of compressed air
Drop cloth
Latex or nyplex gloves
Gel wood stain
Paint brush or lamb’s wool
Rag
Satin polyurethane
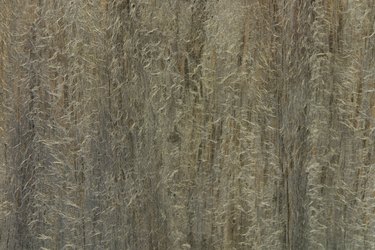
Antique wood tells a story with its worn corners and scratched surfaces, but you often must pay a pretty penny for that story. Distressing new plywood to look antique will save you money and give you something that fits your personal style. Antiquing plywood to use in a decorative piece or as part of a piece of furniture, such as a table top or headboard, can give you a very convincing antique look that will have your friends asking where you bought such a fine antique.
Step 1
Spread medium-size to large gravel pieces on a flat surface. Lay a piece of plywood on top of the gravel, and walk on the plywood to press it into the gravel. Pick up the plywood and brush off the gravel.
Video of the Day
Step 2
Lay the plywood on a flat surface, marked side up. Poke small holes into the wood by hitting a nail with a rubber mallet to resemble wormholes.
Step 3
Clean out the gouges and holes with a can of compressed air. Dust off the wood to remove any debris.
Step 4
Place the plywood on a drop cloth. Put on a pair of latex or nyplex gloves. Brush the entire surface with a medium- to dark-colored gel wood stain using a paint brush or piece of lamb's wool. Remove excess stain with a clean, dry rag. Allow the stain to dry according to the manufacturer's directions.
Step 5
Use a paintbrush to cover the surface of the plywood with satin polyurethane. Allow the stain to dry according to the manufacturer's directions.
Tip
Gel stains come in a variety of rich colors and are available at most local hardware stores.
Warning
Use wood stain and polyurethane in a well-ventilated area to avoid overexposure to chemical fumes.
Video of the Day