Things You'll Need
Plywood
Tape measure
1/2-inch foil-faced rigid foam insulation
Utility knife
Heavy-duty stapler
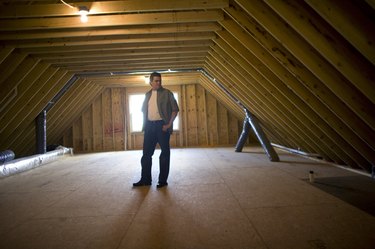
Rafter baffles are sheets of plastic, foam or cardboard that fit between the rafters in your attic to prevent moisture accumulation and add insulation to your home. Baffles should fit snugly between your rafters, and extend from just over the vent at the wall plate up the rafter. Commercially made baffles can be purchased in 16-inch or 24-inch widths. If your rafters are closer or farther apart than this distance, it may be necessary to make your own rafter baffles. One-half-inch, foil-faced, rigid foam insulation works well for this purpose.
Step 1
Place plywood over two or more joists under your work area to prevent damage to the ceiling below.
Video of the Day
Step 2
Measure the distance between your rafters and between the rise. Start your measurement at the top of the vented area at the wall plate and measure to the crest.
Step 3
Cut one-half-inch, foil-faced, rigid foam into strips the width of the space between your rafters. A utility knife is the best tool for this.
Step 4
Push the foam strips into place between the rafters. Staple several times on top of the wall plate to secure.
Step 5
Staple through the foam every 4 inches to the top. For thinner strips, these staples can be placed in the middle of the foam. For strips larger than 24 inches, a staple every 4 inches on each side is recommended.
Video of the Day