Things You'll Need
Newspaper
Drywall mud
Putty knife
200-grit sandpaper
Rag
Tarp
Stir stick
3-inch brush
Roller pan
Paint
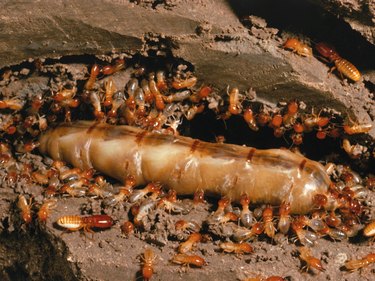
Termites can cause a lot of damage to a house. Besides chewing holes in wood, they can also cause damage to drywall. In addition, part of the termite treatment process is drilling small holes in the drywall to look for evidence of termite tunneling. Therefore, before repairing any damage, be certain you have eliminated the termites. You may also have to repair the wood, in which case it doesn't make sense to repair drywall that you will have to remove to replace or reinforce the studs. If you're certain that the wood has not been damaged and the termites are gone, you can repair and paint termite-damaged sheetrock in a weekend.
Step 1
Move large pieces of furniture away from the termite-damaged area. Place a tarp on the floor and over any nearby furniture.
Video of the Day
Step 2
Remove any loose paper or chips of sheetrock from the wall. If you have any 1/2- to 2-inch holes, like those used by the extermination team to observe the termite activity, tear off a small piece of newspaper and crumple it up. Push the crumpled paper into the hole creating a surface to hold the mud.
Step 3
Load the bottom third of the putty knife with mud and fill the small holes and dings in the wall. Press the putty into large holes. Reload the putty knife and sweep it across the hole again holding the knife at a 30-degree angle to the wall. Cover the whole area with a thin layer of mud. Smooth the surface with the putty knife, thinning the edges to blend in with the wall surface. Avoid leaving any ridges. Allow the mud to dry completely; in normal conditions, this will take 8 hours.
Step 4
Sand any ridges on the dried mud with 200-grit sandpaper and feather the edges of the newly mudded area. Wipe the wall with a lightly damp cloth to remove any sanding dust.
Step 5
Load the paintbrush with paint. Dip the bottom third of the brush into the paint and drag the brush against the rim of the can. Paint the repaired area from the center out to the edges. Paint slightly past the mudded area.
Step 6
Allow the paint to dry and determine if you need to apply a second coat of paint. To achieve the same look as the rest of the wall, use a roller on the second coat of paint.
Tip
The newspaper doesn't need to totally fill the hole. It just creates a backstop for the mud while it's drying. You can vacuum the wall instead of wiping it if desired. Mix the paint by inserting the stirring stick down the side of the can, pulling it across the bottom of the can and lifting it up in the center at a moderate speed. Avoid stirring so quickly that you trap air in the paint. You can purchase small rollers for spot painting. This will conserve your supply of matching paint.
Warning
Keep the tarps smooth on the ground so you don't trip with your paint.
Video of the Day