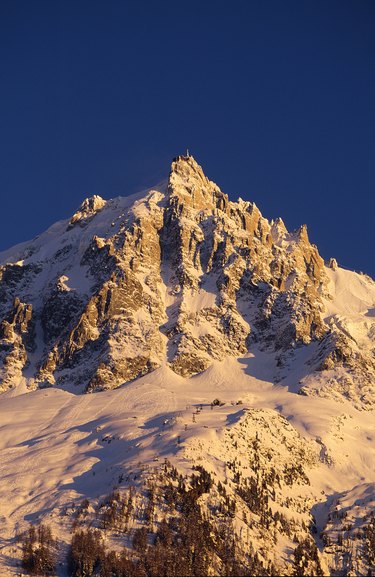
Paper mache projects are inexpensive and simple, yielding impressive results. A mountain range makes an exuberant landscape and a stunning backdrop for an alpine themed diorama. Paper mache is the perfect medium to create a model mountain range because it naturally conforms to any shape. Adding paint once the mountain range is molded brings the 3D landscape to life. Making a paper mache mountain range provides an excellent avenue for learning and teaching about elevation, how mountains form and precipitation, making the project perfect for home or the classroom.

Video of the Day
Things You'll Need
Newspaper
3 Sheets Of Poster Board
Whisk
Flour
Scissors
White Primer
Masking Tape
Large Bowl
Wire Mesh
Large 1-Inch Thick Cardboard Sheet
Acrylic Paint (Various Colors)
Wire Cutters
Water
Step 1
Roll a sheet of poster board to form a cone and secure the edges with masking tape to prevent it from unraveling. Roll two more sheets of poster board into slightly smaller cones and tape the edges. Cut the tips of the cones with scissors so the mountain peaks won't appear too pointy. Trim the base of the cones to give them a flat base.
Video of the Day
Step 2
Secure the cones to a large 1-inch thick piece of cardboard, with the largest cone in the center, using the masking tape. Lay a sheet of wire mesh over the cones and shape them into a mountain range by creating contours between each peak. Cut away excess wire mesh with wire cutters and secure the mesh to the cardboard with masking tape.
Step 3
Prepare the paper mache glue by combining one part flour with one part water in a large mixing bowl. Stir the flour and water until fully combined in the bowl, with no lumps, using a whisk. Prepare the newspaper by shredding it into 1 to 2 inch wide strips. Shred enough strips of newspaper to cover the mountain range three or four times.
Step 4
Saturate a strip of newspaper completely with the paper mache glue and attach it to the mountain range skeleton at an approximate 45 degree angle. Continue covering the mesh with newspaper strips at 45 degree angles until the entire skeleton is completely coated in a single layer of newspaper. Allow the layer to completely dry for 24 hours.
Step 5
Add another layer of newspaper to the mountain range attaching the strips using the opposite angle and allow it to dry. Continue to add layers, alternating angles and allowing each layer to fully dry, until you have built up at least 1/8 inch of paper mache on the mountain range skeleton -- roughly three to four layers.
Step 6
Prime the completed paper mache mountain range with white primer paint and allow it dry. Paint the mountain range using acrylic paints to give it a completed and aesthetically pleasing finish.
Tip
Decorate the 3D mountain scenery with small brush around the base and perhaps a few mountaineers on the summit to give it life.
Warning
Take your time while transporting the mountain range; if it falls, it could break. Ask for help if it's too heavy for one person.