Things You'll Need
Rags
Lacquer thinner
Spray bottle
320-grit wet/dry sandpaper
Varnish
Artist's brush
120-grit sandpaper
Sanding block
Stain
Clear finish
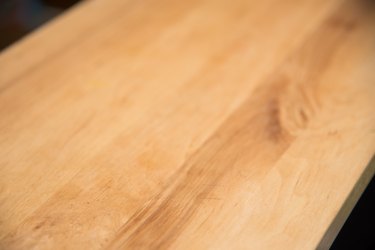
It's rare to find a wooden table that hasn't sustained some kind of damage, especially scratches. A scratch on the surface finish of the table is just as noticeable as one that penetrates into the wood, but the surface scratch is easier to repair. If the table is finished with lacquer, which is common, the judicious application of more lacquer usually solves the problem. When the wood itself is scratched, the only viable repair strategy is to remove the finish and sand out the scratch. You must do this with extra care if the tabletop is veneered.
Scratches in the Finish
Step 1
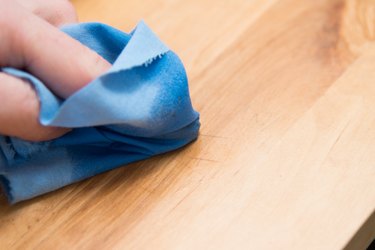
Determine the type of finish on the table. You can usually tell by looking -- lacquer appears thin and subtle; whereas, varnish looks like a coat of plastic with perhaps some amber tones. You can also test by dabbing a cloth moistened with lacquer thinner on an inconspicuous part of the table. If the finish softens, it's lacquer; if it doesn't, it's varnish.
Video of the Day
Step 2

Mist lacquer thinner onto the finish in the vicinity of a scratch in a lacquer finish, using a plant spray bottle. Lacquer thinner softens lacquer, and when the finish levels, the scratch should disappear. Avoid touching the finish while it's wet; it should dry and harden in 5 to 10 minutes.
Step 3
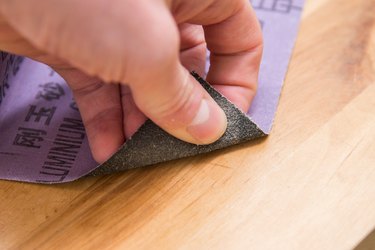
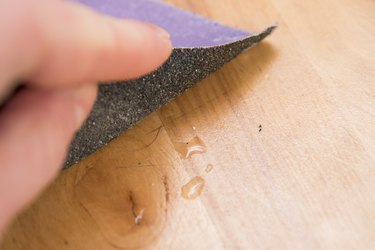
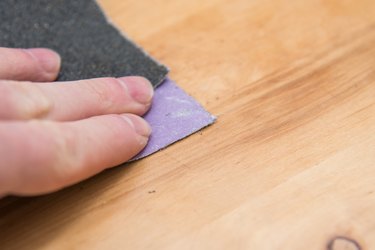
Sand out a scratch in a polyurethane or alkyd varnish finish with 320-grit wet/dry sandpaper. Keep the sandpaper lubricated by spraying water on it, and wipe the sanding residue off the scratch periodically with a rag to check your progress.
Step 4
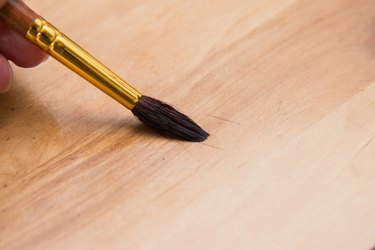
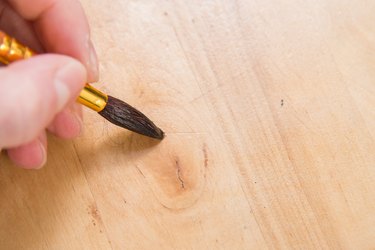
Dab a small amount of varnish on the scratch with an artist's brush if you can't make the scratch disappear by sanding. Let the varnish dry overnight, and sand it flat. Repeat if the scratch is still visible.
Scratches in the Wood
Step 1
Sand the finish off the table to expose the wood in the vicinity of the scratch, using 120-grit sandpaper. If the finish is lacquer, rubbing down the area you're about to sand with a rag moistened with lacquer thinner removes most of the finish and makes sanding easier.
Step 2
Keep sanding in the direction of the wood grain with 120-grit sandpaper to level the wood and erase the scratch. Sand an area extending 6 inches or more on either side of the scratch to avoid creating a depression. Using a sanding block also helps avoid depressions.
Step 3

Clean off the sanding dust with a damp rag when the scratch is gone and wait for the wood to dry. Stain the area you sanded with stain that matches the rest of the table, dabbing the stain on with a rag and wiping off the excess with another rag.
Step 4
Apply one coat of finish. If it's lacquer, spray it using an aerosol can, and if it's varnish, apply it with a small paintbrush. Wait for the finish to dry, then sand it with 320-grit sandpaper and apply another coat. Repeat if necessary.
Tip
If the tabletop is veneered, monitor your sanding progress carefully to ensure you don't wear through the veneer.
If you're looking for a quick way to make scratches disappear, try rubbing them with walnut oil or olive oil. The oil will seep into the finish and the wood underneath it and make the scratches disappear. They'll be back again when the oil dries out, but you can rub in new oil whenever necessary.
Warning
Lacquer, lacquer thinner and oil-based alkyd varnish emit toxic fumes. Wear a respirator when using them.
Video of the Day