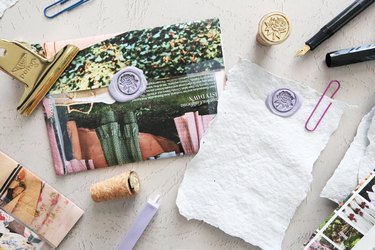
In a world of emails, text messages and Instagram DMs, there's something extra special about receiving (and sending!) physical letters. Not only does snail mail feel more meaningful but it's also an awesome opportunity to practice creativity. Just take a look at our trio of paper craft tutorials: DIY paper, handmade envelopes and homemade wax seals. Together, these projects will allow you to send a letter that's anything but ordinary. What's more? Each craft uses upcycled materials, so you have a chance to repurpose old supplies and clear out your stash.
If you're new to paper crafting, we recommend starting with the envelope tutorial (idea #2). It's an easy, approachable DIY that lets you transform old magazine pages into your very own envelopes. You can also use scrapbook paper, newspaper and even wrapping paper to create these homemade envelopes.
Video of the Day
Whether you're sending birthday cards or "just because" letters, these clever step-by-step tutorials will seriously upgrade your pen pal game. See you never, boring mail!
Video: Spruce Up Your Snail Mail With Homemade Paper, Envelopes & Wax Seals
Idea #1: Handmade Paper
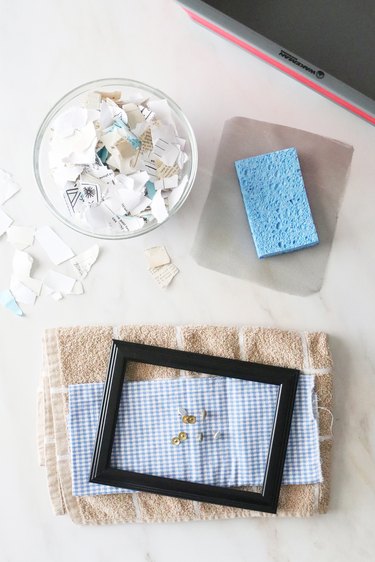
Things You'll Need
Scrap paper, torn into pieces
Blender or food processor
Cotton fabric
Towel
Plastic or wood frame (glass and backing removed)
Pushpins
Sponge
Plastic bin
Water
Rubber spatula (optional)
Tip
A popular option for wire mesh is window screen material. You can also buy a splatter screen (or reuse an old one) and cut out the mesh. If your bin is big enough, you could even skip the frame and use the splatter screen as is.
How to make Handmade Paper:
1. Prepare mesh screen
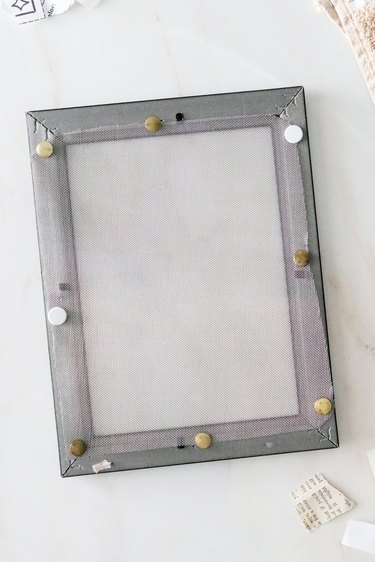
Cut a mesh screen into a rectangle that's slightly bigger than the frame's opening. Using pushpins, attach the screen to the back side of the frame.
2. Make paper pulp
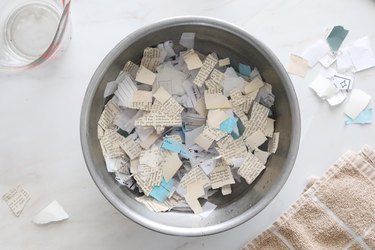
Place torn pieces of paper in a large bowl. Add water until the paper is fully submerged and then soak for two to three hours.
Tip
The color of your paper scraps will determine the final color of your homemade paper. We used a combination of junk mail and white printer paper along with some book pages and blue pieces. This created white paper with a gray-blue tinge.
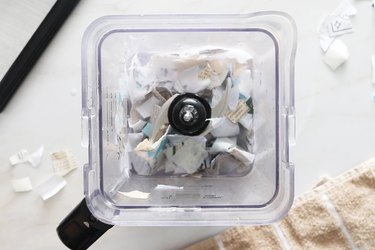
Pour paper and water into a food processor or blender and then purée until the paper turns into a fine pulp. If your appliance has a hard time blending paper, add more water and try again.
Tip
If possible, use an old food processor or blender that's only for paper crafts.
3. Create a piece of paper
Before starting this step, lay a towel on a flat work space. Place a piece of cotton on top. This will ensure the paper has a smooth surface rather than the texture of the towel.
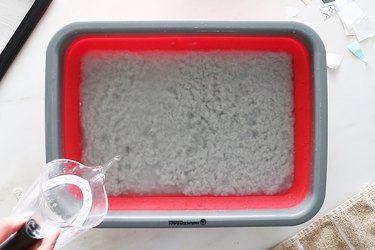
Add pulp to a plastic bin followed by several inches of water.

Submerge the mesh frame into the mixture with the pushpins facing upward, allowing pulp to settle on top. Slowly move the frame out of the water. Next, use your fingers (or a rubber spatula) to spread pulp into an even layer and tidy up the edges.
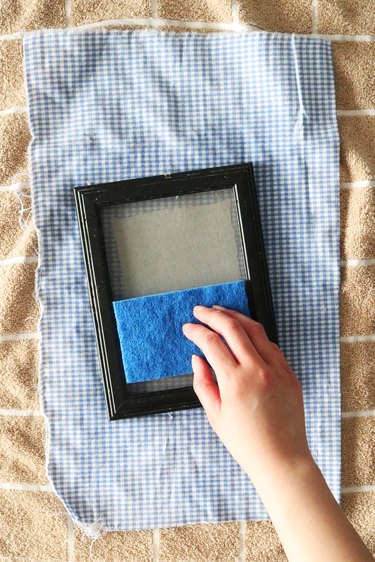
Carefully place the mesh frame onto cotton fabric, pulp side down. Press a sponge on top of the mesh to remove excess moisture from the pulp.
Tip
Wring out the sponge every so often to rid it of excess water.
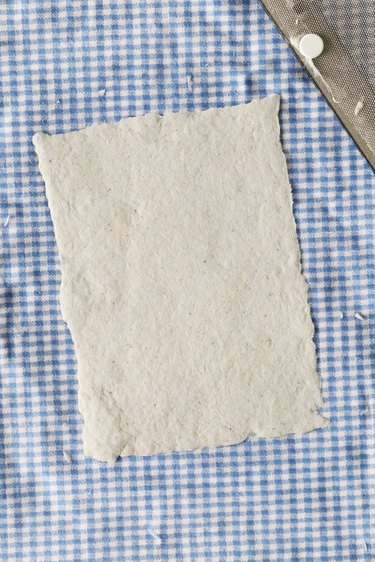
Continue sponging the pulp until there's very little moisture left. You'll know it's ready when the paper easily separates from the mesh. Let it sit for eight hours or until it's completely dry. The total time required will depend on the thickness of the paper and the temperature of your home.
Tip
Spruce up handmade paper by stamping designs or adding stickers.
Idea #2: Upcycled Paper Envelopes
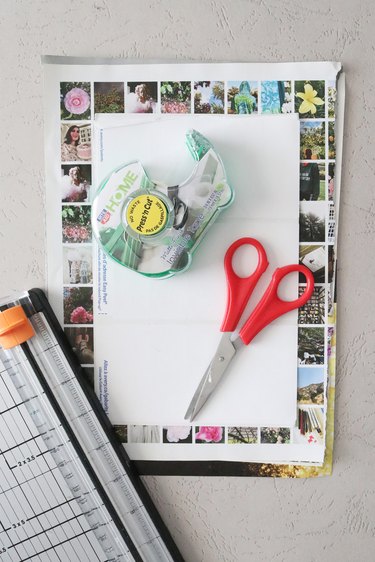
Things You'll Need
Old magazine pages
Tape
Scissors
Paper trimmer (optional)
How to make Upcycled Paper Envelopes:
1. Prepare magazine pages
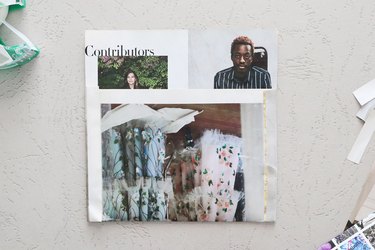
Place two magazine pages on top of each other. This will make your custom envelope thick and sturdy.
Next, position the pages on a flat surface. Make sure the design you want on the front of the envelope is facing down. Fold up the bottom so that the bottom edge of the magazine page is about 2 in. from the top edge. The extra paper on top will create the envelope's flap.
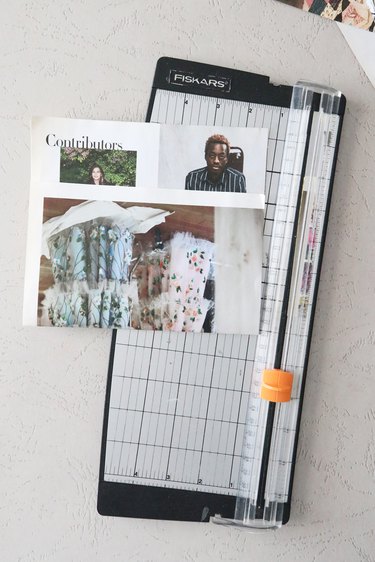
Trim the raw edges of the magazine pages using scissors or a paper trimmer.
Cut out small notches in the top flap using scissors. This will create two side flaps on the bottom portion.
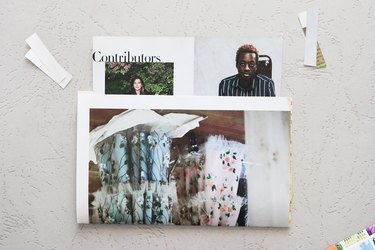
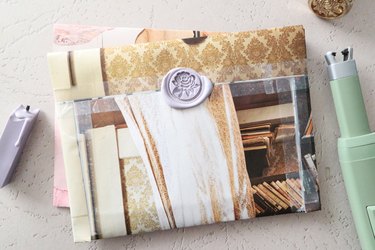
2. Complete DIY envelope
Fold over the side flaps and tape them in place. If needed, trim the sides of the top flap.
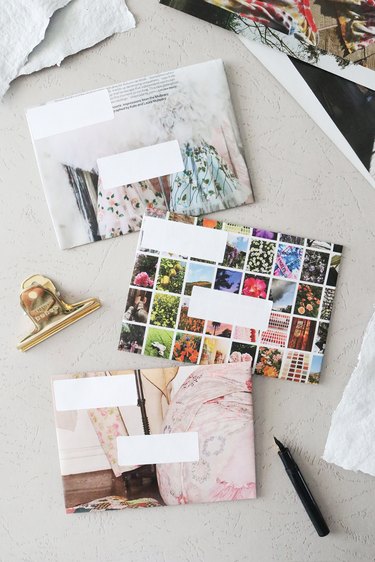
Add blank address labels to the top corner and center of the envelope. Who knew making envelopes from scratch was that easy?
Idea #3: DIY Wax Seal Stamps
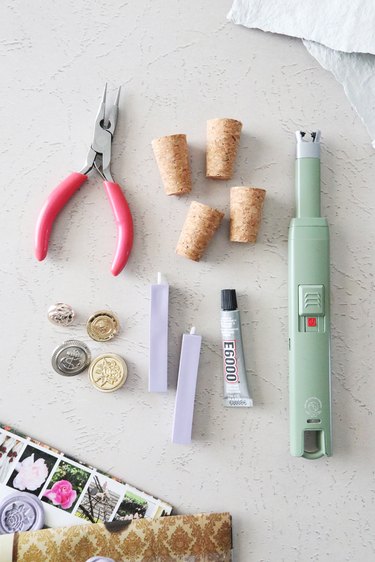
Things You'll Need
Wine corks
Decorative buttons
Super glue or hot glue
Pliers
Sealing wax (you can also use glue stick sealing wax or wax sealing beads with a melting spoon)
Lighter
Warning
When working with wax seals, always be cautious and follow the directions on the sealing wax and lighter.
How to make DIY Wax Seal Stamps:
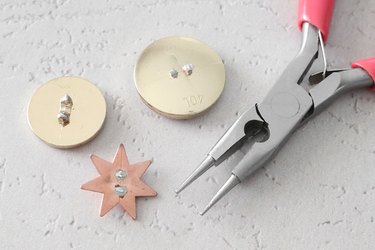
Using the cutting portion of your pliers, remove the loops from the back of the buttons.
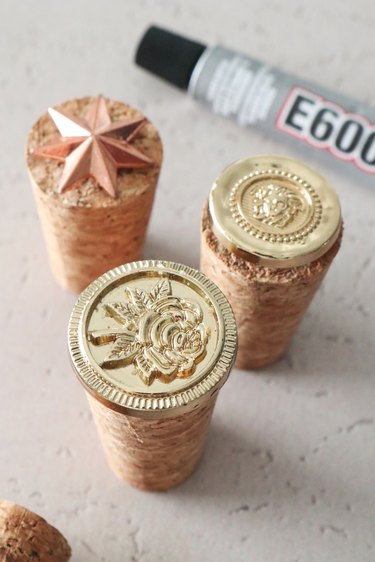
Glue a button to the top of each cork. Let dry.
2. Melt and stamp wax
To use the customized wax seal stamp, melt wax on an envelope or piece of paper. Wait five to seven seconds and then stamp the button side of the cork into wax.
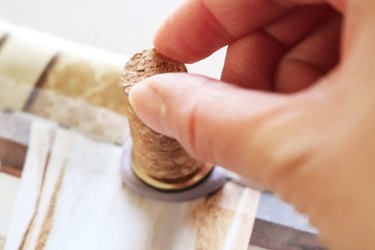
Tip
Depending on your specific wax, you might need to wait for more or less time before stamping. For best results, follow the directions on the packaging.
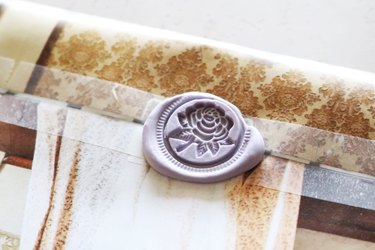
Gently rock the cork back and forth to remove the stamp.
Tip
If you’re new to wax sealing, do a test run on scrap paper before sealing an envelope or greeting card.
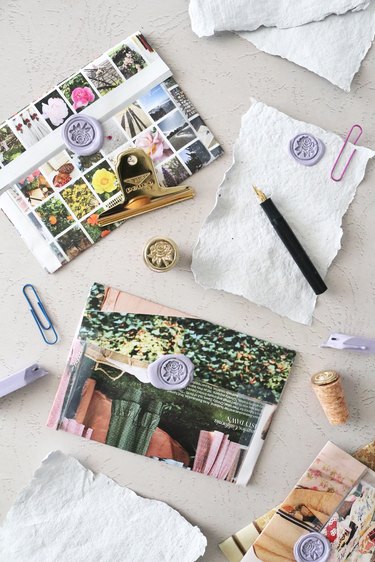
To create a complete stationery set, add a wax seal to the top of your homemade paper. It's a fun and stylish way to elevate your snail mail creations!
You'll be sending out one-of-a-kind snail mail creations in no time with our trio of DIY upgrades. Instant messages have their perks, but these timeless mail projects are worth waiting for!