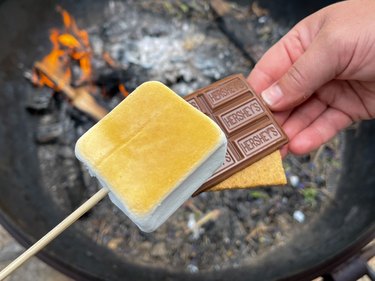
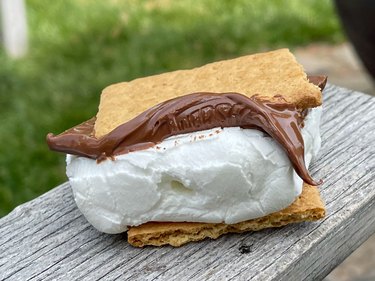
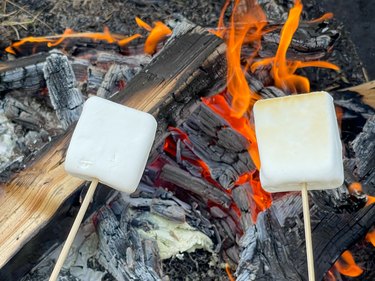
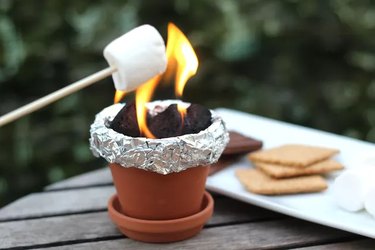
No matter how you stack it, the roasty, sweet goodness of a s'more continues to be a backyard/camping classic. Just stick a marshmallow on a skewer and toast it to golden perfection over a fire pit or a mini terra cotta fire pit. Then, squish your perfectly toasted, gooey marshmallow between a velvety chocolate bar and two crunchy, honey-sweet graham crackers for a s'mores party you'll never forget.
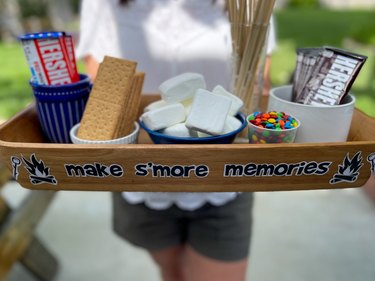
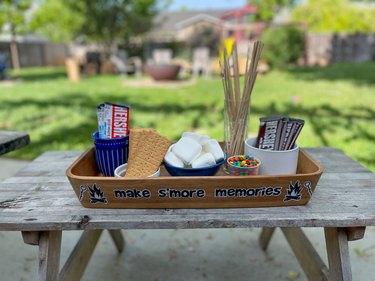
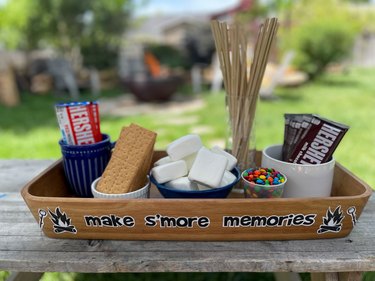
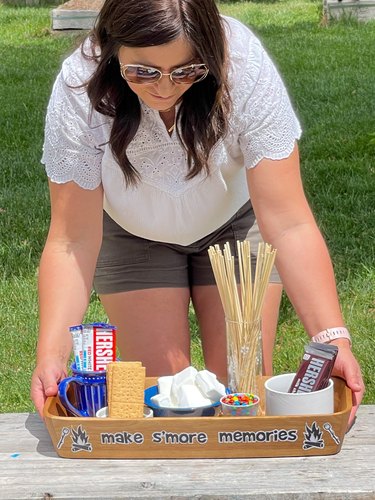
Set up a s'mores station for your next birthday party or backyard barbecue, or you can even use a s'mores bar for a clever outdoor wedding dessert. Keep all the ingredients handy and in one place by creating this DIY s'mores station box. You can use a wooden serving tray that you already have in your cupboard, or you could find one at a store. If you're lucky, there might even be the perfect food tray at your local secondhand shop. We'll show you how to personalize your wooden box and help you make s'more memories for years to come.
Video of the Day
Video of the Day
Things You'll Need
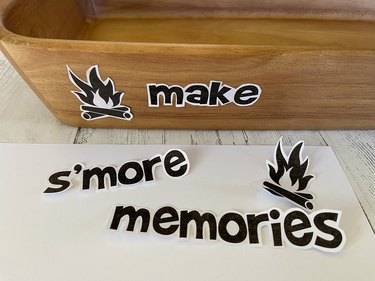
Printed words and images
Sharp scissors
Spray adhesive
Wooden serving tray
Decoupage finish
Paintbrush
Graham crackers
Marshmallows
Chocolate bars
White chocolate bars
Peanut butter cups
M&Ms
Skewers
Step 1
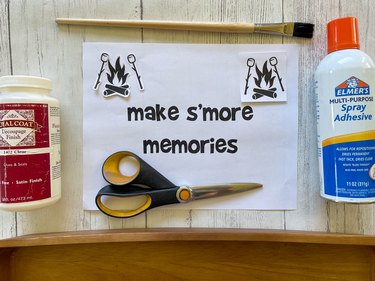
Choose a clever phrase, some fun fonts and a few images on your computer for your DIY s'mores station. Some ideas for phrases include:
- Make s'more memories
- The s'more the merrier
- Everything is s'more fun around the campfire
- Follow me to the s'mores
- Did someone say s'mores?
- Spread s'more love
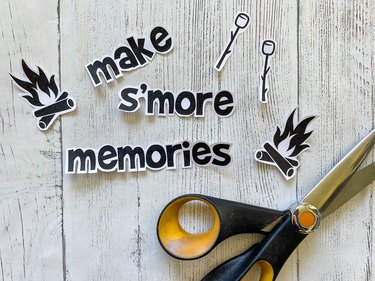
Print the phrase you choose using a font size that works for your wooden serving tray. Cut out the words and images, leaving a bit of white around them to make them stand out.
Step 2
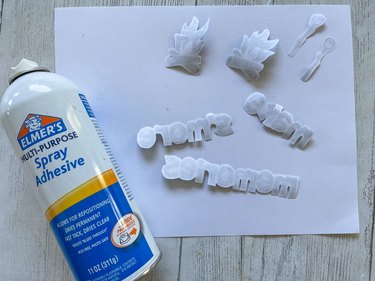
Turn over the words and images and spray the back with some spray adhesive. If you don't have any spray adhesive, you could brush them with decoupage finish or watered-down white school glue. If you choose to use glue, print the words onto index paper so it won't buckle when it dries.
Step 3
Adhere the words and images onto the wooden tray.
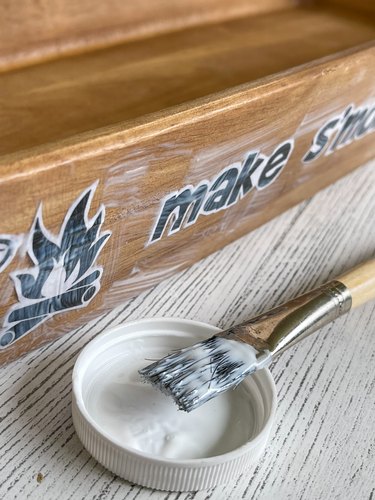
Step 4
Use a wide paintbrush to brush the decoupage finish over the words and images. It will dry clear. Let it dry for at least 24 hours before you load up your s'mores station box with your favorite s'mores ingredients.
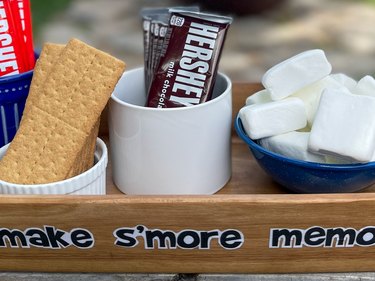
Step 5
Fill your s'mores station with graham crackers, marshmallows, chocolate bars, white chocolate bars, peanut butter cups, M&Ms, roasting sticks and any other fun s'mores bar ingredients you love.
Step 6
Roast marshmallows over a fire pit. If a big fire pit isn't part of your backyard s'mores party, try a tabletop DIY mini s'mores terra cotta fire pit.
Step 7
Squish the marshmallow between two graham crackers and some chocolate for a yummy, gooey treat.