eHow may earn compensation through affiliate links in this tutorial.
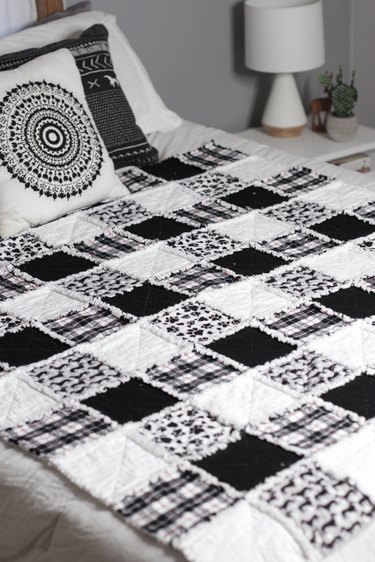
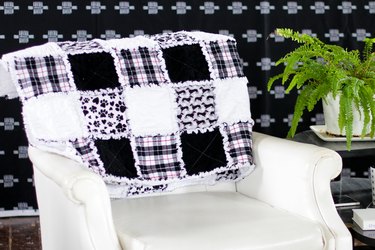
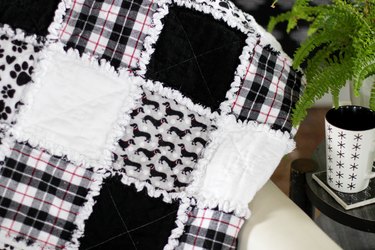
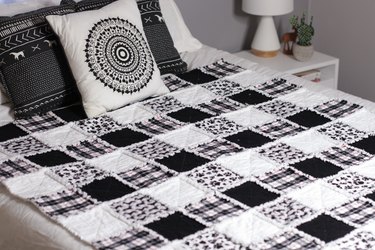
If you've been wanting to try your hand at quilting, a rag quilt is the perfect place to start. All you have to be able to do is cut squares and sew a straight line. No need to worry about fraying around the edges either because on this quilt, the more fray, the better. Since the seams are exposed and they are expected to fray, this quilt is very forgiving and fairly quick to make. So let's embrace the fray and get started.
Video of the Day
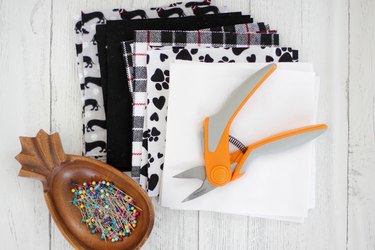
Things You'll Need
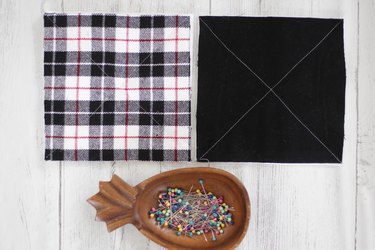
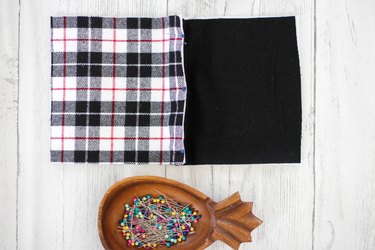
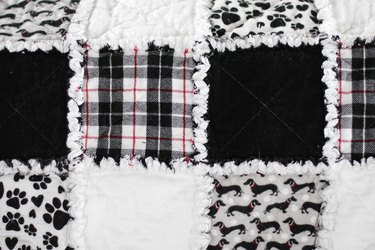
20 pieces of 7-inch square black flannel
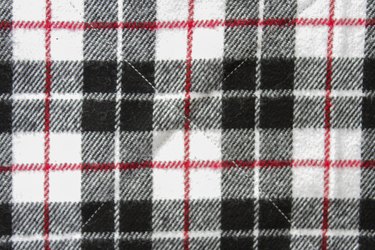
25 pieces of 7-inch square plaid flannel
10 pieces of black and white print flannel
10 pieces of another black and white print flannel
205 pieces of 7-inch square white flannel
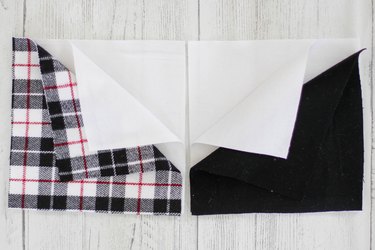
Step 1
Place flannel squares into fabric layer "sandwiches." Place two white squares on the bottom and one square of printed, black or white on top. For a quilt that will be ten squares on one side and nine squares on the other, you will end up with 90 fabric sandwiches:
- 20 with black on top
- 25 with white on top
- 25 with plaid on top
- 10 with black and white pattern on top
- 10 with black and white pattern on top
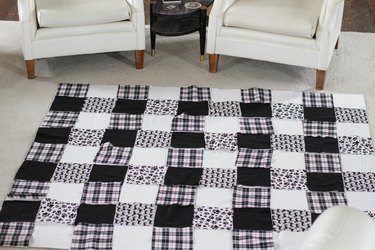
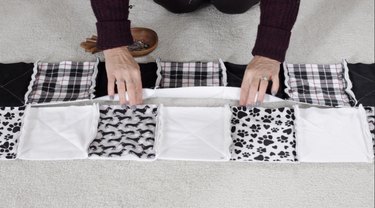
Step 2
Lay out the fabric squares into the pattern.
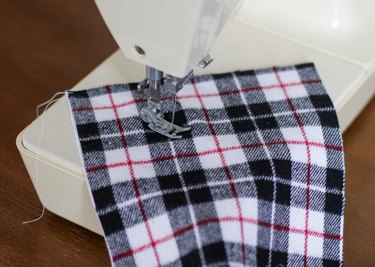
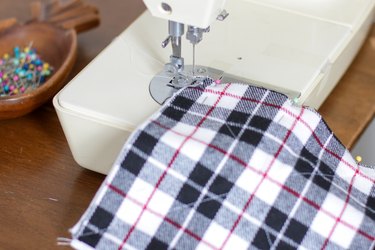
Step 3
Sew an X from corner to corner on each of the layered squares. Place them back into the layout so you remember where they go in the quilt.
Step 4
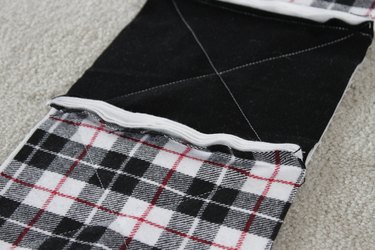
Place squares with wrong sides together and pin.
Step 5
Sew together with a 1/2-inch seam. Continue sewing the squares together to form a strip. Remember to place them with wrong sides together every time. The seams will be exposed on every square in the strip. If you've been sewing for a long time, this will go against every sewing bone in your body.
Step 6
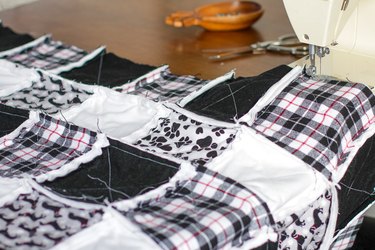
Once all of the squares are sewn into strips, pin the strips together with wrong sides facing each other. Match the corners of each square.
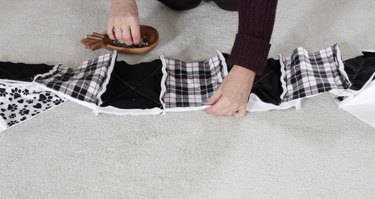
Step 7
Sew the strips together with a 1/2-inch seam allowance. As you come to a seam, open it up on both top and bottom and sew across it.
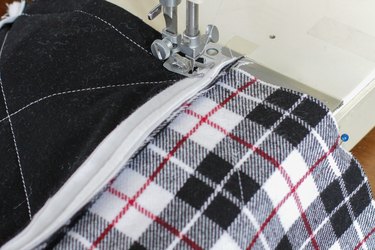
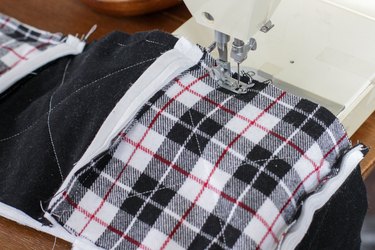
Step 8
When the strips are all sewn together, sew a straight line that is a 1/2-inch in on all of the outside edges of the quilt. Again, sew across each of the seams to hold them in an open position.
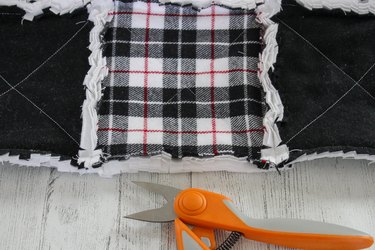
Step 9
Use sharp rag quilt scissors to clip each seam and all around the outside of the quilt. Be very careful to not cut any of your stitching. The closer your cuts are to each other, the better the seams will fray when the quilt is washed.
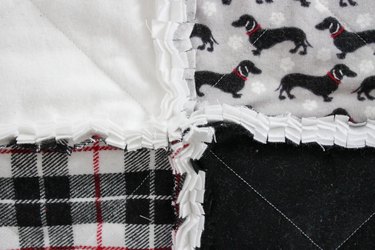
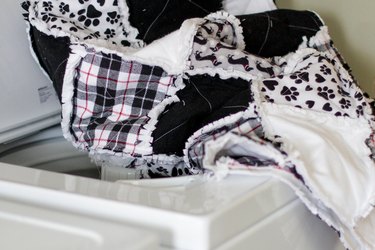
Step 10
Wash and dry the quilt several times to achieve a nice fray in every seam.
Get comfy!