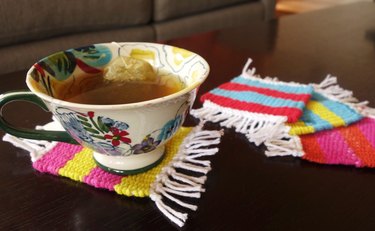
If you're looking for a fun, educational, and practical craft project to do with the kids, or if you're interested in learning how to weave, this is the perfect tutorial for you. With a few simple materials, you can create these pretty striped "mug rug" coasters for yourself, or to give away as gifts. This is also a terrific way for you knitters and crocheters to use up that ever-growing pile of stash yarn. Let's start!
Video of the Day
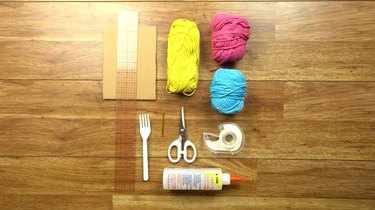
Things You'll Need
Piece of cardboard, approximately 5 x 7 inches
Yarn (we used kitchen cotton)
Pencil
Tape
Scissors
Fabric glue (optional)
Ruler or any measuring implement(s) with both inches and centimeters
Fork (either plastic or metal)
Make Your Loom
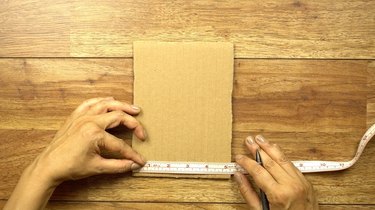
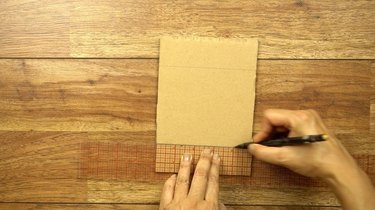
Step 1: Measure and Mark Cardboard
Make 20 small marks, 1/2 centimeter apart and centered, along the short edges of a 5 x 7-inch piece of cardboard.
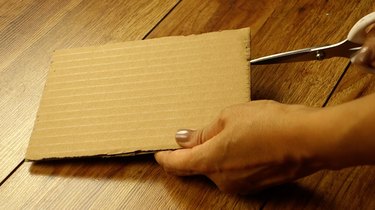
Step 2: Cut Notches
Use your scissors to snip short notches into the edges at the marks you drew.
You loom should now look like the one pictured below.
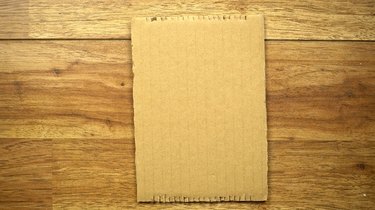
Note that this loom will create coasters roughly 3 1/2 inches wide. You can adjust the length of your coasters in the step below.
Step 3: Draw Guidelines
Now you're going to draw guidelines for your work, marking where your weaving will begin and end. I drew my marks 1 1/2 inches down from each edge, giving me 4 inches in between the guides (for coasters that are roughly 4 inches long). You can adjust your guidelines to make your coasters shorter or longer.
Make Your Coasters
Step 1: Warp The Loom
The first step in creating a woven item is to place your "warp" threads (defined below) onto your loom -- also referred to as "warping" the loom.
Warp: The thread that is tensely strung lengthwise -- typically vertically (i.e. up and down) -- on the loom. The warp will be kept at a constant tension on the loom, which will hold the woven fabric together.
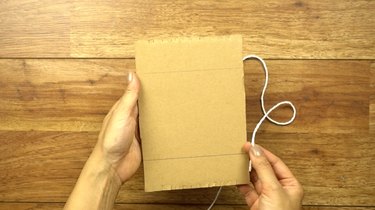
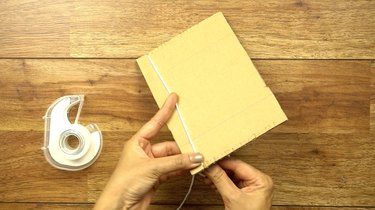
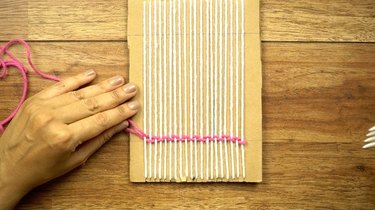
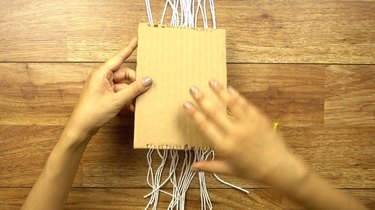
To warp your cardboard loom, take a piece of strong yarn and insert it into one of the end notches. The end should fall behind the loom (the side without the guidelines you marked) and reach at least midway across the length of the loom.
Tip
Bear in mind that the decorative fringes on your coasters are made up of your warp thread, so choose the color of your warp thread accordingly.
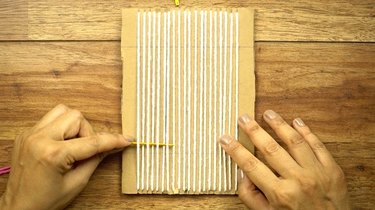
Tape the end of the warp yarn to the back of the loom.
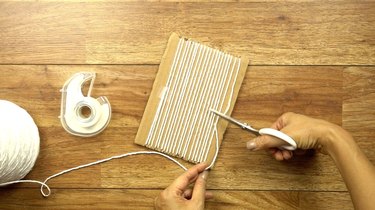
Turn the loom over to the right side, and wrap the yarn over the front and down to the first notch on the opposite edge.
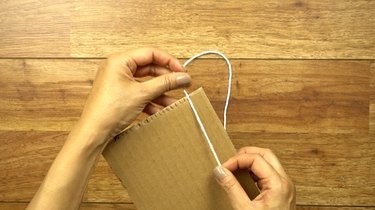
Continue wrapping the yarn around and around, using the notches to secure the yarn in place, as shown in the following photos.

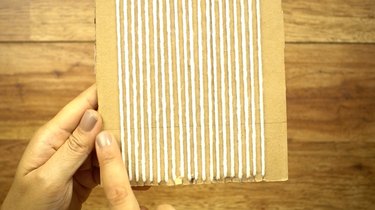
The warp threads should be 1/2-centimeter apart, as shown.

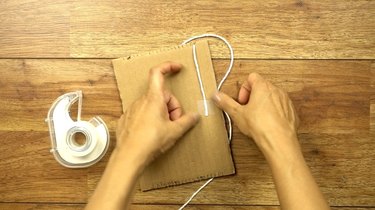
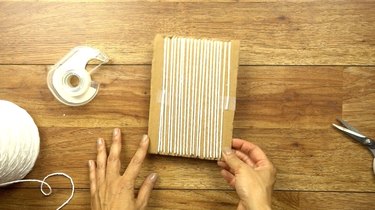
When you reach the last notch, bring the yarn to the back and cut it as shown.
Tape down the cut end. The back of your loom should look like this.
Step 2: Cut Yarn
You'll need about 8 yards of yarn to weave your coaster. You can use any color combination of yarn you'd like for your stripes, but make sure each piece is no longer than 2 yards. For each coaster, I cut 4 pieces of yarn (two in color A, and two in Color B), each piece 2 yards in length, for a total of 8 yards.
When weaving, I alternated between colors every time I changed yarns, giving me two stripes of each color.

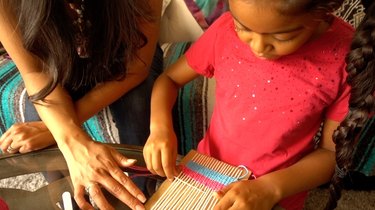
Step 3: Weave
Now it's time to weave your "weft" thread through your warp threads using your tapestry needle.
Weft: The thread that is woven in and out through (that is, perpendicular to) the warp threads.
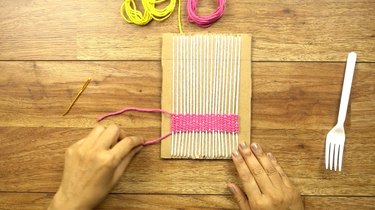
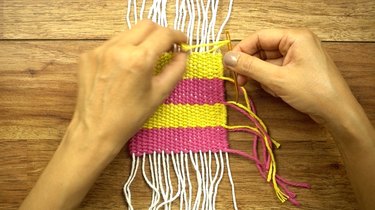
Thread your tapestry needle with one of the pieces of (weft) yarn. Weave the needle under one, over one, at the bottom guideline you marked. Proceed in this simple over-one-under-one pattern across all of the warp threads.
When you reach the other end, pull the yarn through, leaving a 4 inch tail hanging from the edge.
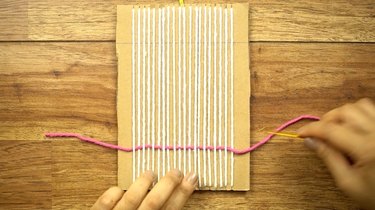
Now weave your way back from right to left, under one, over one.

When you pull your yarn through, create an arc (as shown below). This will ensure that your weaving isn't too tight.
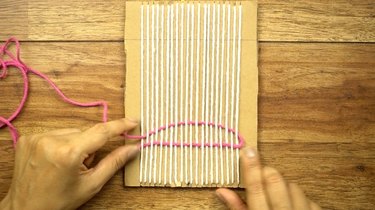
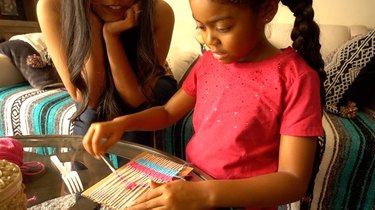
Take a fork and use the tines to push the arc down to meet the first row. This is called "beating down" the thread.
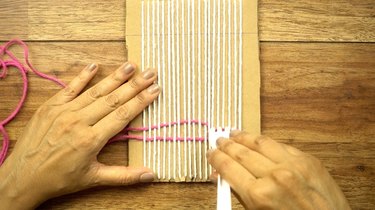
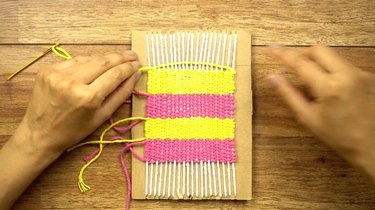
Continue weaving until you have approximately 6 inches of yarn left. Then, drop the yarn off to the side of the edge and pick up another piece of yarn.
Repeat this step from the beginning (I alternated between colors for a striped effect) until you've finished weaving all your yarn.
Remove From Loom & Finish
Step 1: Cut Warp & Remove Loom
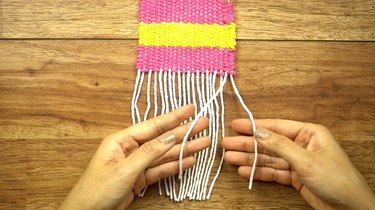
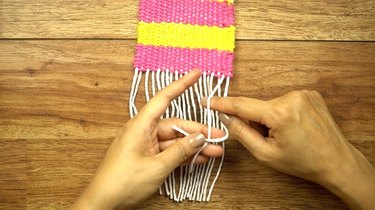
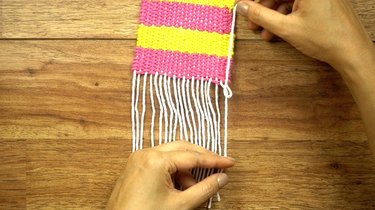
Flip your loom over and remove the tape from the ends of the yarn. Now, snip all the warp threads at the middle (on the back of the loom) as shown below.
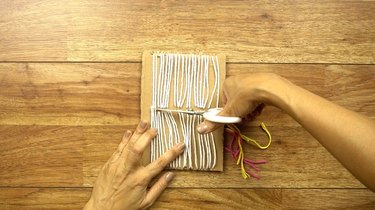
Carefully remove the warp threads from the loom notches and lift the loom from your woven piece.
Step 2: Weave In Tails
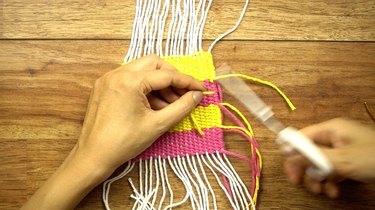
The next step is to hide all of those loose tails. With the backside of the coaster facing up, take the first loose tail of yarn and thread it onto the tapestry needle.

Insert the needle down through the channel inside the side edge of the woven piece, as shown below.
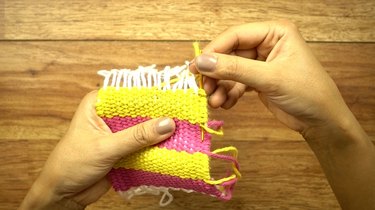
Carry the tail down about an inch inside the edge to make sure it remains secure.
When it's been pulled all the way through, snip it into a short stub.
Step 3: Glue Down (Optional)
To ensure that the tails don't come loose, you can also opt to add a bead of fabric glue to the snipped end to keep it in place.
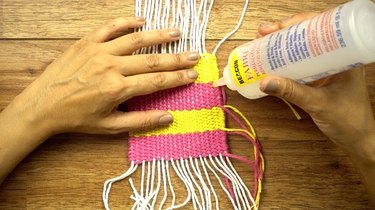
Repeat for all loose tails.
Step 4: Finish Edges
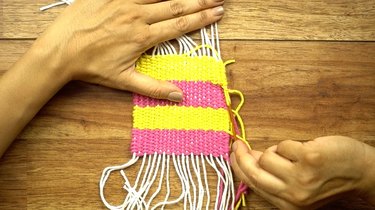
There are several ways to finish the fringed edges of your coasters. I chose a decorative "Damascus Edge" which is a popular edge for finishing woven rugs. I've also provided other easy edging options in the Tip box below this step.
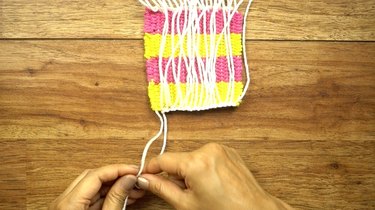
With the piece either front or back side up, grasp the two right-most warp threads, one in each hand as shown.
Place the right thread over and the left thread.
Using your right hand, pull the end of the right thread through the space between the two threads and then upward to form a knot. Don't pull too tightly, or the edge of your coaster will be pulled inward.
When tightening, it look like this.
Now, set down the right thread on top of the coaster. Place the thread being held by your left hand into your right hand, and use your left hand to take the next warp thread. Repeat the same process of crossing the right thread over the left, and pulling through and up to create a knot.
Continue tying threads in this manner all the way across.
When finished tying threads from right to left, flip the coaster over and repeat the entire process on the other side of that same edge. In short, you're going to be doing this step twice on the same edge -- one time on each side.
When you're done with that edge, rotate the coaster and repeat this entire step on the opposite edge.
If you like the knotted fringe look of the coasters shown, continue to Step 5. If you like the look of the edge as is, move on to Step 6.
Tip
Here are some quicker options for finishing the edges of your coaster. You can do a "half Damascus" by completing the Damascus edge on only one side of your coaster, rather than both. If you choose this option, make sure that the coasters are right side down when tying your Damascus edge. Or, you can skip the Damascus edge entirely and do a simple knotted fringe (jump from step 3 to step 5). However, the Damascus edge will yield a more polished look.
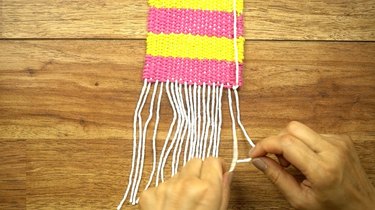
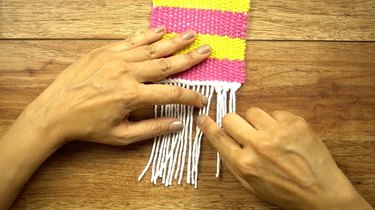
Step 5: Knot Fringe (Optional)
To get the knotted fringe look, simply take the warp threads, two at a time and tie them together using an overhand knot. Repeat all warp threads along the edge have been knotted together.
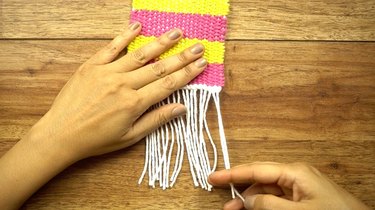
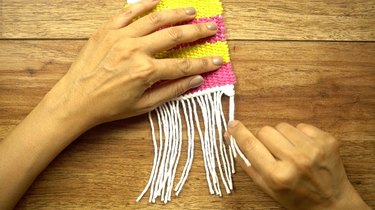
I worked from right to left (as shown) with the right side of the coaster facing up. However, it doesn't matter which side is facing you. Repeat for the opposite edge.
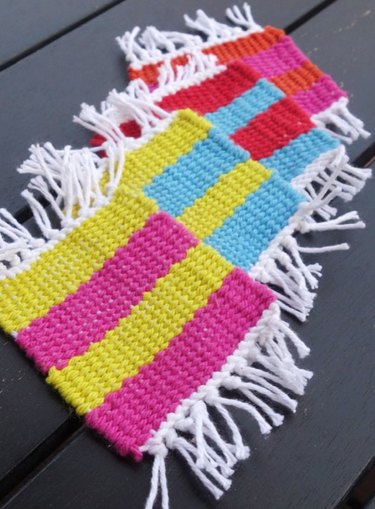
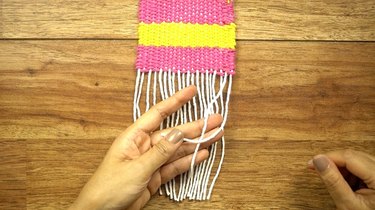
Step 6: Trim Fringe
Finally, trim the fringe to your desired length.
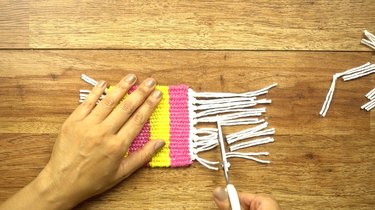
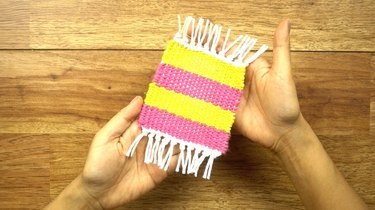
Your hand-woven "mug rug" is now ready to protect your table from those dreaded drink rings -- and it'll look super cute while doing it.
This is the perfect project for kids. It teaches them a bit about the age-old art of handmade textiles while they create something they (and you!) can use every day.