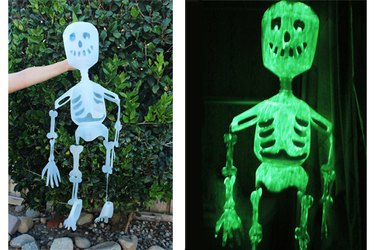
Throwing Halloween parties can be a blast, especially since it gives you an excuse to decorate the house with lots of creatures that go "bump in the night." A skeleton made from old milk jugs is one decoration that is both easy on the wallet and frightfully festive.
Things You'll Need
Empty plastic milk jugs, 8
Marker
Scissors
Hole punch
String or fishing line
Hot glue gun
Glow-in-the-dark paint
Paintbrush
Tip
Before starting, make sure to thoroughly clean your milk jugs and let them dry completely. Remove the cap from each jug as well.
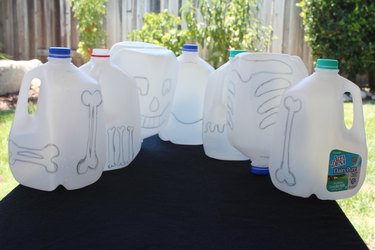
Step 1: Draw Bones on the Milk Jugs
Use a marker to draw each part of the bones on the milk jugs:
Video of the Day
- Head
- Torso/ribcage
- 2 shoulders
- 2 separate bones for each arm (4 total)
- 2 hands
- Hip/pelvis
- 2 separate bones for each leg (4 total)
- 2 feet
For the head and torso, you will use one whole jug for each of these body parts. Draw two eyes, a nose and teeth/mouth on the head. You will also need to draw a ribcage on the torso (three ribs per side).
Tip
For the shoulders and feet, draw them around the handle portion of the milk jug to give them more of a 3-D effect. Use the bottom portion of a milk jug to form the hip/pelvis.
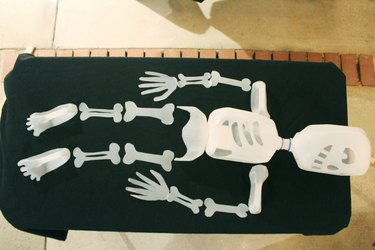
Step 2: Cut Out the Bones
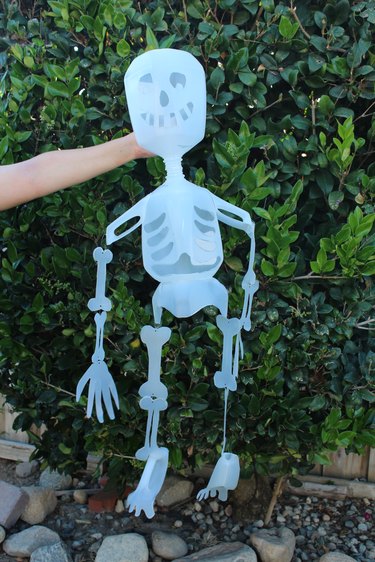
Use scissors to puncture a hole into the milk jugs and then cut out the bones. When they are all cut out, lay them out on a table to make sure you have all of your pieces.
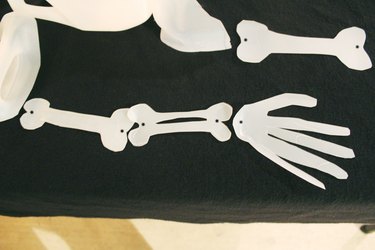
Step 3: Hole Punch Each Bone
Since you already have the bones laid out on a table, use the hole punch to punch holes into the points of the bones where you will connect them together with string or fishing line.
Step 4: String the Bones Together
Take your string or fishing line and start connecting the bones together to create the skeleton's body, tying a knot at the ends of each string. Use hot glue to connect the head to the torso. You will also need to hot glue the torso to the hip/pelvis.
Step 5: Paint the Skeleton
Now that your skeleton is all put together, paint it with a few coats of glow-in-the-dark paint. Allow each coat to dry before painting the next coat. Be sure to paint in a well-ventilated area.
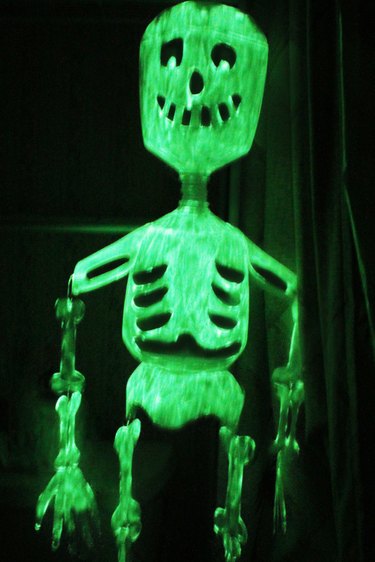
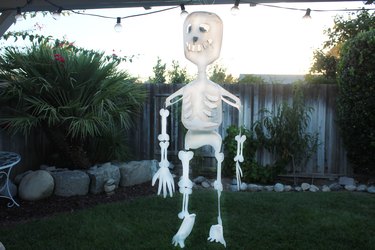
Once the paint is completely dry, your spooky skeleton is ready to hang outside or in a dark corner to garner some scary reactions from guests or trick-or-treaters.
Video of the Day