
How to Work With Burled Wood

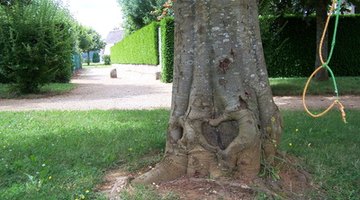
Burls are wood growths on trees, either above or below ground, of varying sizes and colors. Described as mutations or tumors, burls are a harmless and prized part of many varieties of trees. They are used in home decorating, and by artists for original creations to add beauty and warmth to any home.
Things You Will Need
- Super glue
- Sandpaper
- Sanding dust
- 5-minute epoxy
- Putty knife
- Epoxy stain
- Crushed turquoise
Burl veneer is also used to accent car interiors. The American Indians put burl wood to use by carving and forming it into containers and jars, as its lack of grain makes it easy to shape into useful vessels. Burl is most easily worked with while still green, according to Robert Scofield, and in spite of its strength and stability still requires some finesse to adequately fill pockets and remove internal bark inlays.
-
Fill bark pockets with super glue to saturate and harden the bark, preventing chipping and falling out. Once dry, sand the area with the surrounding wood for continuity.
-
Fill any fissures and voids in the bark with dark sanding dust, and add super glue until the area is saturated. Allow to dry and then proceed with sanding to smooth out and blend the area.
-
Apply epoxy with a putty knife to small checks and cracks. The epoxy may be colored with an epoxy stain to match the rest of the burl. Smooth the epoxy and allow to dry, then sand.
-
Mix sanding dust with your epoxy for larger checks or cracks in order to blend the filler with the wood. Fill the flaw with the epoxy mixture, smooth, allow to dry and sand smooth.
-
Use voids to add character to your finished burl piece. A void may be left as is, or filled with dark sanding dust and epoxy to mimic a bark pocket. Or mix crushed turquoise with your epoxy for a jeweled inlay.
Tip
Sand and stain or otherwise treat burl wood as any other wood for finishing.
Warning
Do not use toxic treatments on wood intended for food use such as bowls or platters.
Dry burl cautiously to avoid cracking.
Resources
Writer Bio
Angela Baird has been writing professionally since 1995. She has a wide range of life experiences from work with abused animals with the Humane Society, to more than 20 years of hands-on experience in the culinary arts. In addition, she keeps horses and does her own home improvements and home gardening.
Photo Credits
- Arbre-02 image by photo_alpha from Fotolia.com
- Arbre-02 image by photo_alpha from Fotolia.com
More Articles