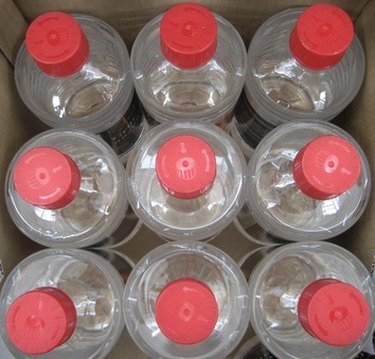
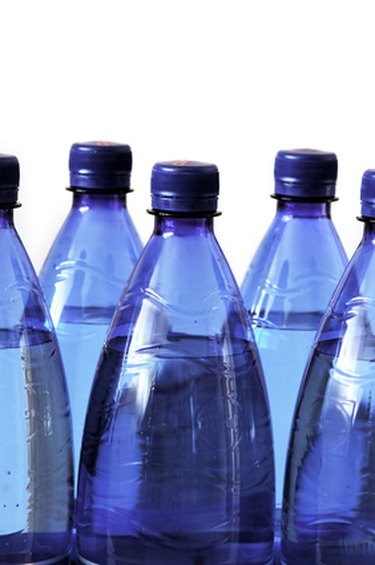
You can recycle plastic bottles easily into many different craft projects, such as sand art containers, water tornado or cyclone school projects, and homemade snow globes. Depending on the project, it is often necessary to ensure you have a tight seal under the screw-on top. The use of a screw-top lid or wax in conjunction with the bottle's screw-on lid will result in a plastic bottle with a good seal.
Things You'll Need
Video of the Day
- Plastic bottle with screw-on lid
- Candle stubs or old candles
- Matches
- Can
Video of the Day
Sealing Bottle with Screw-on Lid
1. Place the bottle on a flat surface
Place the bottle on a flat surface and hold the bottleneck firmly with one hand.
2. Take the bottle’s screw-on bottle top in your hand
Take the bottle's screw-on bottle top in your hand and position it with the inside screw threads over the bottle opening. Put your hand over the top of the lid, firmly grasping the sides of the bottle top.
3. Push down on the bottle lid and turn it simultaneously
Push down on the bottle lid and turn it simultaneously until it is completely screwed onto the top of the bottle. Turn it as tightly as you can.
Sealing Bottle with Wax and Screw-on Lid or Covering
1. Use your finger to pack down any dry contents
Use your finger to pack down any dry contents to form a flat surface.
2. Hold the bottleneck over a clean can

Hold the bottleneck over a clean can so the can will catch any dripped wax for easier clean up. This method works well for sealing plastic bottles used in dry content crafts such as sand art or homemade bath salts. If you're using wax to seal a project with liquid contents, you will need to spend more time layering the wax to form a bridge above the liquid within the bottleneck.
3. Ignite a match and light the candle stub or candle
Ignite a match and light the candle stub or candle. Allow the candle to burn, dripping the melting wax into the neck of the bottle. Turn the bottle slowly so the wax begins to clump, clinging to the sides of the bottle opening. Accumulate layers of wax globules, filling the opening to form a seal.
4. Fill the bottleneck to the top of the bottle with wax

Fill the bottleneck to the top of the bottle with wax and allow the wax to cool and harden. When the wax hardens, it will sometimes sink in the center. Add more melted wax to fill this cavity and allow the seal to air dry.
5. Screw on the bottle lid following the steps in the first section
Screw on the bottle lid following the steps in the first section. If you are using a fabric circle or other decorative covers, place this over the cooled wax seal and fasten with cord, tape, a rubber band or your choice of ribbon.
Tips and Warnings
You can substitute paraffin wax for candles, but you will need to melt it in a double boiler on the stove and then pour the wax into the plastic bottleneck. Using candle stubs is a great way to recycle candles that you would dispose of ordinarily.
Use caution with matches and fire. Both can lead to burns and injuries.