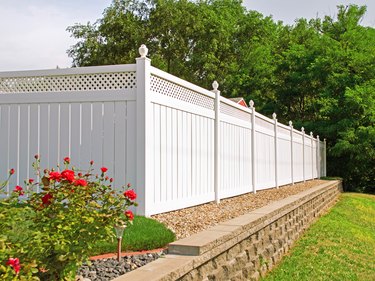
They may be very long-lasting, but vinyl fences don't last forever, and a time comes in the life of every one when it has served its purpose and needs to be replaced. Fortunately, disassembling a vinyl fence is easier than disassembling a wood one. The components, which are lighter than wood, are held together with screws that may be visible on the posts or may be hidden inside them. Remove these screws and the fence readily comes apart.
Getting the posts out of the ground may not be so easy, though, especially if they are set in concrete. This part of the job is potentially as difficult as it would be if the posts were made of wood or metal (in fact, the posts usually are made of wood; they're just covered in vinyl). If they are loose, you may be able to pull them out barehanded, but it's more likely you'll need to dig them out or better yet, pull them out with a car jack.
Video of the Day
Video of the Day
Look for the Screws
Disassembling a vinyl fence is the opposite of assembly and starts with disengaging the top rails from the posts, and they are usually held by screws. On some models, the rails have brackets that attach to the surface of the posts, and the screws that hold them are clearly visible. All you have to do is use a drill/driver with a Phillips head bit to back them out, and the rails can be removed.
If you don't see any visible screws, it's because the ends of the rails fit into holes in the posts called routes and are secured by screws inside the posts. To access them, you have to remove the post caps, and since they are usually glued on, you can't just pull them off. Instead, use a hammer and chisel to gently tap each cap upward, and eventually, it will come off. Look inside the post, and you'll see one or two vertical screws holding the rail to a bracket. Back out the screws to release the rail.
Remove the Fencing and Bottom Rail
Once you've disengaged the top rail, you should be able to slide it to one side and remove it. The slats or pickets won't come with it because they aren't attached; they're just set into grooves in the bottom of the rail. You'll be able to pull them out one by one, leaving only the bottom rail for removal. If you plan to reuse the slats or pickets, keep track of the order in which you remove them because they might have to go back in the same order.
The screws holding the bottom rail to the posts should be visible after you remove the rest of the fencing. Back out these screws, slide the rail to one side to disengage the end from the route in one post, tilt the rail upward, and pull it away from the other post. When this is completed, the only parts of the fence left to remove are the posts.
Removing Posts Set in Concrete
If you're going to reuse the posts, you don't have to remove them if they're in good condition, but if you aren't going to reuse them or they're rotted, you need to pull out not just the posts but also the concrete into which they are set. There are many ways to do this using levers, but the most reliable way is to use a car jack and chain.
Use a shovel and/or digging bar to dig out around the base of the post to a depth of a few inches — deep enough to expose about 3 inches of concrete. Wrap a chain around the concrete and secure it to the platform of a car jack (a 48-inch jack works best). Crank the jack to lift the concrete a few inches and when it's loose enough, pull the post — concrete and all — out of the ground. You now have a pre-dug hole for any new post you want to set.