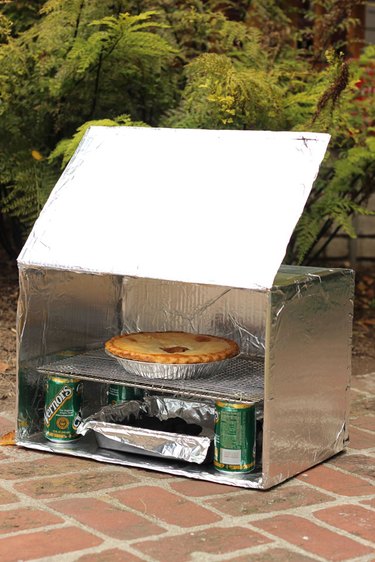
Occasionally when camping, you may find yourself in a position where you'd rather bake something instead of grilling over an open fire. Eureka! Here's a camp oven made out of a cardboard box and common household materials. Not only does it act as a makeshift kitchen away from home, it also comes in handy as a food warmer or ice box. So take this oven on your next expedition, and everyone will be a happy camper. (Plus, it's just plain fun to make!)
Video of the Day
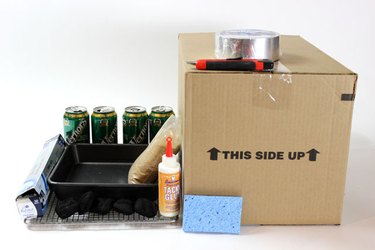
Things You'll Need
Cardboard box
Foil tape
Box cutter
Craft or household glue
Sponge
Aluminum foil
Aluminum cans (4)
Sand or small rocks
Wire rack
Baking tray
Charcoal briquettes
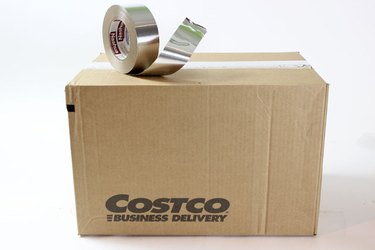
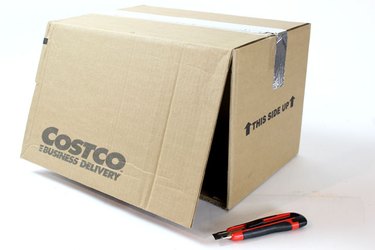
Step 1: Seal the Box
Find a box that is about 12" x 12" x 18" or larger. Decide the orientation of the box, i.e., what will be the top, front and bottom of the oven. As with actual ovens, the box oven should be wider than it is deep, and large enough to hold a small wire rack. For my camp oven, I decided that the top of the box would be the top of the oven because that's how the wire rack fit the best. Using foil tape, seal your box so all the walls are solid.
Video of the Day
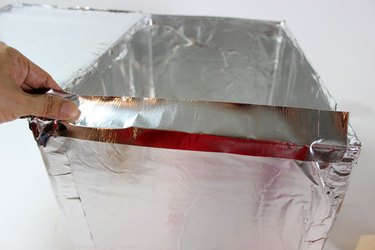
Step 2: Cut Front Flap
Using a box cutter, cut the left, right and bottom edges of the front side of the box to create a flap that lifts up.
Warning
Be careful when using the box cutter, and keep it away from children.
Step 3: Line the Inside With Foil
Apply glue to the insides of the box, and use a damp sponge to spread the glue on the cardboard. Work one side at a time.
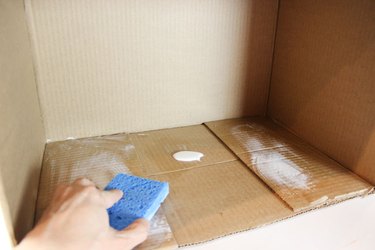
Cut a piece of aluminum foil to fit, and place it on the glued cardboard.
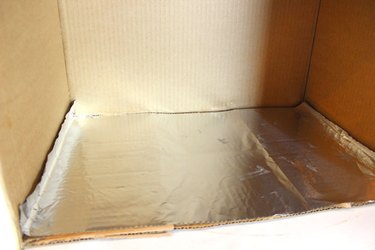
Continue gluing foil to the inside until all four sides and the back are covered in foil.
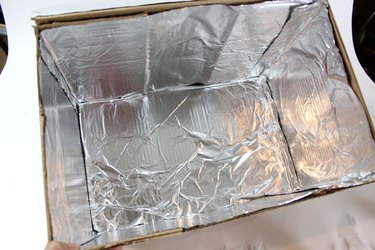
Step 4: Seal the Inside Edges With Tape
Don't worry if there are loose edges at the corners while gluing the foil on the inside; that's where the foil tape comes in. Apply strips of foil tape at the corners and anywhere there are loose seams.
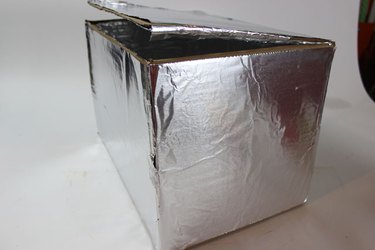
Step 5: Line the Outside With Foil
Apply glue to the box exterior and line all sides with foil. Glue foil to both sides of the front flap as well.
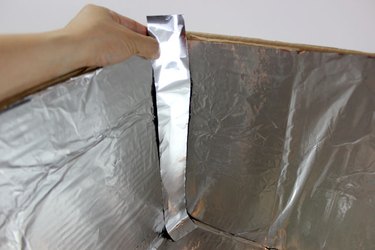
Step 6: Seal the Outside With Foil Tape
As you did with the inside, seal all the outside edges and corners with foil tape, as well as where the outside meets the inside. There should be no loose foil seams anywhere on the box. The box part of the oven is now completed.
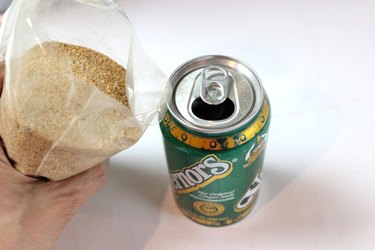
Step 7: Fill Cans with Sand
Aluminum cans will be used to support the wire rack in the oven. To stabilize the cans, fill them with sand or small rocks.
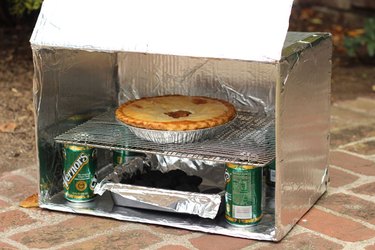
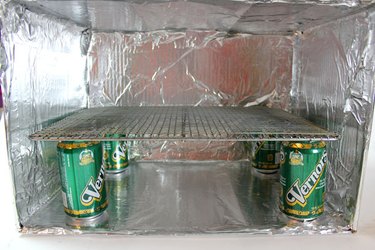
Step 8: Place the Wire Rack on Cans
Place the four aluminum cans at the bottom of the oven, and position the wire rack on top of the cans. I used a wire warming rack. You can also use a wire rack designed for microwave ovens or toaster ovens, or even a small baking sheet.
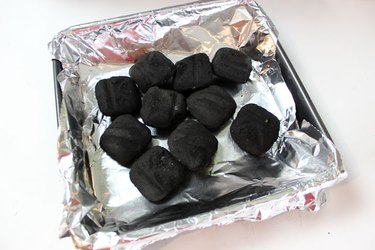
Step 9: Prepare the Charcoal
The heat source for the oven is charcoal briquettes. Each charcoal briquette generates approximately 40 degrees, so, for example, if you want a 400-degree oven, you would need 10 briquettes. (An oven thermometer will help you gauge the actual temperature.) Heat the briquettes in a fire until they are hot, and transfer them to a foil-lined baking pan.
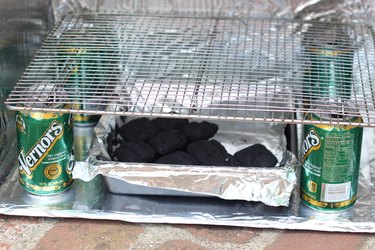
Then place the pan of hot charcoal on the floor of the oven below the wire rack.
Warning
The box will be extremely hot when the charcoal sits in it. Always place the camp oven on rocks, bricks or concrete. Never use the oven indoors or set it on a table — it can burn whatever surface it's on.
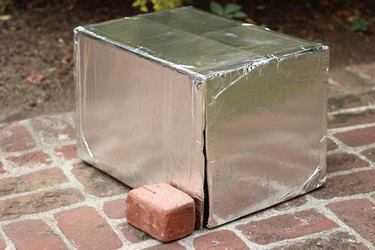
Step 10: Close the Oven Door
Place the food you wish to cook on the wire rack, and close the front flap. The flap will naturally stay open, so place a brick or large rock in front of it to keep it shut, leaving an opening of about one half inch so air can circulate in the oven.
This camp oven can come in handy even when you're not in the woods. Use it to keep food warm at outdoor parties — the hot food serves as the heat source. Or leave it in the car to keep groceries cool on the way home from the store. Like a good scout, this oven is always prepared.