Things You'll Need
Cardboard box
Razor blade
Pencil
Double-sided tape
Ruler
Packaging tape
Cardboard boxes come in various sizes, yet sometime the right size is not available. Resizable boxes are manufactured and available to purchase. These boxes generally only allow adjustments to the height of the box. Resizing boxes to fit objects without wasted space can potentially save money by reducing postage, saving wrapping paper and reducing packing materials. Resizing cardboard boxes also provides a fantastic method of recycling.
Resizing the Length of a Cardboard Box
Step 1
Assemble the cardboard box and place the object inside it.
Video of the Day
Step 2
Measure the amount of excess width. Slide the object snugly against one side of the cardboard box. Measure the open space between the object and the other side of the box.
Step 3
Remove the item from the box.
Step 4
Cut the box along one corner. The box will now completely open and lay flat.
Step 5
Reduce the excess measurement by one inch and cut away the remaining from one side of the cardboard box.
Step 6
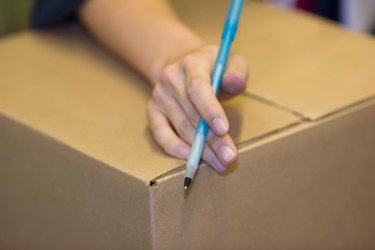
Score the joining edges a half inch from the edge. Scoring the box requires cutting through half the cardboard.
Step 7
Overlap the two scored sections and attach them together using double-sided adhesive. Reinforce the joint by placing a piece of packaging tape along the inside corner.
Step 8
Reassemble the newly sized box.
Resizing the Height of a Cardboard Box
Step 1
Assemble the cardboard box temporarily and place the object inside.
Step 2
Determine the new height for the cardboard box. This can be accomplished by laying a straight edge on top of the object and marking the location on the side of the box.
Step 3
Measure from the top of the box to the new height. Mark this location on all four corners of the box.
Step 4
Start at the new mark and cut two slit up the corner of the box 1/4 inch from each other. Cut away the 1/4-inch excess flap. This allows the new top flaps to lay nice once the box is closed.
Step 5
Draw a straight line between the bottom of the new slits all the way around the box. It is recommended to use a ruler to insure the line is straight.
Step 6
Score along the straight lines to create new flaps.
Step 7
Assemble the box.
Warning
Razor blades are sharp. Avoid injury by cutting away from yourself and retracting the blade when not in use.
Video of the Day