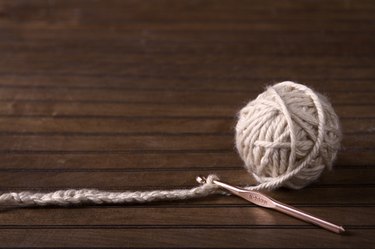
Every stand-alone crochet project starts with a foundation chain: A string of chain stitches that you then work other stitches into. Eventually the foundation chain becomes one edge of the project or, if you're working in the round, it gets enveloped in the middle. Sometimes chain stitches are also used in the middle of the project to create lace or as a decorative touch, and to help keep the edges of your project even.
Tie a Slip Knot
Video of the Day
Hold the yarn so the tail end drapes down across your palm, and the skein end of the yarn runs down the back of your fingers. Wrap the yarn twice around at least two of your fingers. Spread your fingers apart, reach between them, and pull up a loop of yarn from the skein. Poke your crochet hook through the loop, slide the wraps off your fingers, and tug on both ends of the yarn to tighten the slip knot you just made around the crochet hook.
Video of the Day
Getting Situated
Hold the crochet hook in your right hand as if it were a butter knife. Two strands of yarn will dangle from the hook: One leads back to the skein, and one is just a loose tail. Let the tail dangle.
Hold the hook slight behind the index finger of your left hand. Slide that finger under the skein end of the yarn; then -- without lowering your index finger or the skein end of the yarn -- pinch the dangling tail between your thumb and middle finger, or your thumb and your middle and ring fingers.
The First Chain
Use your thumb and middle finger to hold the dangling tail in place as you wrap the yarn around the crochet hook from back to front; this is called a yarn over and creates a second loop of yarn around the hook. Use the hook to draw that loop of yarn back through the first. This completes your first chain stitch and leaves you with one loop of yarn on the hook again.
Continuing the Chain
Continue that process until you've chained the designated number of stitches for your project; every time you yarn over and draw that loop through the loop already on your hook, it creates another chain. You don't have to bind off or tie off your work once you've completed the designated number of chains; you will go immediately into working your first row of stitches into that chain.
Advice for Beginners
- If you're just starting out, practice with chain stitches until you can turn out long strings of them in an even, consistent size -- it'll make every future project much easier.
- It might be easier to make your first few chain stitches with a large hook -- but when it comes time to do the actual project, make sure your hook sizes matches your yarn. The label on the yarn skein tells you what size hook you should use.
- Some projects require that you chain a large number of stitches at the beginning. If you struggle to keep count, consider using clip-in stitch markers to mark every multiple of 10, 20, 30 or more chains so you won't have to go back and re-count.