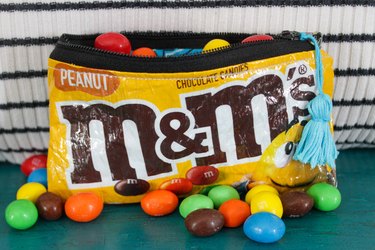
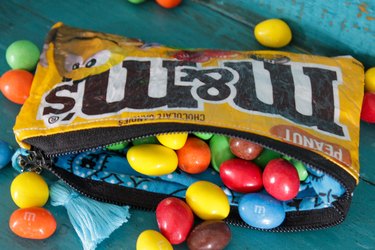
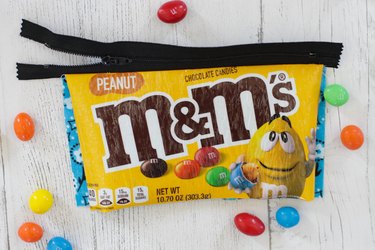
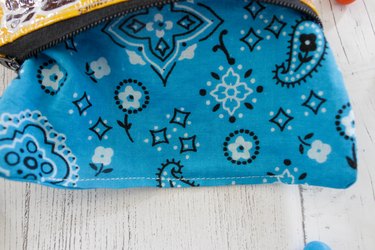
We aren't sugar-coating anything when we say that you'll definitely get a smile everywhere you go when you pull out this delightful zipper pouch made from a candy bag. Fill it with your keys, a card, a little cash and some lip balm for those grab-and-go situations. Better yet, indulge your loved one's sweet tooth by loading it up with treats and surprising him with a delicious "just because" gift. If that isn't enough to make you want to create this adorable little zipper pouch, think about all the wrappers you'll keep out of the landfill. It's a trifecta!
Video of the Day

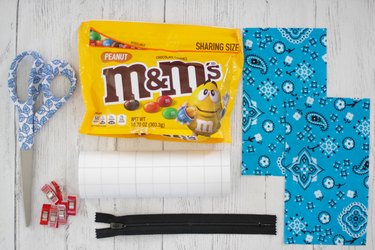
Things You'll Need
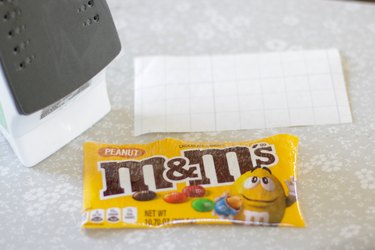
10.7-ounce bag of M&M's candy
Four pieces of 4 x 7-inch HeatnBond Iron-on Vinyl
Two pieces of 4 x 7-inch cotton fabric
Step 1
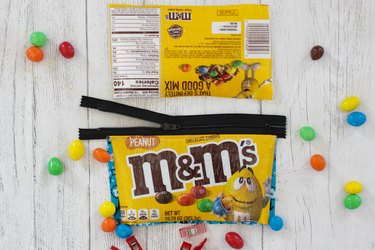
Do whatever you have to do to empty the candy bag (just be sure to save a little room for dinner). Then, cut the front and the back of the bag into 4 x 7-inch pieces.


Step 2
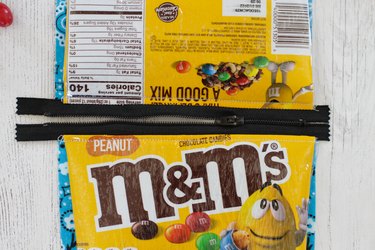
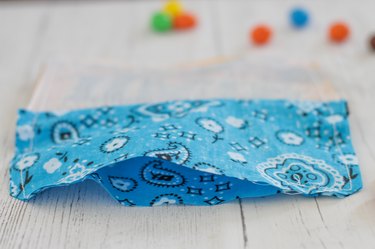
Peel the paper from the iron-on vinyl and place the sticky side of the vinyl on the candy wrapper. Put the shiny side of the paper on top of the vinyl and lightly run a warm, no-steam iron over the paper to adhere the vinyl. Do the same thing to the back of the candy wrapper. Repeat this on both candy wrappers so the vinyl covers both sides.
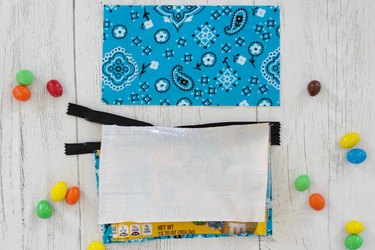
Step 3
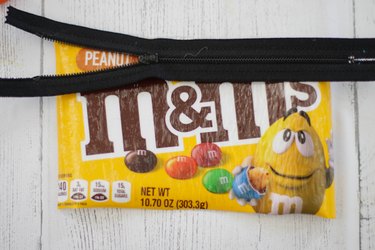
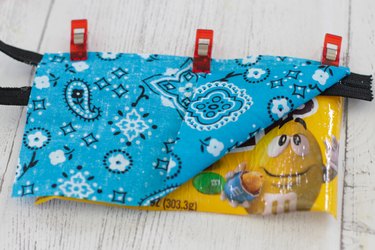
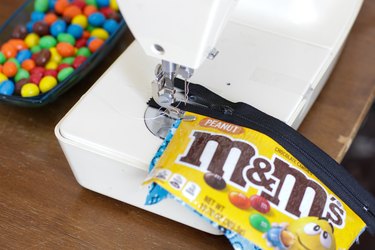
Place the zipper face down on the top of the long side of the candy wrapper. Place the lining fabric on top of the zipper with the right sides together. Line up the edges and use wonder clips to hold it in place as you sew the three layers together along this edge.
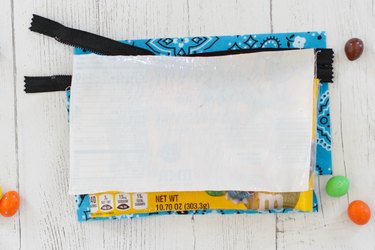
Step 4
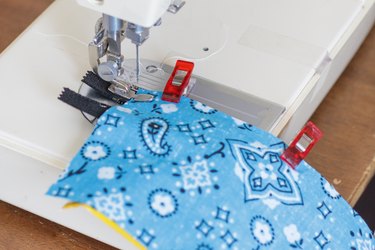
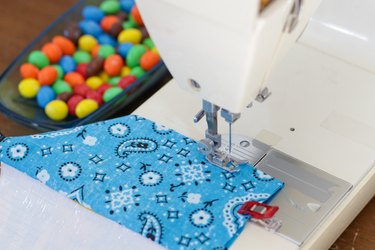
Flip the lining piece over and around to the back of the candy wrapper so the wrong sides are facing each other. Press along the zipper edge with your finger to smooth out the wrapper and the fabric. Topstitch along the zipper edge.
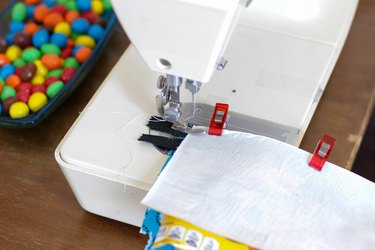
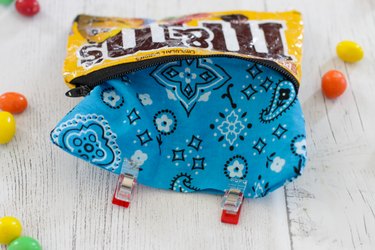
Step 5
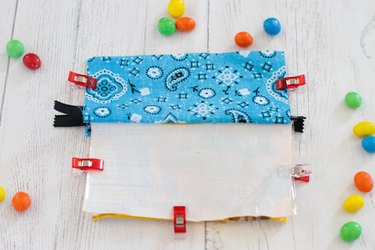
Repeat the process on the other side of the zipper by placing the other candy wrapper face down on the zipper and then placing the other piece of cotton fabric under the stack of fabrics with the right side up. Line up the three edges and clip them together to hold them in place while you sew along this side of the zipper.

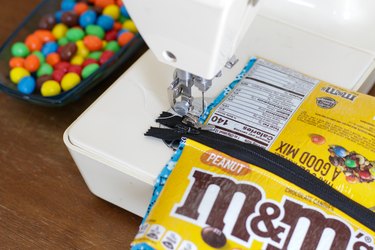
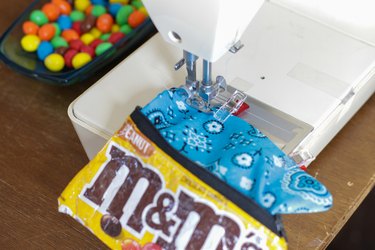
Step 6
Flip the candy wrapper and the lining piece around so that the wrong sides are facing each other. Smooth with your finger and then topstitch along the side of the zipper.

Step 7
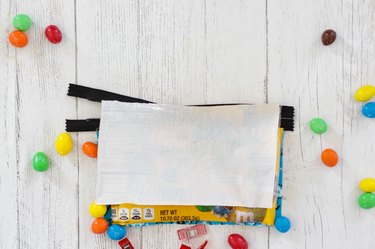
Open the zipper. Flip the lining pieces so that the right sides are facing each other and flip the candy wrappers so that the right sides are facing each other. Clip all the edges together. Sew each edge, leaving a 3-inch opening in the long side of the lining fabric.
Tip
It's very important to open the zipper before you sew. That way, you'll have an opening to turn it right side out when you finish sewing around the edges.
Step 8
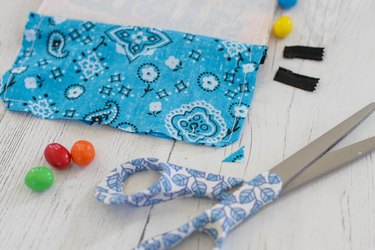
Clip the corners and cut off the extra zipper tabs.
Step 9
Turn the bag right side out by pulling it through the opening you left in the long side of the lining fabric.

Step 10
Tuck in the raw edges of the opening in the lining, clip and sew.
Step 11
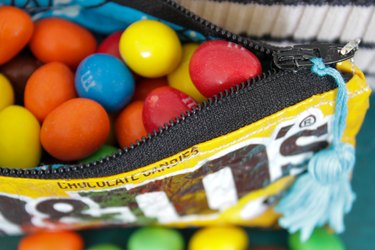
Tuck in the lining and fill your candylicious pouch with whatever you'd like.