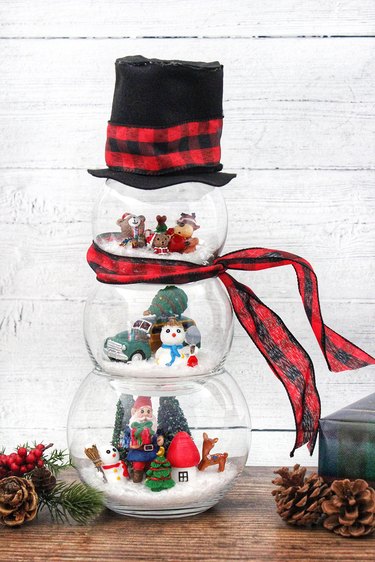
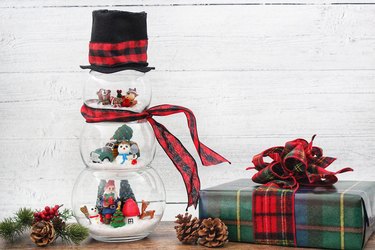
The song "Frosty the Snowman" tells the story of how the magical snowman came to life one day. This snowman made out of glass fishbowl vases also comes to life with three tiers of festive winter scenes. It's easy to assemble, and the little dioramas will spark joy in your home throughout the holiday season.
Video of the Day
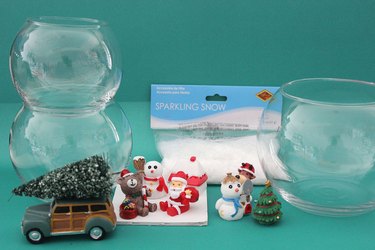
Things You'll Need
Three sizes of fishbowl vases
Artificial snowflakes
Foam or cardboard
Scissors
Miniature holiday figurines
Hot glue
Museum putty or earthquake wax (optional)
Black felt
Ribbon
Step 1: Gather the Vases
You will need three glass fishbowls in different sizes. My smallest was 3.5 inches in diameter. The medium bowl was 4.875 inches, and the large one was 6 inches. You can find these vases in craft stores and dollar stores. Wash and dry the vases, removing any stickers or price tags.
Video of the Day

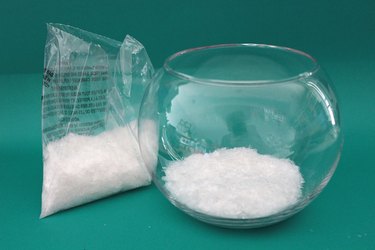
Step 2: Add the Base Layer of Snow
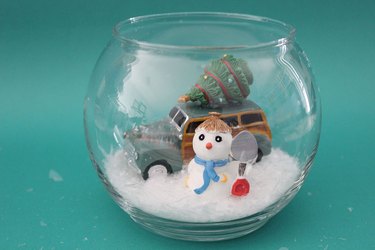
Start with the largest fishbowl, which will be the bottom part of the snowman. Place about a half inch of artificial snowflakes in the fishbowl. You can find this snow, sometimes called snow confetti, in party supply stores and craft stores. If you can't find these snowflakes, you can also use cotton balls or tear up pieces of batting.
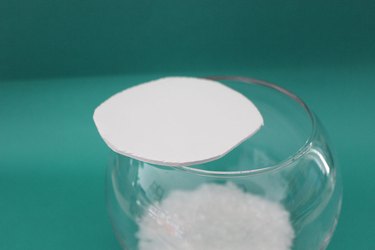
Step 3: Cut a Foam Core
With scissors, cut a piece of foam or cardboard into a circle that is just smaller than the opening of the fishbowl. You need this stiff piece of board on which to mount the figurines so they don't tip over.
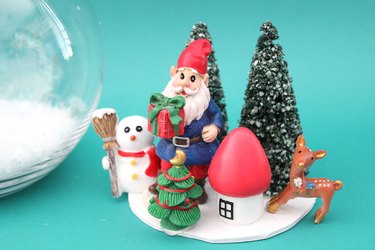
Step 4: Mount the Figurines
You can buy miniature holiday figurines in a craft store, and they are also available in sets online. With hot glue, arrange the figurines for the bottom fishbowl on the circle of foam or cardboard. It's OK if your figurines extend past the edge of the foam or cardboard core.
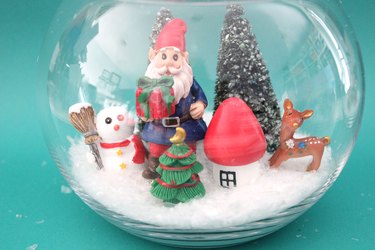
Place the mounted figurines inside the fishbowl.
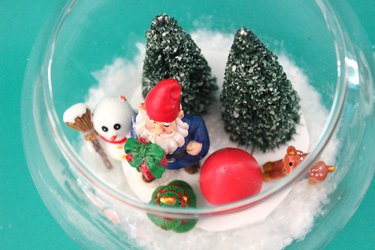
Then, hide the foam or cardboard core with more artificial snowflakes.
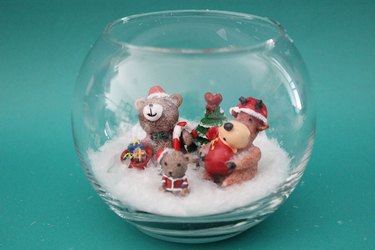
Step 5: Continue With the Other Two Fishbowls
Repeat these steps with the medium-sized fishbowl and the smallest fishbowl. Try to vary the scenes in all three fishbowls.
Reserve your smallest figurines for the smallest fishbowl. Then, stack the three fishbowls with the smallest one on top.
Tip
You can just rest the fishbowls on top of each other without any adhesive. However, if you have rambunctious children or dogs with big, wagging tails, you can add a touch of museum putty or earthquake wax between the bowls to keep them secure.
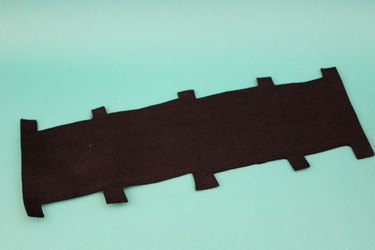
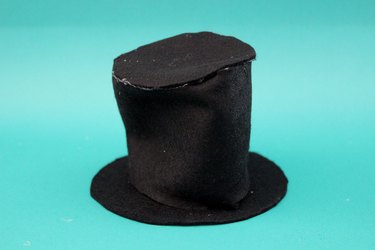
Step 6: Make a Top Hat
Just as Frosty's top hat brought him to life, a top hat gives our snowman some snazzy personality. Start by cutting a 5 x 12-inch rectangle out of black felt. Then, cut tabs along the length of it on both sides.
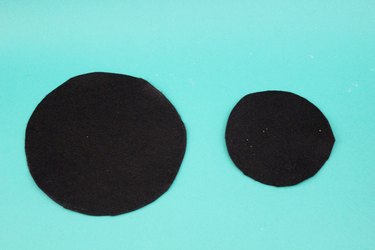
Cut two circles out of black felt. The smaller circle should be about the same size as the opening of the smallest fishbowl. Make the second circle about an inch wider on all sides.
Roll the rectangle into a cylinder that has the same diameter as the smaller circle, adhering the ends with hot glue. Then, glue the two felt circles to the top and bottom of the cylinder using the tabs as additional contact points for glue. The hat should be floppy, befitting a snowman.
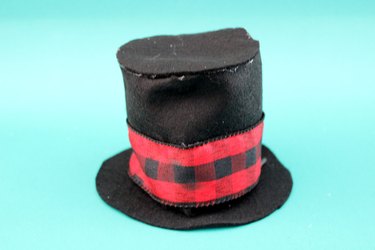
Hot glue a ribbon around the base of the hat to give it some holiday spirit and place it on top of the smallest fishbowl.
Step 7: Create a Scarf
For the snowman's scarf, wrap another piece of ribbon between the top and middle fishbowls and tie a knot.
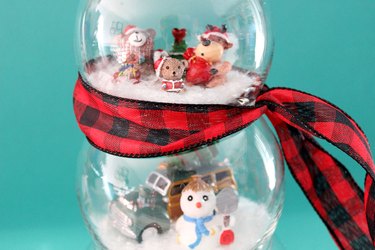
When you're finished, you'll have a jolly, happy snowman with three snowy scenes. What a fun holiday mascot to see you through the season!