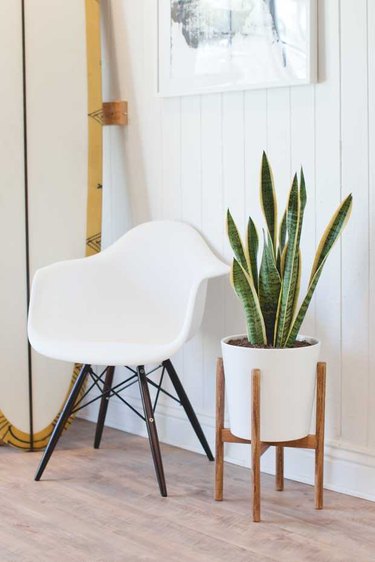
If you're looking for a stylish yet minimalist plant stand, this do-it-yourself Mid-Century inspired planter is a simple solution for your indoor plant storage needs. This project is fairly easy, as far as furniture building is concerned, and doesn't require any previous woodworking knowledge.

Video of the Day
Things You'll Need
Large ceramic pot
1-inch wood dowels
1 1/2-inch-by-3/4-inch pine board
1/4-inch dowel pins
Saw
Drill or drill press with 1-inch Forstner bit
Chisel
Sandpaper
Wood glue
Wood stain

All measurements will depend on the size of pot you choose to use. I bought mine from Lowe's — 10.6 inches high by 11 inches wide by 11 inches deep.
Video of the Day
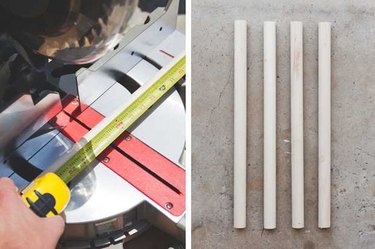
Cut the 1-inch dowels into 17-inch lengths. These will become the legs of the stand. Mark the bottom of each leg for reference in the following steps.
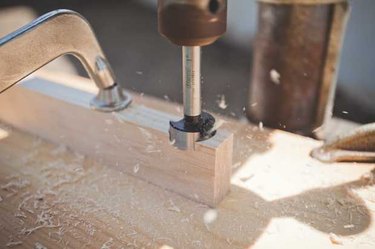
Clamp the 1 1/2-inch-by-3/4-inch pine board in place and use a 1-inch Forstner to cut two 10 3/4-inch cross braces. This is much easier on a drill press, but it is not necessary.
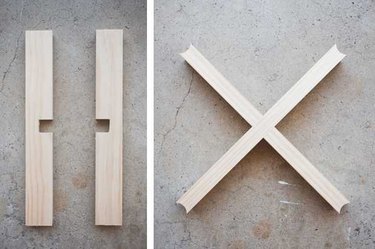
Find the center of each cross brace and use a hand saw and chisel to remove a 3/4-by-3/4-inch slot in each piece so they can interlock.
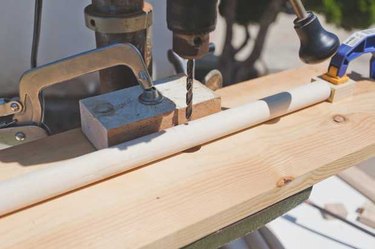
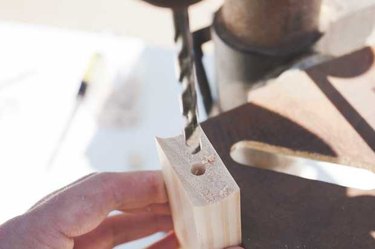
With a 1/4-inch drill bit, drill a hole 7 3/4 inches up from the bottom of each leg, being careful not to drill all the way through.

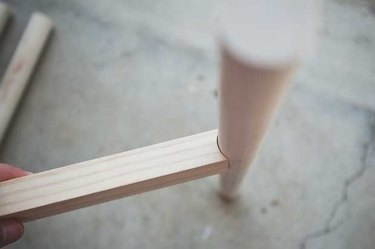
Using the same 1/4-inch drill bit, drill a hole in the end of each cross brace. Insert a 1/4-inch dowel pin, and test-fit the pieces together.

Use sandpaper to remove any rough edges.
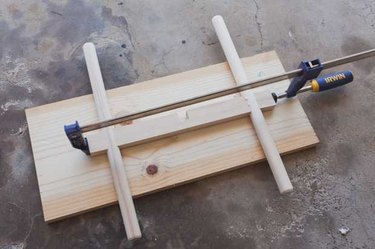
Apply wood glue in all joints and firmly clamp in place. I used scrap pieces to help the clamps get a grip on the legs. Wipe away any excess glue and let dry overnight.
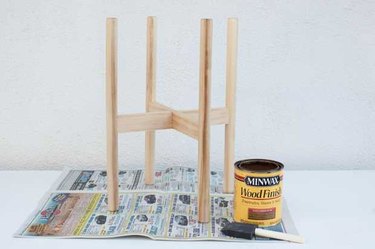
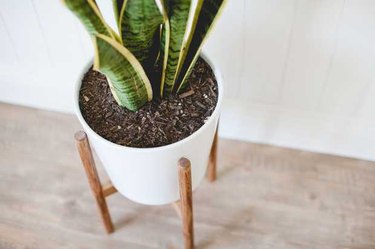
When the glue is thoroughly dry, slip the two halves together and apply your choice of paint or stain. I used Minwax Early American 230.
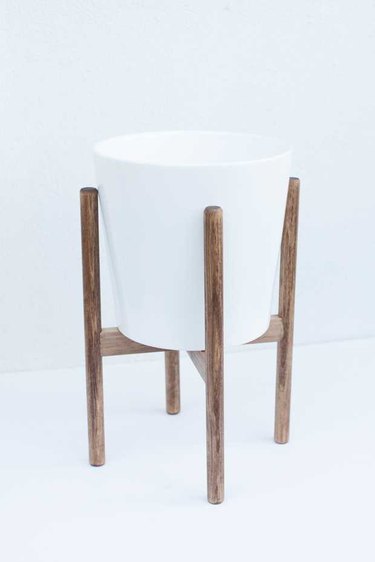
Insert the pot into the stand and fill with your favorite plant.