Things You'll Need
Wooden box
Fine sand paper
Wood stain
Brush
Pictures or embellishments
Scissors
Wood glue
Clear spray-on acrylic coating
Creating a pet urn after the death of a beloved family pet can make the grieving process a little easier to bear. Urns are small containers used to hold the ashes of a cremated pet and are often made of clay or wood. According to SU&B Funeral home, urns come in thousands of styles and can be made from a variety of materials including ceramics, plastic, metal and wood (see Reference 1). The urn can be as unique as your pet itself, and you can find the necessary items at local craft supply stores.
Step 1
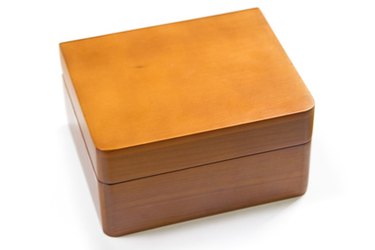
Purchase a box large enough to hold the correct volume of ashes. One pound of body weight takes up approximately one cubic inch of space, so a 50-lb. dog needs a box with at least 50 cubic inches of interior space. Unfinished wooden jewelry boxes work well for small pets, while small wooden storage trunks can be used for larger animals.
Video of the Day
Step 2
Sand the entire box with fine sand paper to smooth out any rough edges. Make sure to work the sand paper into the corners, blowing away the shavings after you have sanded the box.
Step 3
Brush a coat of wood stain over the box, coating both interior and exterior surfaces. Allow the first coat to dry for one hour, applying a second coat after the first is completely dry. You can stain the box any shade you like, although dark wood boxes are best stained a darker shade for even coverage.
Step 4
Apply pictures and other embellishments to the urn once the stain is dry. Photos, sequins and other small decorations can be glued to the surface of the urn with wood glue. Trim images with scissors if necessary, spreading a thin layer of glue over the back and press it to the urn, holding in place for 30 seconds to prevent shifting. Set the urn aside and allow the glue to dry overnight.
Step 5
Spray the urn with a coat of clear spray-on acrylic to seal and protect the urn. Let dry for one hour before applying another coat, repeating the process until you have applied four coats of acrylic. Place the urn in a sunny window and allow to sit for 48 hours, or until completely dry before filling with the pet's ashes.
Tip
Use the stain and acrylic in a well-ventilated area. Both contain chemicals that can be harmful if inhaled.
Video of the Day