Home Sweet Home
Hacks, Tips & Tricks
Squeaky Clean
DIY Decor
Carpentry & Remodeling
Maintenance & Repair
Green Thumb
All Home Sweet Home
Chow Down
Main Dishes
Sweet Treats
Snacks
Copycat Recipes
Drinks & Cocktails
Sides & Appetizers
Veggie Faves
Food Hacks
All Chow Down
Get Crafty
Sew Simple
Fun Crafts
Art Projects
All Get Crafty
Let’s Celebrate
Valentine's Day
St. Patrick's Day
Easter
Mother's Day
Father's Day
4th of July
Back to School
Halloween
Thanksgiving
Christmas
New Year
Weddings
Baby Showers
Birthdays
Parties & Events
Gifts
All Let’s Celebrate
JOIN OUR NEWSLETTER
JOIN OUR NEWSLETTER
Home
Let's Celebrate
Let's Celebrate
By
Sharon
Peeps Sugar Cookies
Let's Celebrate
By
Sharon
No-Bake Chocolate Coconut Bird's Nests
Let's Celebrate
By
Elba Valverde
Easter Centerpiece
Let's Celebrate
By
Bianca Fernandez
Chocolate-Dipped Strawberries for Valentine's Day
Let's Celebrate
By
Beth Huntington
Best-in-Class DIY Valentine Box
Let's Celebrate
By
Kirsten Nunez
New Year's Eve Hot Cocoa Bombs
Let's Celebrate
By
Kirsten Nunez
New Year's Eve Earrings
Let's Celebrate
By
Kirsten Nunez
Pink Tinsel Party Crackers
Let's Celebrate
By
Bianca Fernandez
Chocolate-Dipped Strawberries for New Year's
Let's Celebrate
By
Kirsten Nunez
Soaps Inspired by Holiday Drinks
Let's Celebrate
By
Kathryn Walsh
9 Christmas Tree Themes for Festive Inspo
Let's Celebrate
By
Elba Valverde
Festive Fabric Coasters Shaped Like Christmas Ornaments
Let's Celebrate
By
Beth Huntington
A Candy Land-Inspired Garland to Sweeten Your Space
Let's Celebrate
By
Sophie Boudreau
14 Holiday Trends, From Pink Trees to Retro Vibes
Let's Celebrate
By
Sophie Boudreau
In Our Festive Era! How to Have a Very Merry Swiftmas
Let's Celebrate
By
Damarys Ocaña Perez
What to Bring to Holiday Parties & More Etiquette Tips
Let's Celebrate
By
Kirsten Nunez
Art Deco Tree Toppers for a Very Vintage Christmas
Let's Celebrate
By
Kathryn Walsh
10 Homemade Holiday Card Ideas
Let's Celebrate
By
Kirsten Nunez
Felt Food Ornaments With a New York City Theme
Let's Celebrate
By
Sophie Boudreau
15 Budget-Friendly Homemade Gifts from Etsy
Let's Celebrate
By
Anna Buckley
Printable Thanksgiving Activity Pages for the Whole Family
Let's Celebrate
By
Fred Decker
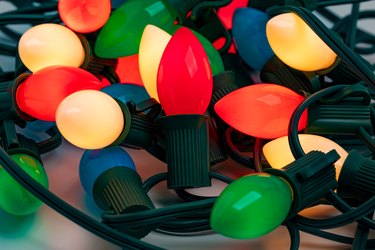
Christmas Lights 101: Tips for Stringing, Storage & More
Let's Celebrate
By
Beth Huntington
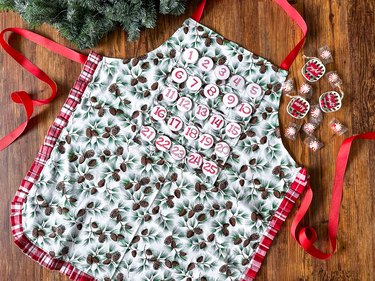
An Advent Calendar Apron With Pockets for Treats
Let's Celebrate
By
Bianca Fernandez
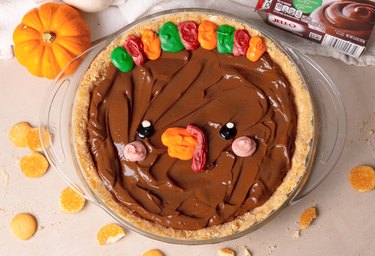
A Playful Pudding Pie for Thanksgiving
Let's Celebrate
By
Kirsten Nunez
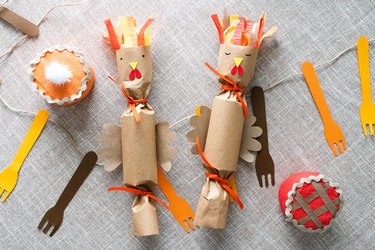
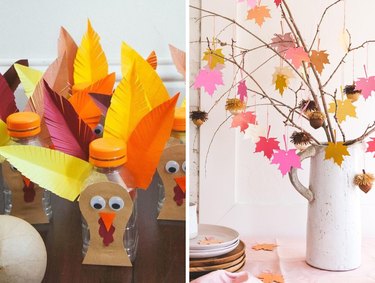
Pie Surprise Balls, Party Crackers & More Thanksgiving Paper Crafts
Let's Celebrate
By
Rachel Syens
Banish Thanksgiving Boredom With Activities for the Whole Fam
Let's Celebrate
By
Elba Valverde
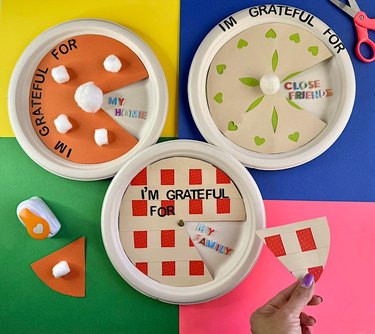
Rotating Paper Pies to Express Gratitude on Thanksgiving
Let's Celebrate
By
Bianca Fernandez
A Fluffy Flock of Turkey-Shaped Rolls for Thanksgiving
Let's Celebrate
By
Bianca Fernandez
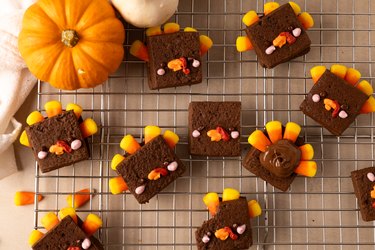
Shortbread Cookie Turkeys To Gobble on Thanksgiving
Let's Celebrate
By
Kirsten Nunez
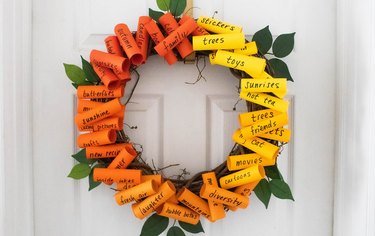
A Gratitude Wreath for an Especially Thankful Thanksgiving
Let's Celebrate
By
Kathryn Walsh
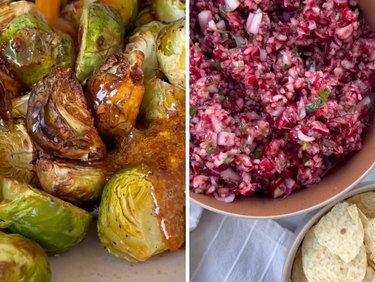
11 Unique & Tasty Thanksgiving Side Dishes
Let's Celebrate
By
Kirsten Nunez
Quirky Turkey Holiday Slippers for Festive Feasting
Let's Celebrate
By
Beth Huntington
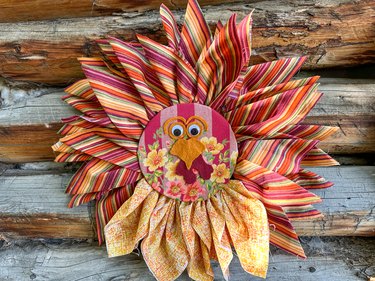
A Thanksgiving Turkey Wreath for Your Festive Front Door
Let's Celebrate
By
Anna Buckley
3-Person Halloween Costume Ideas From Creative TikTokers
Let's Celebrate
By
Anna Buckley
Halloween Costumes Inspired By the '70s, '80s, '90s & Beyond!
Let's Celebrate
By
Sophie Boudreau
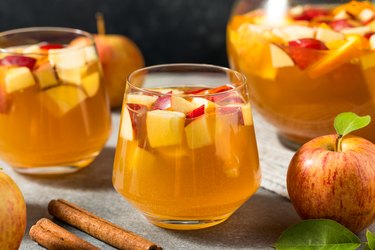
Cranberry Sauce Cosmos, Pumpkin Pie Martinis & More Thanksgiving Drinks
Let's Celebrate
1
2
3
4
5
>
Report an Issue
Contact*:
Severity*:
High
Normal
Low
Description*:
Screenshot loading...
Cancel
Submit