Standards are important, especially when it comes to plumbing. Federal standards can cut through differing state laws and mandate common requirements for plumbing fixtures. In the early 90s, the federal government in the United States stepped in to mandate a standard toilet tank size.
How Does a Toilet Work?
Video of the Day
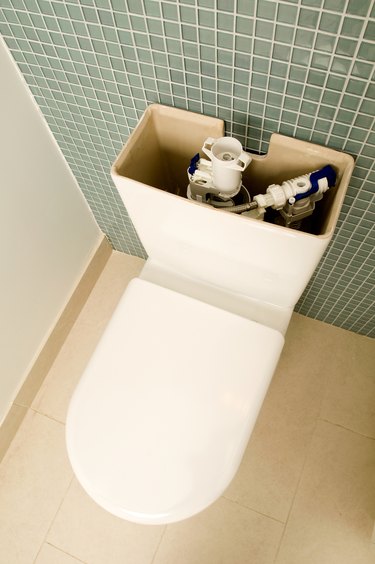
A toilet's operation might seem mysterious because all of the parts that do the work are buried inside the toilet tank, but the operation is relatively simple. When the handle is pressed down, it lifts up the flapper in the tank. As the flapper opens, the water inside the tank rushes out and into the bowl. A float, riding on the surface of the water inside of the tank, lowers as the tank is flushed. When the float drops, it opens up a gate inside the fill valve. The fill valve lets water into the tank until the float reaches the set level. The float then shuts off the fill valve.
Video of the Day
Toilet Tank Positioning
The tank on a toilet is set at the back of the toilet bowl. Holes drilled through the bottom of the toilet tank match holes drilled through the back of the toilet bowl. Toilet bolts, with wide rubber gaskets, run through the toilet and through the toilet bowl where they are held in place by nuts. A rubber gasket at the bottom of the tank fits into a hole at the back of the bowl. An inlet on the underside of the tank connects to the water supply valve or hose.
Toilet Tank Sizes
In 1992, U.S. Congress passed a law mandating that the standard toilet tank size in the United States should only use six gallons per flush (gpf). Before this, toilets in the United States could use as much as 13 gallons per flush. Further improvements in toilet technology have produced the High Efficiency Toilet, which can flush with less than five gallons per flush.
Making Your Toilet More Efficient
One inexpensive way that you can change the size of your toilet tank very simply is by using a toilet bag. To use, fill a toilet bag with water and sink it into the toilet tank. The toilet bag displaces water in the tank, allowing the toilet to work with less water. It's not a good idea to switch out an older 13 gallon tank with a six gallon one, as a newer tank may not work properly with an older toilet bowl.