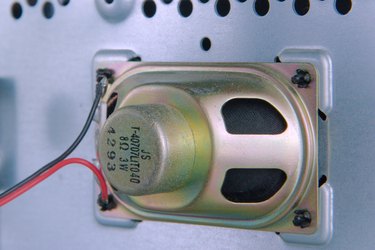
The PC speaker is a standard part of most desktop computers. It is capable of producing one musical note at a time, like the beep you might hear when your power on a computer. Before computer sound cards became commonplace, it produced the music and sound heard in most computer games. Today, the PC speaker is primarily used for "beep codes" that indicate the error state of a computer if it is unable to boot or display video. Because of its value as a troubleshooting tool, it remains important in today's computers. Connect the PC speaker to your computer's motherboard if you are building a computer or troubleshooting a problem that prevents the screen from displaying video.
Step 1
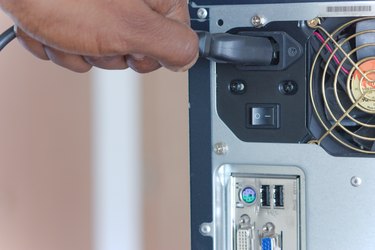
Shut the computer down completely if you are installing a PC speaker in a computer that you have already built. Disconnect the power cable, and bring the PC case to a sturdy table or workbench.
Video of the Day
Step 2
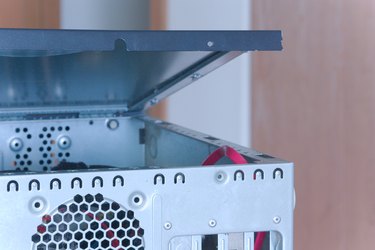
Open the PC case. A PC case sometimes has a release lever that you can use to slide the cover off without tools. If your case has no release lever, look for a series of Phillips-head screws on the back and remove them before sliding the cover off of the case. After removing the cover, place the case on its side so you can access the motherboard.
Step 3
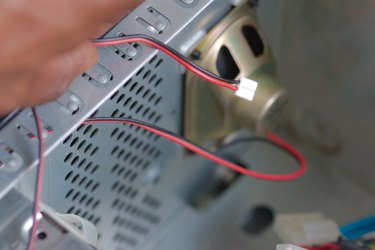
Locate the connector for the PC speaker near the front of the case. Generally, the connector has two wires -- black and red -- and a black connector with four holes on the end. Examine the black connector, and note the hole a dot or arrow next to it. This end of the connector should align with pin 1 on the motherboard.
Step 4
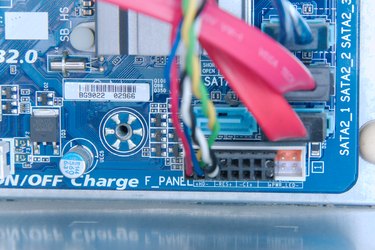
Look for a bank of pins on the motherboard, near the front of the PC case. Near the bank of pins, there should be a guide explaining the purpose of each section of pins. Examine the guide to find the four pins labeled "SPK," "SPEAKER" or similar.
Step 5
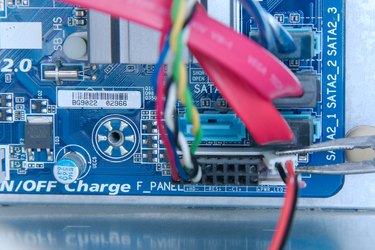
Place the connector over the four corresponding pins so that the side of the connector marked with an arrow or dot goes over the pin marked "1."
Video of the Day