Things You'll Need
Christmas lights
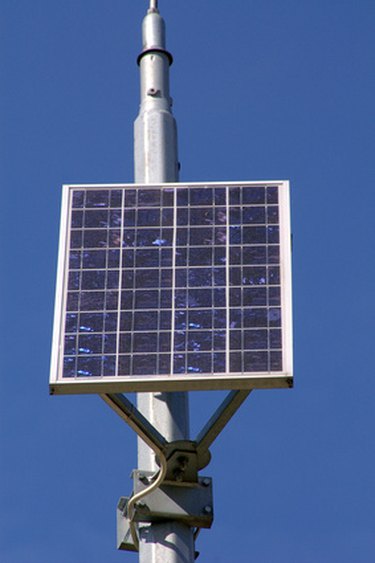
Solar panel
Solar battery pack
Charge controller
Soldering kit
Black electrical tape
Using solar power to operate your outdoor Christmas lights is an environmentally friendly and money saving project. By converting your current Christmas lights to run off solar power you will be able to enjoy your Christmas lights without increasing your electric bill. You could purchase solar powered Christmas lights, but they are expensive. You can also convert your outdoor lighting system to solar power allowing you to enjoy the use of solar power in your outdoor living space all year long.
Step 1
Mount the solar panel where it will receive the most sunlight. The solar panel should come with a mounting kit. It is best to mount the solar panel on the roof of your house where it will get the most sun and make wiring to Christmas lights easy.
Video of the Day
Step 2
Connect the solar panel to the charge controller and then secure it as close to the solar panel as the wiring will allow. The charge controller will have a connecting wire much like your cell phone that will plug into the output connection on the side of the solar panel.
Step 3
Connect the battery pack to the charge controller. The charge controller regulates the charge and prevents the battery from being over-charged. Connect the positive (red) wire from the battery pack to the positive (red) wire on the controller. Do the same with the negative (black) wires. Most charge controllers will not need to be soldered, simply screwed down on the battery posts. The red wire will need to be attached to the positive post which will have a plus sign in front of it. The black wire attaches to the negative post with a minus sign in front of it. If there is not a power switch on either the solar panel or the charge controller then do not connect the charger control to the battery until all wiring is complete. The power switch must remain off until wiring is complete.
Step 4
Hang your outdoor Christmas lights and decorations.
Step 5
Cut the plug off the strand of Christmas lights closest to where the battery pack is located. Strip the outside covering off the Christmas lights about one inch from where the plug was cut off to expose the positive (red) and negative (black) wires.
Step 6
Attach the negative (black) wire of the Christmas lights to the negative (black) wire of the battery pack. Solder the connection carefully to make sure it is secure. Connect the positive (red) wire of the Christmas lights to the positive (red) wire of the battery pack. Make sure the wire is securely soldered. Cover any exposed wiring with black electrical tape.
Step 7
Allow your batteries to completely charge before turning on your Christmas lights. The battery should be allowed to charge for a full day of sunlight before attempting to power your Christmas light display.
Tip
LED lights will use less energy so your Christmas lights will burn longer.
Warning
When working with electrical wiring always be sure the connections are secure and all power is off when making the connections to avoid electrical shock.
Video of the Day