Things You'll Need
White pine or basswood plank
Pencil
Paper
Carbon paper
Sandpaper
Bandsaw or jigsaw
Flat chisels
Clamps
Workbench
Round gouges
V-shaped gouges
Carving knives
Stain
Shellac or varnish
Paintbrush
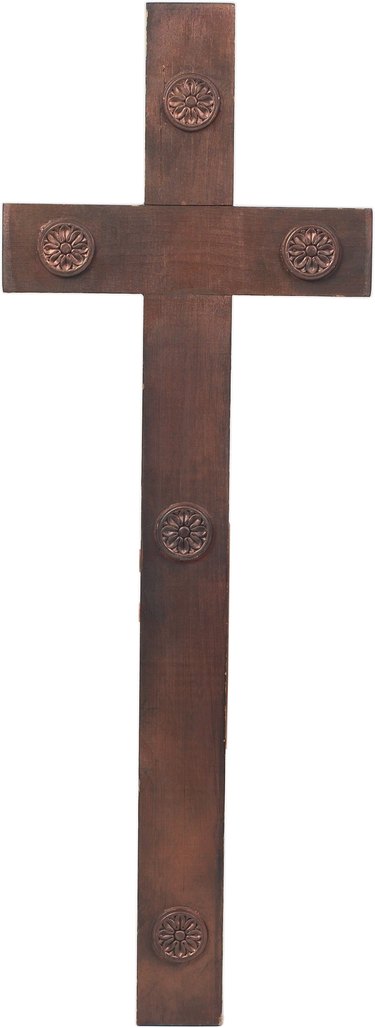
Carving a cross out of wood can be a simple or complicated process, depending on the type of cross you make. A basic unadorned cross of wood has been the central symbol of Christianity since the crucifixion of Jesus. The prototypical cross of the early Christians has evolved into many different forms with the passage of time. The Celtic cross, with its intricate knotted patterns is a popular type. Other decorative cross types include Greek, Roman, medieval European, Byzantine and Orthodox styles. Your own personal interpretation of the cross can be designed and carved with a minimum of tools and woodworking ability.
Step 1
Select a type of wood to match the character and type of cross you plan to carve. Use a basswood or white pine plank for a relief or chip carved cross made by removing small chips of wood. Pick highly grained wood such as oak or walnut for simple crosses with little detail. Draw the design for the cross on a sheet of paper with pencil. Sand the board smooth with rough grit sandpaper. Trace the pattern onto the board with carbon paper.
Video of the Day
Step 2
Cut out the shape of the cross with a bandsaw or jigsaw following the outside lines of the drawing. Clamp the board to a workbench to keep it stationary. Smooth the sharp edges with a flat chisel. Use a large round gouge to cut away the background wood, leaving the pattern raised so it stands out in relief. Cut with the grain of the wood to avoid splintering.
Step 3
Use a smaller gouge to cut away the remaining background wood. Peel away the wood in long strokes, or use short strokes to scoop out the wood for decorative effect. Define the linear edges of the pattern with a small v-shaped gouge. Use small flat chisels to carve sharp edges and angular planes as you rough in the basic forms of the design. Carve rounded edges with small gouges.
Step 4
Carve sharp-edged details with a v-shaped gouge to cast dramatic bas-relief shadows. Round off edges with a sharp wood-carving knife, called a bench knife, for more subtle effects. Hold the cutting edge your carving tools at a 15 degree angle as you work. Harmonize the interplay of light and shadow to unify the overall look of the cross.
Step 5
Use a bench knife with a sharply pointed tip to complete the final details of the carving. Work carefully and press down hard with the knife when carving against or across the grain. Finish the carving by cleaning up and removing all the rough spots and unwanted tool marks with fine chisels and a small bench knife. Stain the wood or leave it white if you like. Seal the cross with varnish or shellac to preserve and protect it. Brush the stain and sealer on with a flat brush.
Tip
Keep all chisels and carving knives very sharp.
Warning
Always carve away from your hands and body to avoid injury. Saw quickly with a power saw to avoid scorch marks.
Video of the Day