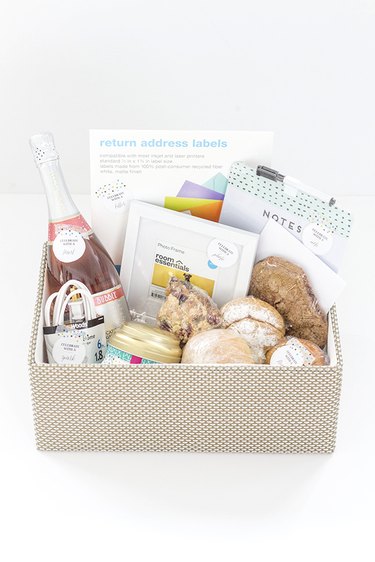
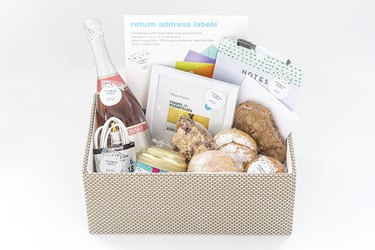
Use this list of home-themed gift items and the accompanying step-by-step tutorial to curate a thoughtful housewarming gift basket. The basket is filled with useful pieces that will give your friend or family member even more reason to celebrate those first few days in their new home. The good news is that the gift costs less than $50 and can be put together in just one afternoon, too!
Video of the Day

Things You'll Need
Gift box or basket
Paper package filler
Bottle of champagne
Dry erase board with dry erase marker
Photo frame
Assortment of local baked goods
Clear plastic wrap
New 6-foot extension chord
Scented Candle
8-1/2-by-11-inch cardstock of computer copy paper
Scissors
Patterned tape
Clear cellophane wrap
Ribbon
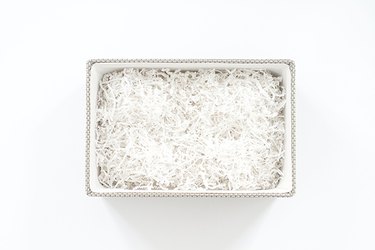
Step 1: Fill the Basket with Paper Filler
Place your gift box on a tabletop work surface, and fill it 1/3 of the way with crinkle paper filling. By using a storage basket found in the home goods section of your local retail store, your gift recipient may reuse the box for storage purposes in their new home.
Video of the Day
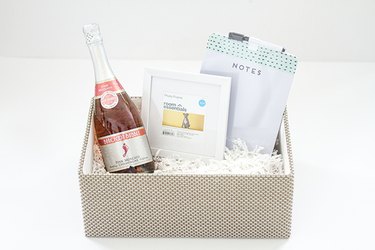
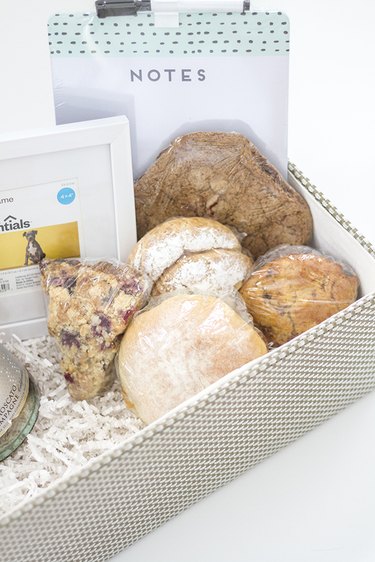
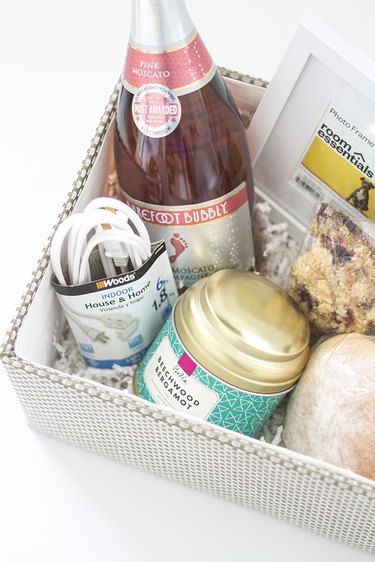
Step 2: Arrange Large Gifts Against the Back of the Box
Start by placing the larger gifts along the back of the box. In this case, a bottle of champagne, a photo frame to document the recipients' memories in their new house, and a dry erase note board were added in. You can also add things like fresh return address labels for the recipient to print their new address on, or a selection of local maps and restaurant menus. Make sure to leave the front half of the box empty to fit in the rest of the gifts.
Step 3: Add an Assortment of Edible Gifts
In the front half of the box, layer in an assortment of edible gifts for your recipient to enjoy. Here, I included a selection of baked goods from the neighborhood bakery. Wrap each of the items in clear plastic wrap to keep them fresh before putting them in the gift basket.
Step 4: Layer in Home Goods Gifts
Finish the gift arrangement by adding in a couple of home goods to the front of the box. In this case, a 6-foot extension chord was added alongside a decorative, scented candle.
Step 5: Print Out the Gift Tag Template
Print out the free printable gift tag set by clicking here. The PDF file is already scaled to fit a standard sized sheet of computer copy paper or cardstock, so all you have to do is click "print"!
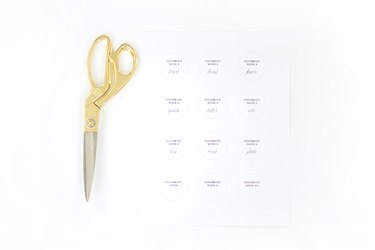
Step 6: Cut Out the Gift Tags
Cut the printed tags out just outside the black dotted line. You'll notice that there are a few extra tags and some blank ones, too, in case you want to come up with your own clever gift ideas. Cut strips of patterned tape, about 1 inch in length, and set them off to the side on a solid surface for easy grabbing in the next step.
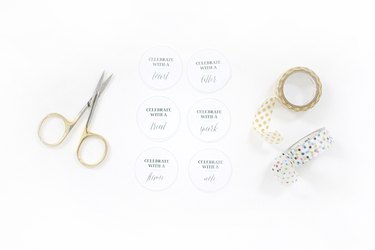
Step 7: Tape the Cut Tags to the Gifts
One by one, add a piece of cut patterned tape to the top of your gift tag and stick it to its respective gift item. The gift tags each correspond with a particular item in this gift basket based on the word on the tag. "Toast" goes with the champagne, "treat" goes with the baked goods, "flame" goes with the candle, "spark" goes with the chord, "letter" goes with the return address labels, "note" goes with the dry erase board and "photo" goes with the frame. The tag that is labeled with "trip" would go with a map, and the tag labeled "meal" would go with a local menu. Fill in the blank tags by hand with a black pen or marker if desired.

Step 8: Wrap the Gift Basket with Cellophane
Finish by wrapping the entire gift basket with clear cellophane and tying it off with a bow, but don't forget to first add in a signed card wishing your recipient many happy years in their new home!