
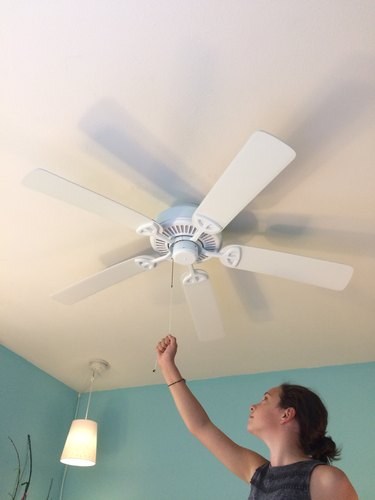
Most new ceiling fans can be wired to either a single switch or a double switch. With single-switch wiring, power to the fan is controlled by a standard single-pole wall switch, like a regular light switch. The fan has power when the switch is on, while the fan speed and the light (if the fan has one) are controlled by pull chains on the fan itself or by a remote-control device. With double-switch wiring, a fan with a light is connected to a double wall switch that controls power to the fan and the light separately.
If you're replacing an old fan or light fixture and the wiring in the fixture box contains only two or three wires (black, white, and green or bare copper), you must use single-switch wiring for the new fan; double-switch wiring requires a circuit with four wires (black, red, white and green/bare copper). However, some fans can be controlled by special switches that offer double-switch control at the wall. These typically are wired in the single-switch configuration.
Video of the Day
Video of the Day
Step 1
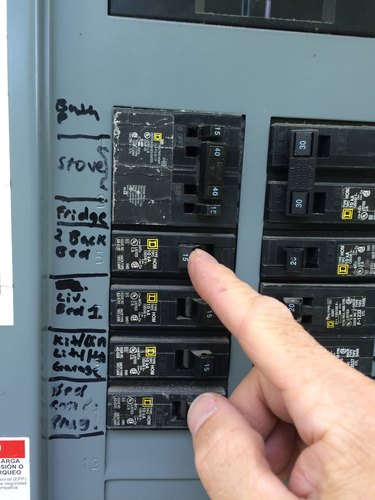
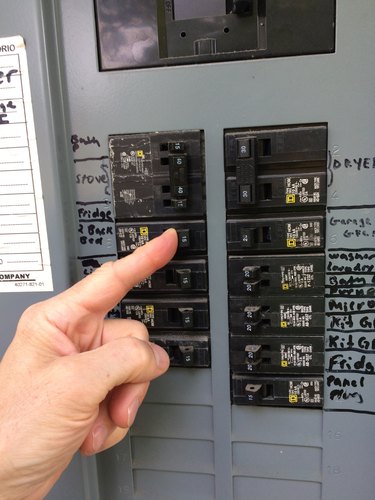
Turn off the power to the fan circuit by switching off the appropriate breaker in your home's service panel/breaker box.
Step 2
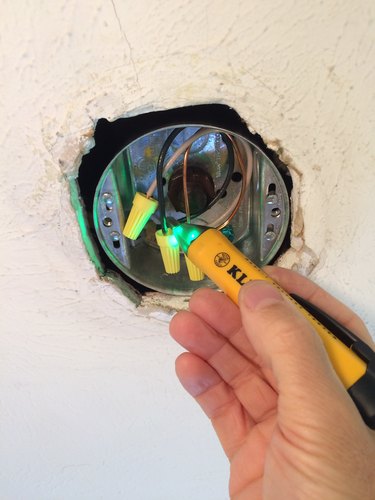
Confirm the power is off by testing the appropriate wires in the fan or fixture electrical box. If there is an existing fan or fixture mounted to the box, detach the motor unit or cover, as needed, without touching any wires.
Use a non-contact voltage tester to check each wire in the box for voltage. If the tester indicates voltage anywhere in the box, return to the service panel and turn off the appropriate breaker (you may need to turn off more than one breaker). Test the wires with the wall switch in both the ON and OFF positions. Remove the old fan or fixture, if applicable.
Step 3
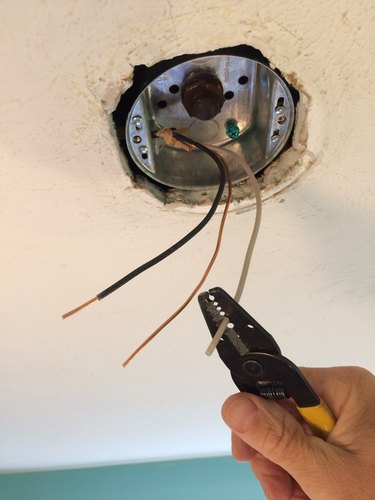
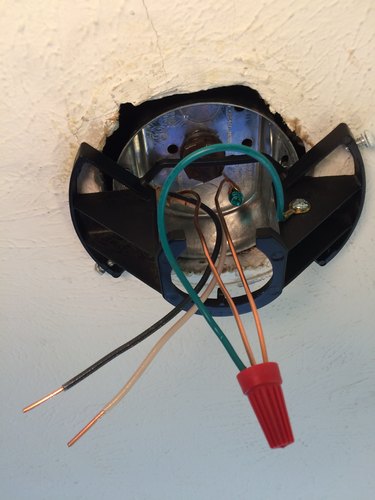
Straighten each circuit wire coming from the box, and make sure it is in good condition, with about 1/2 to 3/4 inch of insulation stripped from the end. If necessary, trim any damaged portion of wire and re-strip the end, using wire strippers.
Step 4
Connect the ground wire from the ceiling fan (often this is connected to the fan's hanger bracket) to the circuit ground wire and to the electrical box (if it is metal), using a pigtail wire to connect to the box. Join the three wires with an appropriately sized wire connector. Secure the pigtail wire to the box with a grounding screw or clip.
Step 5
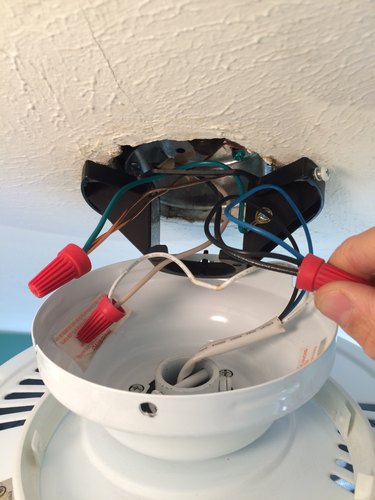
Connect the remaining ceiling fan wires to the circuit wires following the fan manufacturer's wiring diagram. In a typical installation, the white (neutral) fan wire connects to the white (neutral) circuit wire, and the black (hot) fan wire connects to the black (hot) circuit wire. If the fan includes a light, there will be another hot wire, often colored blue or red (but it may be a different color); connect this and the black fan wire to the black circuit wire, using a single wire connector.
Step 6
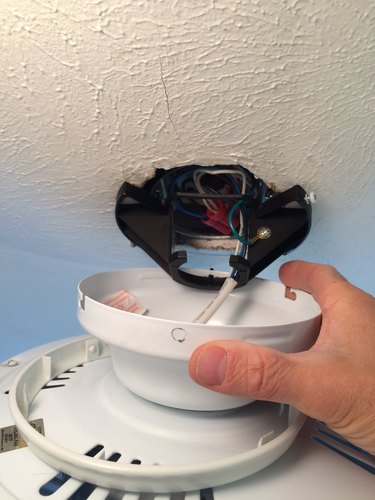
Tuck the wires into the box carefully. Complete the fan installation as directed by the manufacturer.
Step 7
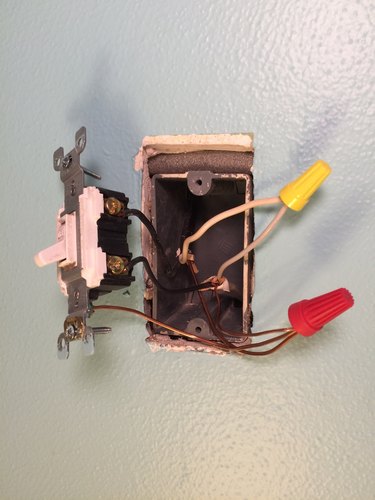
Complete the switch wiring, if you are replacing the old switch. In a typical installation, there are two cables in the box: One is the source cable providing incoming power; the other is the cable leading to the fan. Connect the black wire from each of the cables to one of the terminals on the switch (only one wire per terminal). Join the ground wires with a pigtail, and connect the pigtail to the ground screw on the switch. Use two pigtails if the box is metal, and connect one of them to the box. Connect the white wires together; they do not connect to the switch. Mount the switch to the box, and install the cover plate.
Step 8
Restore power to the circuit by switching on the circuit breaker. Test the fan for proper operation.