
How to Build a Regulation Horseshoe Pit
The game of horseshoes is played on a special area known as a pitch; the pitch consists of two square regions, known as “pitching boxes,” located at either end of the play area. At the center of each pitching box is the pit, which features a stake, to serve as a target for the horseshoes, and a filling material intended to absorb the impact of the horseshoes as they land. For a horseshoe pitch to meet regulation requirements, it must follow certain measurements.
Examine the outdoor area where you plan to install your horseshoe pit. Select a level portion of the area that appears to be 48 feet long by 6 feet wide, with the length extending from the north to the south; use the measuring tape and compass to confirm that your selected area meets these specifications. A north-south orientation minimizes the effects of the sun but is not a requirement.
Measure out a 6-by-6-foot square at one end of the selected area for use as the pitching box. Dig a pit in the center of the pitching box that measures between 72 and 43 inches long and between 36 and 31 inches wide, with a depth of approximately 8 inches.
Cut wooden planks to the widths and lengths required to cover the portion of the 6-by-6 foot square not occupied by the pit. Place the wooden planks around the periphery of the pit.
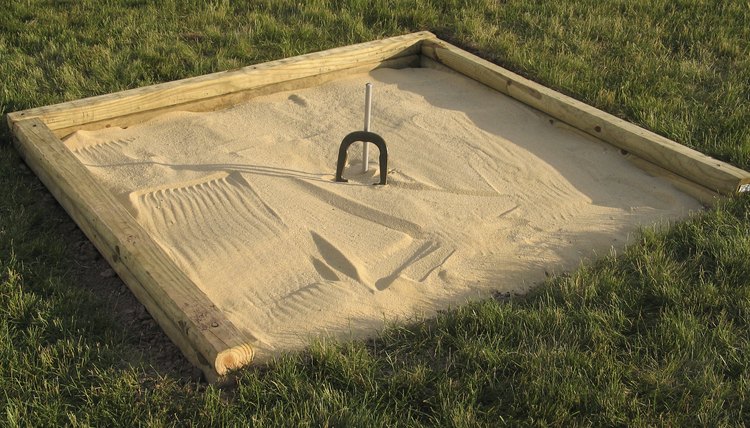
Insert the stake into the center of the pit; angle the stake such that it leans forward by approximately 3 inches. Confirm that only 14 to 15 inches protrude from the top of the pit; if necessary, choose a smaller stake or dig a deeper pit. Select the type of substance you wish to use when filling the horseshoe pit; acceptable substances include clay, sand and dirt. Use your selected substance to fill the pit until the surface becomes level with the surrounding wooden planks.
Select two 10-foot wooden planks that are of equal width as the planks used on the sides of the pit. Use these planks to extend the sides of the pitching platform toward the opposite end of the play area. Measure a distance of four feet behind the stake. Install the backboard netting or mesh at this location, then install a larger protective barrier, such as a 4-foot-tall chain-link fence, approximately four feet behind the backboard.
Move to the opposite end of the play area. Install the pitching box, pit, stake, extension planks, backboard and protective barrier in this location in a similar manner. Use your selected filling substance to fill the distance between the two pitching boxes, to ensure a level surface throughout the play area.
Warnings
If you plan to install multiple courts, allow 10 feet of distance between the courts if they will be located side by side; if you are installing the courts end to end, increase the distance to 16 feet.
References
Writer Bio
Daniel Barrows has been working as a freelance writer for businesses in the Southern California area for over two years. He has also published articles online for websites like eHow.com and Answerbag.com. He has received a Bachelors of Arts in English from the University of California, Berkeley.