
A handmade duct tape prom dress expresses your creativity, style and personality. Equal parts funky and cool, it will surely turn heads on your big night. This step-by-step breaks down the process so you can easily create your own. Pull out your determination and patience, and get started on your very own duct tape dress.
Things You'll Need
Turquoise duct tape (6 rolls)
Gold duct tape (2 rolls)
Flat bed sheet (Use an inexpensive flat bed sheet in the same color as the main color of duct tape.)
Sharp scissors
Sewing machine
Thread
Yardstick
Measuring tape
Pencil
Velcro strip
7-inch wide circular item
Video of the Day
Duct Tape Prom Dress Tutorial
Step 1
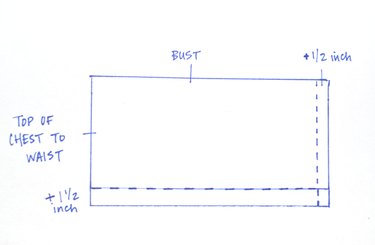
Measure around your chest and add 1/2 inch to obtain the width of the fabric rectangle that becomes the bodice of the dress. Measure from the top of your chest to the beginning of your waist. Add 1 1/2 inches to determine the height of your rectangle.
Video of the Day
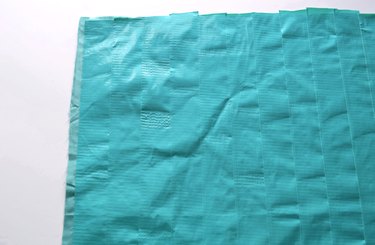
Step 2
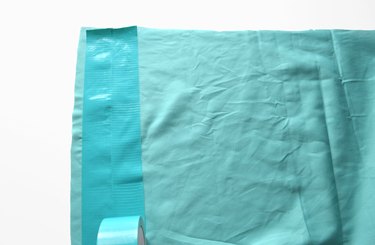
Cut the rectangle from the flat bed sheet. Cover the entire rectangle with duct tape, one strip at a time.
Step 3
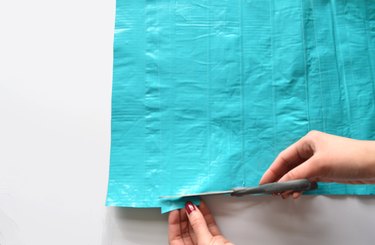
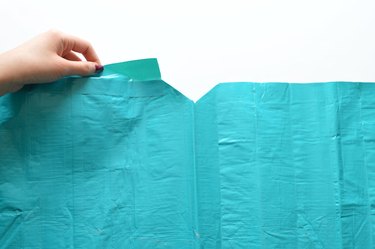
Trim 1/2 - 3/4 inch along the top and bottom edges.
Step 4

Add a strip of tape to one vertical side of the rectangle, with half of the tape strip extending past the edge. Fold it over the edge and press it into place. Repeat on the other vertical side.
Step 5
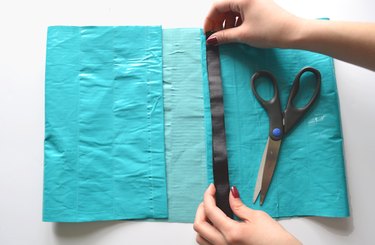
Measure and cut a strand of Velcro long enough for one vertical side.
Step 6
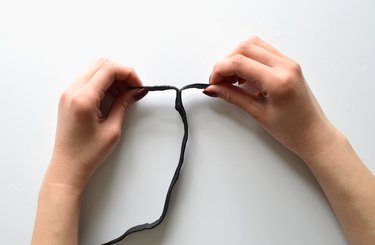
Peel apart the Velcro.
Step 7
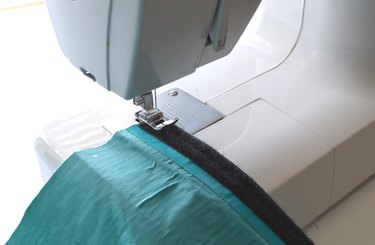
Sew one half of the Velcro to the tape surface of the rectangle. For best results, use a denim sewing needle.
Step 8
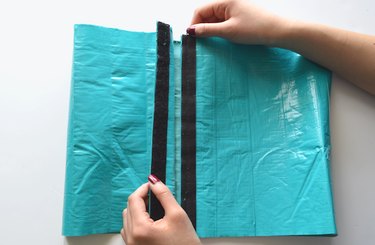
Sew the other half of the Velcro to the fabric surface of the rectangle. Make sure the Velcro strips face each other.
Step 9
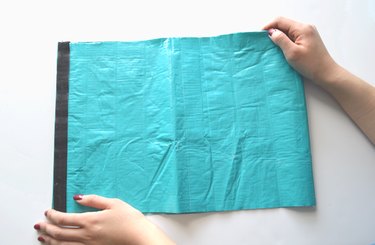
Fold the rectangle in half horizontally so the Velcro strips attach.
Step 10

Cut off the top corner diagonally to create a sweetheart neckline.
Step 11
Fold strips of tape over the raw edge of the sweetheart neckline. Press the tape firmly.
Step 12
Cut and tape a second fabric rectangle for the skirt. Start with a width at least 36 inches. This measurement yields 5 full turquoise panels. Depending on the size of your waist., you can increase or decrease this measurement. The length should be the desired length of your dress (from the waist to bottom) plus 2 inches. For this dress, the length of the fabric was 20 inches. The finished length of the dress is 18 inches.
Step 13
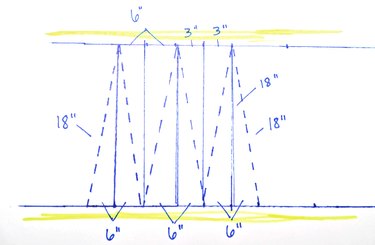
On the fabric side, draw triangles as long as the desired length of the dress. For this dress, it is 18 inches.
The base of each triangle should be as wide as the desired width of each panel. For this dress, it is 6 inches. For smaller or wider panels, adjust this measurement accordingly.
The midpoint of each triangle is 1/2 of the triangle's base width. For this project, the midpoint is at 3 inches.
The midpoint to the top of each triangle should also measure the desired length of the dress. For a longer dress bottom, adjust this measurement accordingly.
The yellow highlighter indicates the edge of the fabric. The blue pen indicates where the measurements should begin.
Step 14
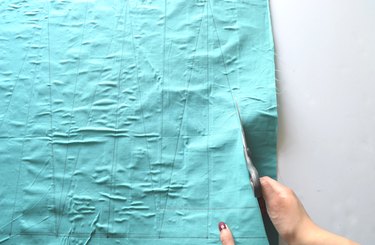
Cut out the triangles. Each triangle becomes a panel.
Step 15
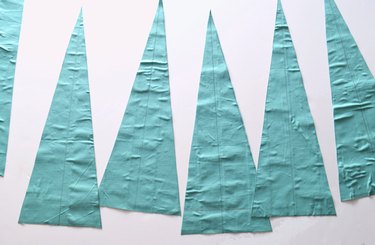
The number of triangles needed depends on the size of your waist. If you need more triangle panels, repeat Steps 13 through 15.
Step 16
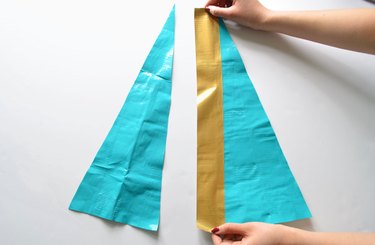
Add a strip of gold duct tape to the long side of one triangle. The gold duct tape should overlap the triangle by 1/4 inch.
Step 17
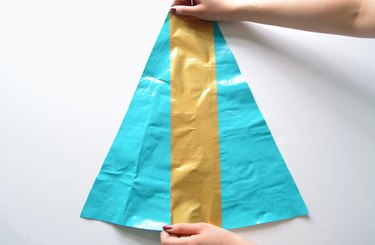
Connect to a second triangle by adding a second strip of gold duct tape.
Step 18
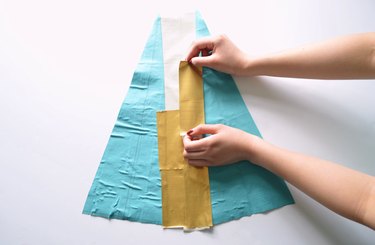
Turn the tape over. Add short strips of tape to the sticky back side. It is easier to use shorter strips when sticking tape to tape.
Step 19
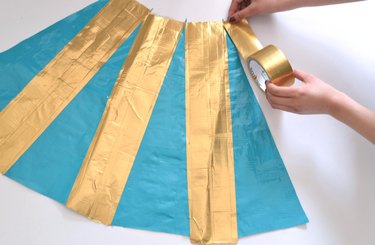
Build the dress bottom by connecting triangles. Connect the triangles with gold tape until the dress bottom fits around your waist.
Step 20
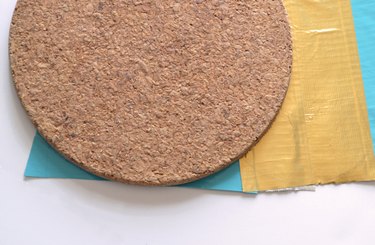
To make a scalloped edge, trace a 7-inch wide circle on the turquoise panels. This project used a cork trivet. Circular items that work for making the scalloped bottom include potholders, plates, large mugs, CDs and rolls of tape.
Step 21
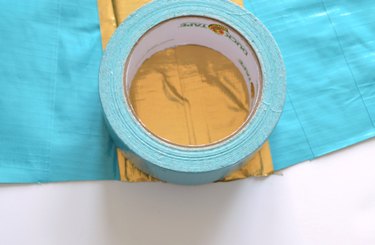
Use a pencil to lightly trace a 4- to 4 1/4-inch wide circle item on the gold panels. This project used a full roll of duct tape.
Step 22
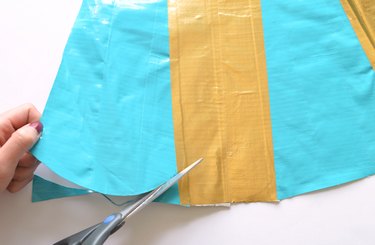
Cut along the traced lines to create a scalloped bottom. Cut carefully and slowly for best results.
Step 23

Continue cutting around the dress, and be sure to erase or rub off leftover pencil marks.
Step 24
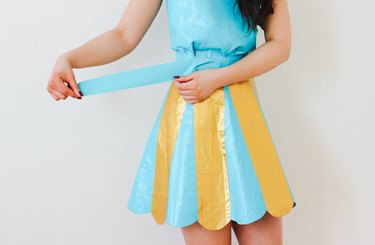
When you're ready to wear the dress, put on the top portion first. Next, wrap the bottom around your waist and tape it in place. Add tape to the back of the dress bottom, if needed.
Step 25
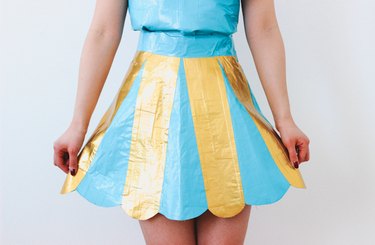
To accentuate the panels, lightly fold each panel.
Warning
Duct tape is extremely sticky and easily adheres to itself. Work carefully to prevent strips of tape from sticking to each other.
When sewing Velcro and duct tape fabric, use a denim needle. These needles are strong and can handle the thickness of these materials.
It is exceptionally challenging to make this dress without a fabric lining. To make the dress 100% duct tape, strips of tape must be taped together with the sticky sides facing other. Because duct tape is extremely sticky, this may be more frustrating.