Things You'll Need
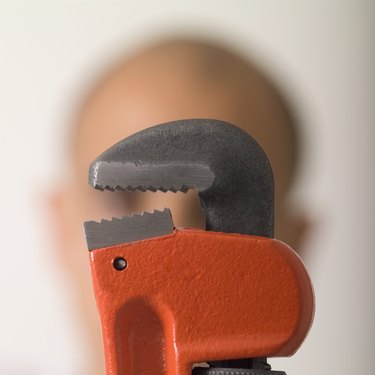
Pipe wrench
Pressure gauge adapter
Pipe thread sealing tape
Pressure gauge shut-off valve

Installing a water pressure gauge on your water system will help you diagnose water flow problems. There are two distinct water measuring processes--static and dynamic. The pressure when all water faucets are shut off is called the static pressure. This is the overall pressure of the water system. The dynamic, or flow pressure, will vary depending upon how many faucets or water spigots are open. All water pressure is measured in PSI (pounds per square inch). The square inches refer to the cross section area inside the water pipe.
Step 1
Shut off the main water supply to the pipe where you wish to install the pressure gauge. This may entail closing the main water supply valve to the home. Consult your local water utility as to where this valve is located. Different water utilities will use different methods for the main water supply valves.
Video of the Day
Step 2
Locate the section of piping where you wish to install the pressure gauge. Use the pipe wrench and open the pipe to insert the water pressure gauge adapter. Most pressure gauges will have either 1/8-inch or 1/4-inch male pipe threads. Most household plumbing systems use either a 1/2-inch or 3/4-inch diameter water pipe. Consult your local hardware or home store for any special adapters and fittings that are required for you own installation.
Step 3
Wrap the male pipe threads with a couple of rounds of the pipe thread sealing tape. Wind the tape around the threads in a clockwise direction. This ensures that when the pipe fitting is installed, the sealing tape will not unwind. All pipes have male threads. Most all pipe fittings will have female threads. There are exceptions for specialty type pipe fittings.
Step 4
Install the pressure gauge adapter onto the main pipe. Start the fitting with your hands. Turn it in a clockwise direction. Tighten the adapter with the pipe wrench.
Step 5
Place a couple of rounds of the thread tape over the male threads of the pressure gauge shut-off valve. There will be a male thread end and a female thread end on the shut-off valve. Start the valve with your hands into the female threads of the adapter. Tighten with the pipe wrench.
Step 6
Wind a couple of rounds of the thread tape on the male threads of the pressure gauge. Insert the gauge into the female threads on the shut off valve. Tighten the gauge with the pipe wrench.
Step 7
Open the main water supply valve you shut off in Step 1. Check for leaks around the new installation. Open the pressure gauge shut-off valve. The face of the gauge should now be reading the static water pressure if all faucets and spigots are turned off on the water system.
Tip
Installing a pressure gauge shut-off valve will allow you to change the gauge without having to shut down the entire water system.
Follow all local plumbing regulations. Some agencies may not allow you to open your home plumbing system; they may require this work be performed by a licensed plumber.
Video of the Day