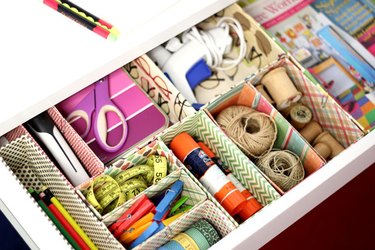
When you open your desk drawer, do you see a mishmash of office supplies and loose papers? These easy DIY drawer organizers made from cookie and cereal boxes are a great organizing solution. (Bonus: They're also a good excuse to eat more cookies and cereal!)
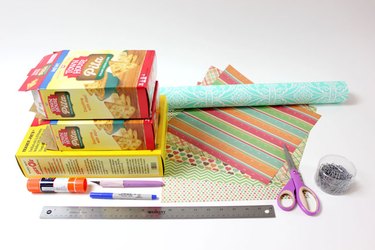
Things You'll Need
Empty cereal and cookie boxes
Wrapping or scrapbook paper
Glue stick
Hobby knife
Ruler
Scissors
Paper clips
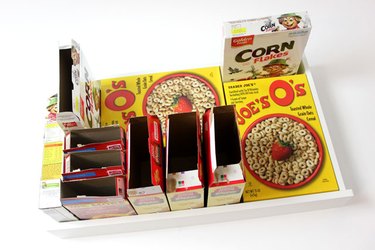
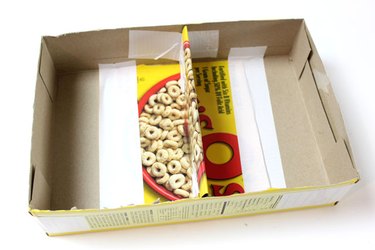
Step 1: Arrange the Boxes in the Drawer
After you've collected an assortment of boxes of different sizes, arrange them in your drawer to see how they fit. Stand boxes upright to create smaller organizers. Place some of them on their sides for longer, thinner compartments. And, if you have room, place one or two face down for larger compartments that can hold papers and magazines. It is highly unlikely that your boxes will fill out the drawer perfectly, but that's all right.
Video of the Day
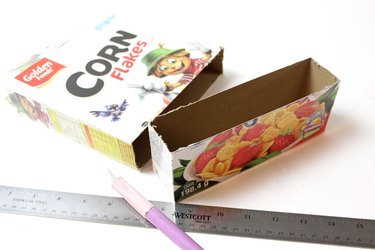
Step 2: Cut the Boxes to Fit the Drawer
Measure the height of the drawer and cut the boxes to this height using a hobby knife. If any of the seams come apart as you're cutting, just tape them back together. Do not worry if your cuts are uneven or frayed – they will be covered by paper.
Step 3: Cover the Inside of the Box With Paper
The desk drawer organizers look beautiful when covered with an assortment of decorative scrapbook or wrapping paper. To cover the boxes, follow this simple three-step process:
- Cut a piece of paper
that will cover the bottom plus the two main sides of the box with alittle bit of paper extending over the top.
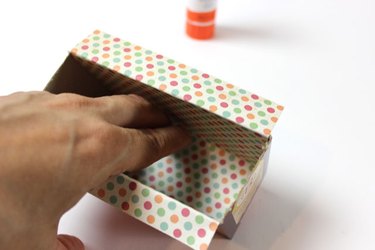
- Use your fingers to
crease the paper along the inside edges.
- Remove the paper, apply a glue stick to the back of it and adhere the paper to the box.
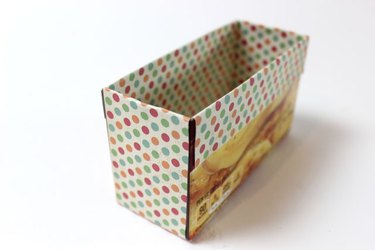
Step 4: Cover the End Flaps With Paper
Cut a piece of paper that will cover the ends of the box so that half the paper rests on the outside and then folds over to the inside. Crease the top fold of the paper with your fingers. Remove the strips of paper, apply a glue stick to the back and adhere the paper to the box.
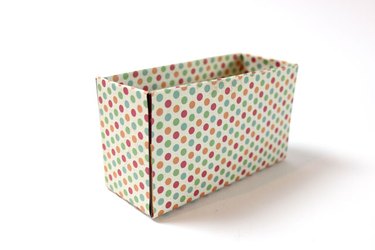
Step 5: Cover the Front and Back With Paper
Cut two pieces of paper that will cover the front and back of the box. Apply the glue stick to the paper and adhere it to the box. You will not need to cover the bottom of the box, as no one will see it.
Step 6: Make the Dividers for the Larger Boxes
If you have large boxes that you would like to divide into smaller compartments, take the section of the box that you've cut out and bend it to create a divider. Tape it to the box with duct tape and then cover it with decorative paper.
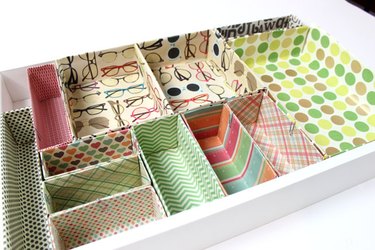
Step 7: Arrange the Organizers in the Drawer
Place all your completed organizers in the drawer. Now it's time for the fun part: fill the organizers with your work supplies and pat yourself on the back.
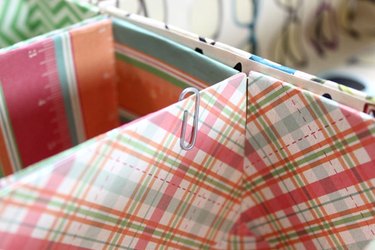
Tip
To keep the compartments from shifting, use paper clips to attach them to each other.
Video of the Day