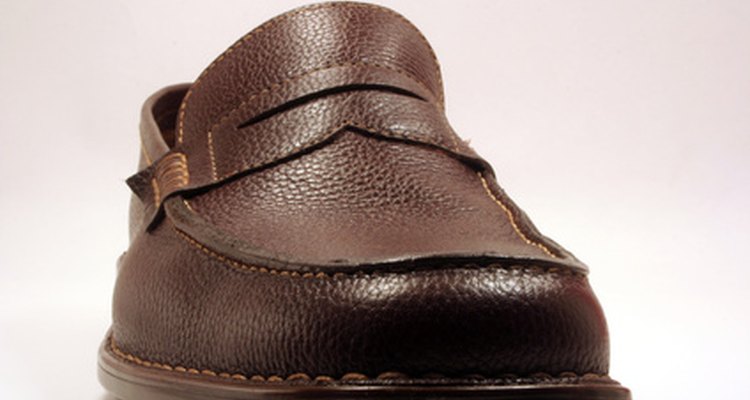
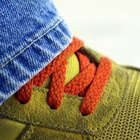
Loafers are a style of shoe, typically with low heels that come in both casual and dressy styles. Loafers with tassels have a decorative tassel attached near the base of the tongue on the upper of the shoe. While a tassel adds style and detail to the loafer, it can get worn and may need to be replaced or removed. Removing a worn or unwanted tassel from a loafer is simple to do and provides you with the opportunity to add a new tassel or other decoration to the top of your loafer.
Set your loafers on a work surface, such as a table or counter. Use your scissors to cut the thin leather strip that attaches one tassel to another. This strip is usually threaded through the leather of the shoe to keep the tassel attached to the shoe.
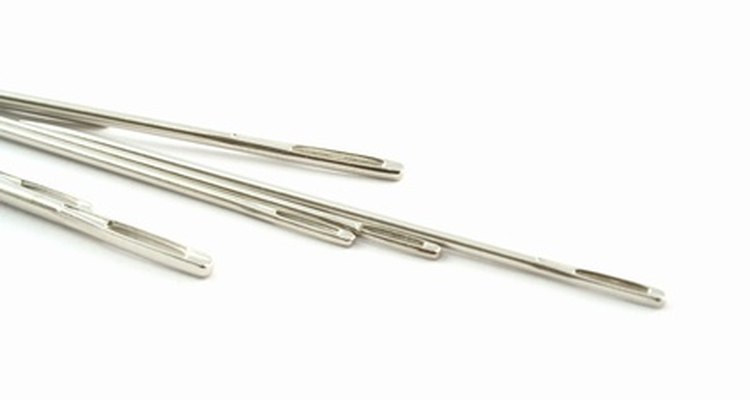
Place the blunt end of the sewing needle underneath the leather strip attached to the tassels and gently lift to remove the tassels from the shoe. Once the tassel is removed, two small holes should remain where the tassel was threaded into the shoe's upper. If you prefer not to leave the holes empty, proceed to the next step.
Thread the thin leather cord through the holes in the uppers of your shoe. Leather cord is stiff enough that you should not need a needle, but you can use your large sewing needle to poke the cord along and through the holes, if needed.
Pull the leather cord through so the ends meet. Tie the cord into a bow and cut off any excess at the ends.
Cover the holes where you removed the tassels with a brass decoration, as an alternative finishing touch. Measure the distance between the holes and purchase brass decorations at a craft store that have tabs at the proper distance.
Insert one tab end of the brass decoration into one of the holes. Fold the brass decoration downward to fold and secure the first tab. Place the other tab into the second hole and use your finger or sewing needle to maneuver it into a folded position in order to firmly secure your brass decoration.
Related Articles

How to Tie My Converses Behind the ...

How to Create Your Own Heelys
How to Wear Fourragere
How to Replace Lace Grommets in Boots

How to Apply Lace Applique to Shoes
How to Lace Tennis Shoes So You Can ...
How to Replace the Shoestrings in ...
How to Hem a Sequin Dress
How to Lace Skate Shoes With a Hidden ...
How to Clean Polo Boots

How to Lace Fat Laces

How to Tie Shoelaces With a Ladder ...
How to Lace Timberland Boots
How to Make Cork Shoes

How to Tie Shoes So That They Slip On
How to Attach Adjustable Buckles

How to Lacquer Leather

How to Thread a Ladder Lock Buckle
How to Fix Holes in Pantyhose
How to Tie Supras
Writer Bio
Mary Ylisela is a former teacher with a Bachelor of Arts in elementary education and mathematics. She has been a writer since 1996, specializing in business, fitness and education. Prior to teaching, Ylisela worked as a certified fitness instructor and a small-business owner.
Photo Credits
one shoe image by CraterValley Photo from Fotolia.com