To help you position elements and measure from point to point with precision, Photoshop includes both document rulers and a ruler tool.
Document Rulers
To display the document rulers, click View and select Rulers, or simply press Ctrl-R. These rulers appear on the top and left sides of the active document window, whether that window is maximized or not; in addition to the series of even ticks you would expect to see on a ruler, they also display two dotted lines that move as you move your mouse cursor, marking its precise position.
Video of the Day
Video of the Day
By default, the unit of measurement used by these rulers is pixels; right-click either ruler to display a drop-down menu from which you can temporarily select a different unit of measurement. In addition to pixels, your choices are:
- Inches
- Centimeters
- Millimeters
- Points
- Pica
- Percent
You can also change the default unit of measurement — double-click either ruler to open the relevant section of Photoshop's preferences.
To change the origin point of the rulers, click and drag from the intersection of the two rulers in the upper left corner of the window. This dragging obeys any snapping rules you may have set in the Snap To sub-menu of the View menu; furthermore, if you hold Shift as you drag, the origin point snaps to the ruler ticks. To reset the origin point to its default position, double-click the intersection of the rulers.
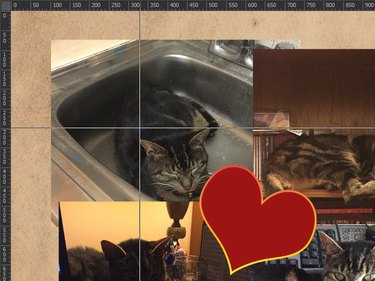
In addition to helping you measure distances, the document rulers also give you one way to add guides to your document. Clicking and dragging from the horizontal ruler creates a horizontal guide; doing the same from the vertical ruler creates a vertical guide.
The Ruler Tool
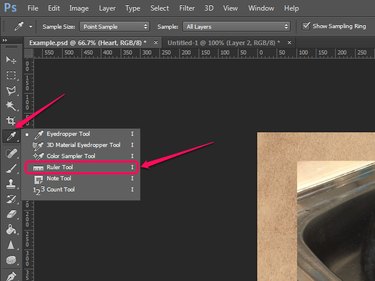
To enable the Ruler tool, click and hold the Eyedropper button in the Tools bar until the menu appears and then select Ruler Tool.
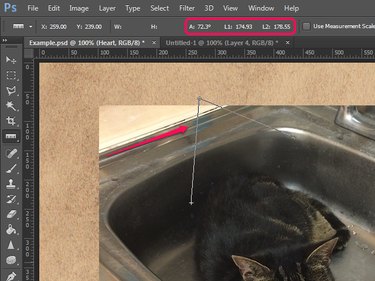
Click and drag on your image with the Ruler tool to create a measurement line. This line can be any length and be skewed at any angle — if you want to constrain its angle to multiples of 45 degrees, hold Shift as you drag.
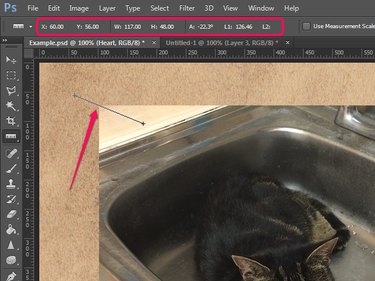
Your image can only have one measurement line active at any given time. While the measurement line is active, the Options bar displays the following relevant information:
- X and Y: coordinates of the starting point
- W: horizontal distance traveled from the starting point
- H: vertical distance traveled from the starting point
- A: angle of the line
- L1: length of the line
If you hold Alt and drag from either end of the measurement line, you can turn the tool into a protractor. In this case, too, you can hold Shift to constrain the angle to multiples of 45 degrees. When using the Ruler tool as a protractor, the Options bar displays the following relevant information:
- A: angle between the two line segments
- L1: length of the first line segment
- L2: length of the second line segment
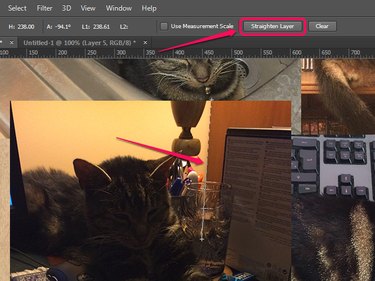
The ruler tool can also be used to quickly straighten a crooked image. Select the layer containing the image, draw a measurement line following a line that should be vertical or horizontal and then click the Straighten Layer button in the Options bar. Alternatively, after drawing the line, click Image, hover over Image Rotation and select Arbitrary. The necessary rotation value is pre-filled in the dialog box, so all you need to do is click OK.
To move the measurement line, click anywhere that isn't the two end points and drag it; to resize the line, click and drag either end point. This also works if you are using the tool as a protractor. To delete the measurement line, drag it off the image or simply click the Clear button in the Options bar.