Wood wall paneling was extremely popular in the 1970s. The paneling was a simple covering that could be placed over existing stucco or lathe and plaster walls. If you have some of this paneling in your home and you're wondering how to remodel it, you have more than one DIY option. Drywall, paint or wallpaper are the three most common options. You don't have to remove the paneling when you choose one of these. If you have the kind of paneling with vertical lines, fill them in for a smooth surface and then paint or wallpaper over the paneling. If none of these remodeling ideas tickles your fancy, removing the paneling might be what you're after.
Drywall
Video of the Day
Give the room a facelift by installing 5/8-inch sheets of drywall directly over the paneling. When you install the drywall, its added thickness will become flush with the thickness of the door jambs and window trim in the room. Remove the jambs and trim before drywall installation for easier removal, and then build up the vacant areas with pieces of wood. Reinstall the jambs and put trim back in place after you tape, mud, sand and prime the drywall. Caulk and paint for a smooth finish. Light switches and electrical outlets will also need to be moved out flush with the new drywall.
Video of the Day
Paint
You might be surprised at how good the paneling looks after a fresh coat of paint. A special wood primer paint should be used before application of the finish. Painting wood wall paneling is one of the quickest and simplest ways to remodel or update an old-style look. The paint can be applied using a roller frame equipped with a 1/2-inch nap roller cover and an extension pole. Lay painter's plastic down on the flooring and use a paint tray to hold the paint. Cut around trim work using a paintbrush. Consider doing a two-tone look for a stately upgrade. Paint the walls a darker color than the trim.
Wallpaper
Adhesive-backed wallpaper, with a pattern you like, goes a long way when remodeling old paneling. Measure the room to find out how many rolls you need and use a good wallpaper application knife to keep the bubbles out. A utility knife can help when cutting wallpaper to fit around light sockets and trim work. Slightly overlap the wallpaper seams to hide the wall paneling completely.
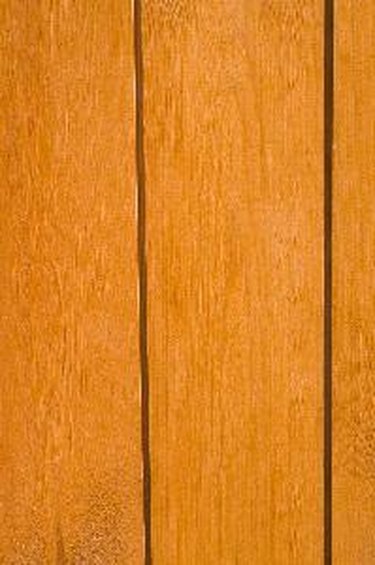
Fill in the Vertical Panel Lines
If you just can't stand the lines in the panels and you don't want to wallpaper or paint over them, fill them in. Purchase a tub of premixed drywall mud and use a putty knife to apply it to the lines. Go up and down each line along the length of the wall with mud and then let it dry for 24 hours. Come back and sand it smooth with a 150-grit sanding block. The block will ensure you don't sand the mud out of the lines. Prime the wall before painting or wallpapering over it.
Removing and Refinishing
Rip the wood wall paneling off the wall using a pry bar. Pull off the trim molding pieces along the joints and then pry the paneling away from the wall with a flat pry bar. Adhesive may have been used to hold the paneling in place, but pry enough and it will give. You may cause a little bit of damage to the underlying wall, but that isn't anything a little drywall mud can't fix. Remove light socket and power outlet covers before you start prying the paneling to avoid breaking them. Once the paneling comes free and you've repaired the walls, prime and paint for a remodeled finish.