
How to Troubleshoot Bryant Air Conditioners

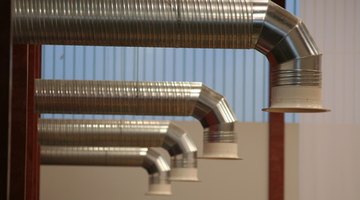
Bryant central air conditioning units are made up of two distinct pieces of equipment connected by hoses and pipes. The condenser is outside and is the big unit with the fan and grille on the top. The furnace part is inside and distributes the cold air through ductwork. Both pieces need power.
If your Bryant air conditioner malfunctions, you can try several things before calling your Bryant dealer or service technician.
-
Make sure the thermostat is set to the "Cool" position. Even if the thermostat is set to a low temperature, the air conditioner must be set to “Cool” or “Automatic” rather than to the heat position.
-
Make sure the outside air conditioning condenser is operating. It should be making a noise periodically. Check the circuit breaker box or the fuse panel. It’s most likely mounted on an outside wall.
-
Take a look for a disconnect switch. The Bryant condenser has its own and it’s most likely mounted outside near the condenser unit. Check to make sure it’s in the “On” position.
-
Come back inside and make sure the blower is running at the Bryant furnace. The blower sends the air into the ductwork, and cooling won’t take place if the blower doesn’t work. Check the On/Off switch.
-
Check that the filters are clean. Dirty filters will impede airflow. They are located in and around the Bryant furnace. Slide them out, and clean them with a vacuum. Replace particularly dirty ones.
-
Check that the return grilles aren’t blocked. The furnace blows cold air out into the house and needs to replace that air with new air so it can cool it. It uses return air grilles to do that. Move furniture away from the grilles by at least four inches so the Bryant system can function properly.
The Drip Cap
- Bryant central air conditioning units are made up of two distinct pieces of equipment connected by hoses and pipes.
- The blower sends the air into the ductwork, and cooling won’t take place if the blower doesn’t work.
- Slide them out, and clean them with a vacuum.
- Check that the return grilles aren’t blocked.
References
Resources
Writer Bio
Patrick Nelson has been a professional writer since 1992. He was editor and publisher of the music industry trade publication "Producer Report" and has written for a number of technology blogs. Nelson studied design at Hornsey Art School.
Photo Credits
- ventilation image by Mats Tooming from Fotolia.com
- ventilation image by Mats Tooming from Fotolia.com
More Articles