Things You'll Need
1 old file folder
1 pair of sharp scissors
1 packet of silver squibs
1 packet of silver cabochons/flat-backed jewels
1 glue stick
2 printouts of a star template
1 roll of aluminum foil
1 permanent marker
Individual tacky dots
3D foam tacky dots
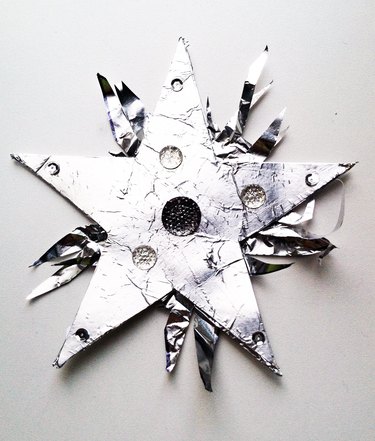
Aluminum foil stars are a great craft project for the whole family to enjoy. Their simplicity makes them a charming addition to holiday decorations. You could strand then into a garland for the fireplace or stair case, add them to the tree as ornaments or use one as a tree topper. They can also be suspended from the dining room ceiling.
Step 1

Cut file folder in half along the spine of the folder. Glue the cut-out star templates to the file folder using a glue stick. Press the paper firmly to the file folder for a strong adhesion. Working from the center to the edges, use your fingers to smooth out any air bubbles. Then allow to dry.
Video of the Day
Step 2
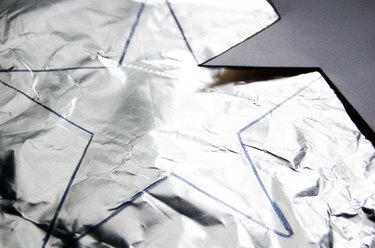
Cut out the stars. Tear off one piece of foil slightly bigger than a star and trace a star on it with a permanent marker.
Step 3

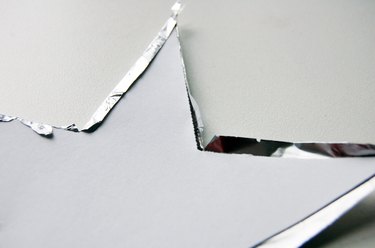
Tear off another piece of foil. Glue the cardboard side of the stars to the matte side of the foil. Then trim away the excess foil, leaving approximately a 1/4-inch seam allowance. Make small snips into the foil at the red-line marks in the image. Repeat these steps with the second star.
Step 4
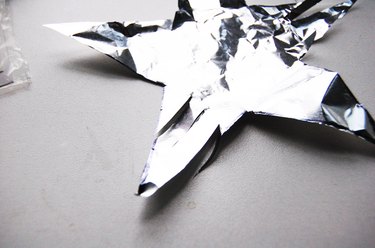
Gently fold the foil over the edges of the star. Press firmly to secure the crease. Repeat this step with the second star. These are now referred to as paper/foil stars.
Step 5
Cut out the original star traced onto the foil. Cut three long snips into the points of the star.
Step 6
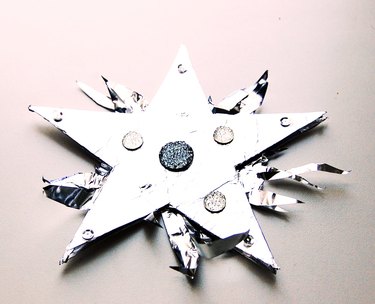
Take one paper/foil star with paper side facing down. Add a few glue dots to the center and points of the star. Lay the foil-only star shape on top at a slight rotation. Add some foam 3D dots to the center of the star and line up the second paper/foil star with the first one, with foil side facing out. Press firmly. Use glue dots to embellish the star with sequins and cabochons.
Tip
Punch a hole with a hole punch at the tip of one star to strand into a garland or hang from a tree.Tape a ruler and long ribbons to the inside of the star when completing the last step to create a magic wand. Tape an elongated paper clip that has been twisted into a coil around a pencil when completing the last step to create a tree topper.
When you need to cut the foil, do so slowly and try to cut with just one snip of the blades, to prevent tearing.
Video of the Day