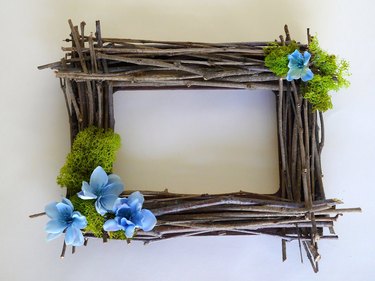
A twig frame is a beautiful, rustic way to showcase your most favorite photos. For some extra authenticity, choose twigs from your own backyard or neighborhood. It works well as a group activity and can also be made kid-friendly.
Things You'll Need
Video of the Day
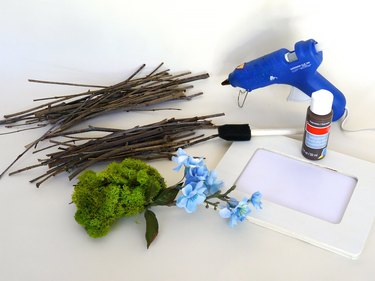
- Wooden craft frame
- Pruning shears
- Brown acrylic paint
- Foam brush
- Hot glue gun and hot glue stick (or white craft glue)
- 40 to 50 small twigs (1/16 to 1/4 inch in diameter)
- Decorative faux moss and flowers
Video of the Day
Tip: Don't be afraid to use twigs from your own backyard. Real twigs give the frame a more natural look than the treated twigs you'll find at the craft store. Collect dead twigs, instead of green ones, which will shrink upon drying. Look for insects and signs of decay before bringing them in the house. Rinse and dry them before using.
Step 1: Paint the Frame
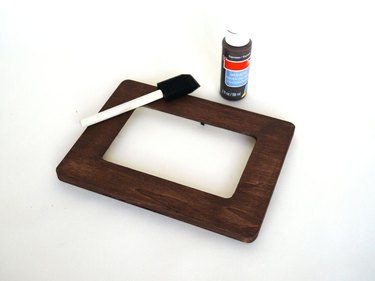
Remove the frame from its glass and backing. Paint one coat of brown acrylic paint on the frame with the foam brush. Allow it to dry for one hour.
Step 2: Trim the Twigs to Fit the Frame
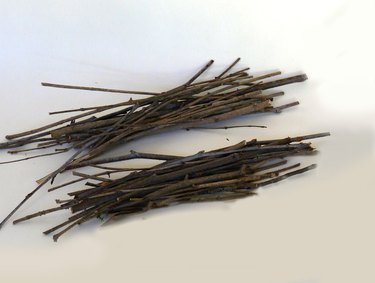
While the paint is drying, trim the twigs with pruning shears about 1/4 inch longer than the length and width of the frame. Separate the trimmed twigs into two piles, one for width and one for length. Heat your glue gun.
Step 3: Glue the Largest Twigs to the Frame
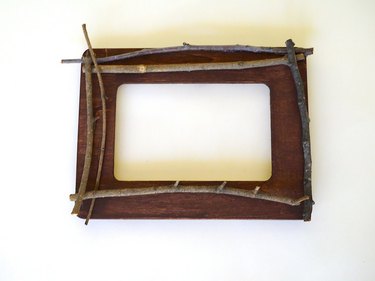
When the paint is dry, take a few of the larger twigs and set them on the length and width of the frame. Look for the spots where they touch the frame, and apply a small dab of hot glue to secure.
Step 4: Add and Secure More Twigs
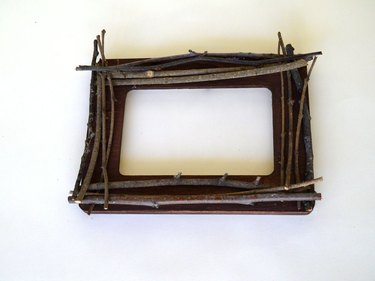
Add twigs, little by little, overlapping them at the corners. Secure the twigs with a small dab of hot glue wherever they touch; sometimes it will be the actual frame, and other times it will be to another stick. Add the twigs evenly to the four sides as you work.
Step 5: Tuck Small Twigs Under Larger Ones
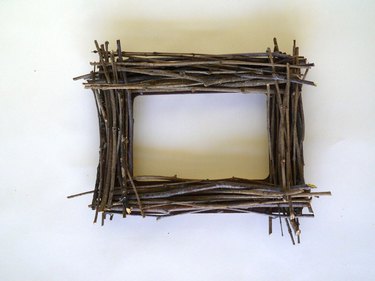
As the frame develops, you'll need to tuck smaller twigs under larger ones. Again, use just enough glue to secure. The smaller twigs don't need to be glued if they fit snugly. When you can't find an opening for another twig, the frame is done.
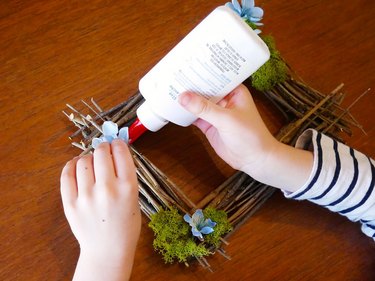
Step 6: Add Decorative Moss and Flowers
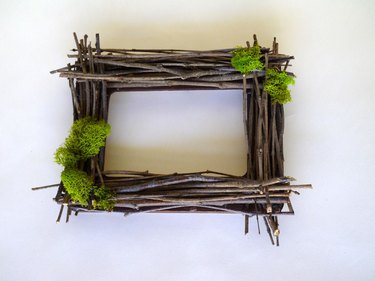
To embellish, use decorative moss and silk flowers. Secure them to the frame with hot glue.
Tips to Make this Project Kid-Friendly
To make this a kid-friendly project, just replace the hot glue with white glue and pre-trim the twigs. Leave at least two hours of drying time after your little one completes the frame before handling.
More Rustic DIY Projects

If you like the rustic look, see also: