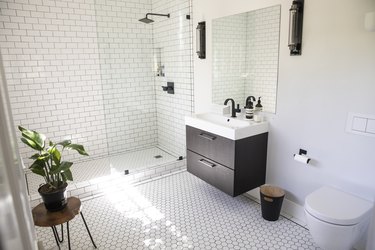
Moen showers are available in a wide variety of sizes and styles with valve systems that make adjusting and personalizing a shower easy. Shower features, such as the ExactTemp valve, which lets you set the water temperature range to your individual preference; the PosiTemp valve with a temperature limit control that prevents children from turning the hot handle; and the preset pressure balance controls that prevent hot and cold water surges, allow you to create a shower just for you.
Adjust the ExactTemp Valve
Video of the Day
Step 1: Check Temperature Preset Range
Check the temperature preset range. This valve comes with a temperature range that's preset at the factory. It will also allow for personal adjustments of the temperature from a low of 70 degrees Fahrenheit to a high of 120 F. If you are satisfied with the preset range, you will not need to make any adjustments.
Video of the Day
Step 2: Adjust Temperature and Flow Valves
Remove the plaster cap covering the temperature and flow valves. The temperature valve is located directly behind the flow valve. Turn the temperature valve counterclockwise to set the high limit for water temperature. When you reach the desired temperature, push, hold and turn the flow valve counterclockwise. Repeat this process using a clockwise movement to set the low temperature limit.
Step 3: Replace the Plaster Cap
Replace the plaster cap covering the temperature and flow valve.
Adjust the PosiTemp Valve
Step 1: Shut Off Cold Water Line
Shut off the cold water line. Turn the faucet counterclockwise as far as it will go and drain the line. Check the temperature of the hot water line and then turn the handle to the "off" position.
Step 2: Remove Handle Plug Button
Remove the handle plug button along with the two screws holding the temperature limit stop in place, the temperature limit stop and the cover plate.
Step 3: Adjust Temperature Limit
Rotate the exposed cartridge to increase or decrease the temperature limit. Rotate clockwise to decrease and counterclockwise to increase water temperature. Replace the handle to test but do not screw it back in until you are satisfied with the water temperature.
Step 4: Replace and Screw in Handle
Replace the handle parts and screw in tightly.
Make Minor Water Pressure Adjustments
Step 1: Examine Pressure Balancing Valves
Examine the water pressure balancing valves. Water pressure ranges are factory set within a balancing spool. Minor adjustments are necessary if any foreign material clogs up the water line. Evidence of this would show as only a trickle of water coming from the shower faucet or the availability of only hot or only cold water. If minor adjustments for pressure do not solve the problem, the valve will need to be replaced.
Step 2: Check Water Lines
Check to make sure both water lines are open and both screwdriver stop-check valves are open.
Step 3: Remove and Shake Balancing Spool
Turn off both the hot and cold water lines. Remove the balancing spool and shake it to loosen any foreign objects. Before replacing, shake the spool and ensure that you can hear the inner piston moving around.
Step 4: Replace Balancing Spool
Replace the balancing spool and screw tightly to secure.