How to Ping Your Network From an iPhone. Pinging is an essential tool that IT professionals use to test the presence of other devices on a network. An ICMP packet of information is sent across the network to a specific IP address or perhaps a whole subnet of IP addresses--and then the device responds to make itself known on the network. Normally, an IT person or network administrator would have to have a computer to do this, but now that the age has come where cell phones are simply little computers and are fully capable of accessing networks-- these types of network tests can now be done straight from the phones.
Step 1
Make sure that your iPhone is connected to the network you want to scan via WiFi.
Video of the Day
Step 2
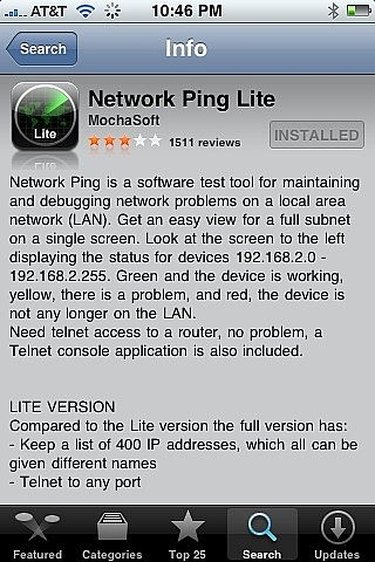
Go to the App Store on your iPhone and download the "Network Ping Lite" application. It is a free app as of this writing.
Step 3
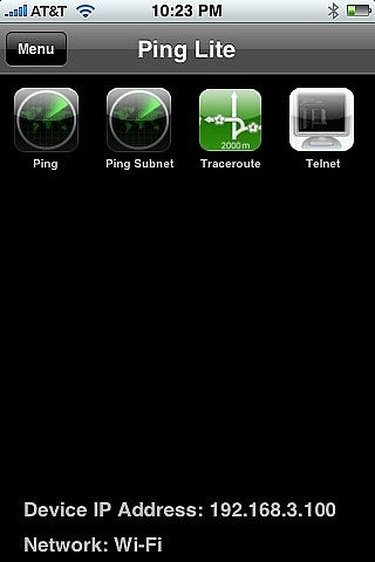
Open the application and you will see four choices: Ping, Ping Subnet Traceroute, and Telnet. For this article we'll focus on the functions related to pinging.
Step 4
Choose "Ping" to ping a specific device.
Step 5
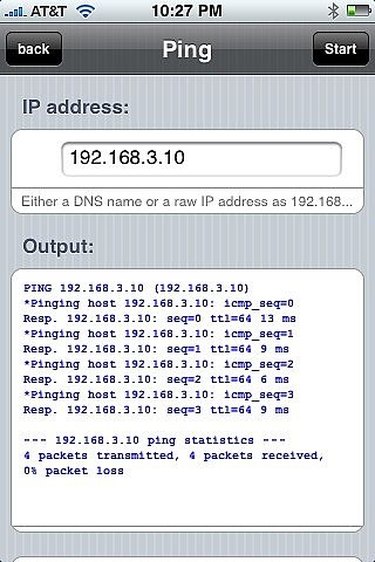
Enter the DNS name (google.com) or IP address of the specific device you would like to ping and hit "Start." Your iPhone will now send out four ICMP packets and will tell you the outcome in the "Output" section. * Note: You can do a continuous ping by flipping the "Ping Forever" switch at the bottom.
Step 6
Choose the "Ping Subnet" icon to ping an entire subnet.
Step 7
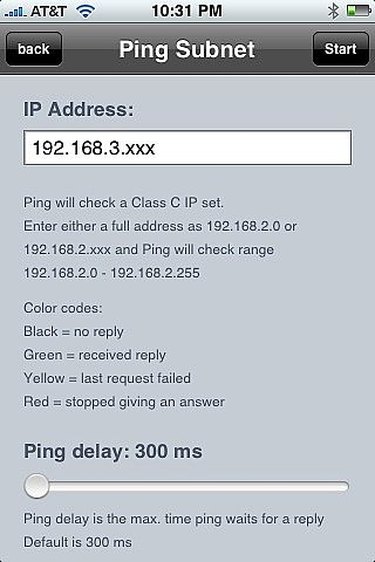
By default, the app should pick up the subnet that your iPhone is already on. You can change it to check a different subnet or range of IP addresses. (Note: It can only check Class C network subnets.) You can adjust the "Ping Delay" which is the amount of time that the app will wait for a reply from the device before it declares it failed.
Step 8
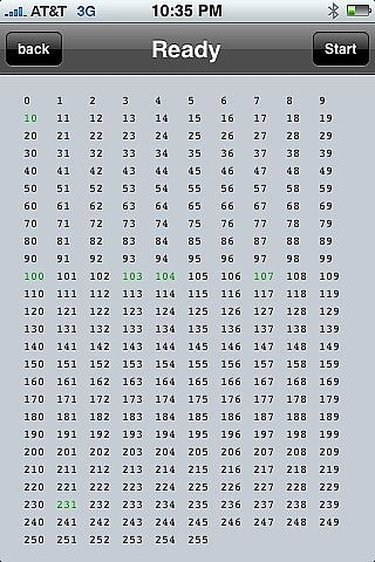
Hit "Start" and the scan will begin. You'll see a table of all the possible Class C IP addresses for that subnet and the app will change the color of each as it scans to let you know which ones replied. Black = no reply. Green = Received reply. Yellow = last request failed. Red = stopped giving answer. The scan will take several minutes to complete, so be patient.

Video of the Day