Network switches for home and small office use are typically stand-alone units, while switches for larger networks are usually rack-mounted. Either way, they typically use either Cat5 or Cat6 ethernet cables. Switches allow multiple computers to connect to a single Internet connection, but rather than simply passing the signal through, like a network hub, a switch can manage that network traffic. Switches differ in the way they handle network traffic, but all of them are installed in a very similar way.
Step 1
Provide power to the switch, if required. For a stand-alone switch, this simply means plugging in the power supply. For rack-mounted switches, this means using a slot that has power supplied to it.
Video of the Day
Step 2
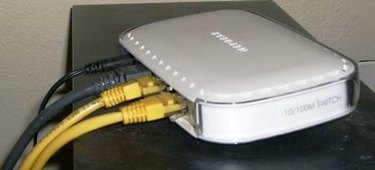
Connect the incoming network cable to the switch. Although any slot can be used on most network switches, it is a good idea to use the first slot so anyone can quickly identify the incoming cable. For home and small office applications, the incoming cable will be the one coming from your modem.
Step 3
Connect a Cat5 or Cat6 cable to another slot in the network switch. Connect the other end to a computer you want connected to the network.
Step 4
Repeat this process until all the computers are connected or all slots are filled.
Video of the Day