
How to Refinish a Bakers Rack

A baker's rack looks like a bookshelf with wire or wrought-iron shelves at the top and bottom and a single wooden shelf in the center. It is traditionally used as a place to set baked goods while they cool. While the metal portion of most baker's racks is powder coated with color at the factory, you can achieve a professional refinished look with spray paint designed for use on metal or wrought iron.
Step 1
Remove any wooden shelves by unscrewing them from the underside or back where they are attached to the rack.
Step 2
Clean the rack and the shelves with a degreaser, such as trisodium phosphate, or TSP, and rinse well.
Step 3
Sand the rack and the wooden shelves with a fine-grit sandpaper, and then wipe them down with a clean damp rag to remove any dust created by sanding.
Step 4
Place the rack outside on several sheets of newspaper or plastic sheeting.
Step 5
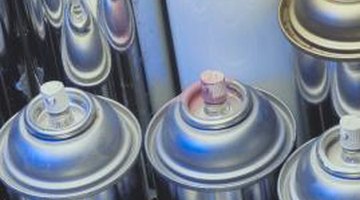
Spray a thin coat of primer on the baker's rack. Follow the manufacturer's instructions for applying the primer, such as shaking the can well before application and keeping the nozzle about 6 to 8 inches away from the rack while spraying.
Step 6
Wait for the primer to dry. This usually takes about two hours.
Step 7
Spray on a thin coat of paint in the same way that you applied the primer. Let the paint dry for two to four hours, and then apply a second thin coat.
Step 8
Lay the wood shelves across a pair of sawhorses.
Step 9
Roll or brush on a thin coat of primer on the wooden shelves and let it dry according to the manufacturer's instructions, usually around four hours.
Step 10
Apply a thin coat of paint on the wooden shelves in the same way you applied the primer, let it dry and then apply a second coat of paint.
Step 11
Replace the wooden shelves and screw them into place once the paint has cured for at least 24 hours.
References
Tips
- Replace or tighten bolts and nuts as necessary before painting if the rack is wobbly or pieces are loose.
Warnings
- Don't paint on windy days or when the temperature is lower than 60 or higher than 85 degrees Fahrenheit.
Photo Credits
- Hemera Technologies/AbleStock.com/Getty Images
More Articles