Make your own 24-hour weekly calendar using Excel's columns and rows or customize an Excel calendar template.
Make Your Own
Step 1: Create Time Label
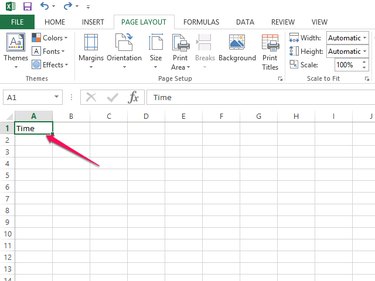
Open a blank spreadsheet in Microsoft Excel and type Time in the A1 box.
Video of the Day
Step 2: Create Day of Week Labels
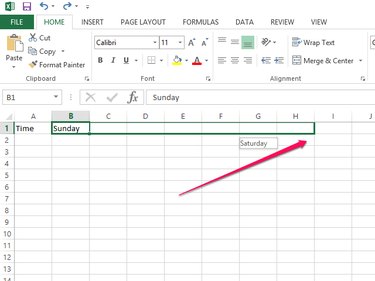
To create the days of the week labels, type Sunday in the B1 box and drag the box to H1, covering seven columns. The other days of the week automatically fill in these boxes.
Step 3: Assign Times
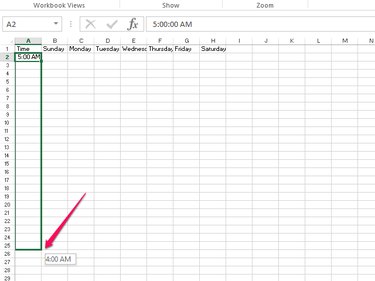
Type the time you want the daily calendar to start in the A2 box and drag the box to the A25 box. This automatically adds the rest of the hours for the day.
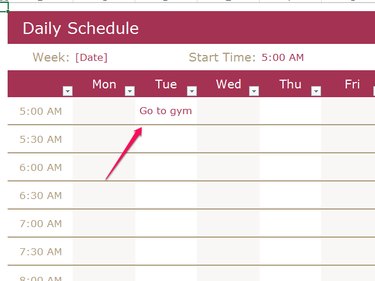
Step 4: Fill in Schedule
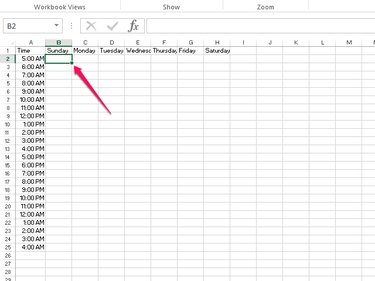
Type your schedule and appointments in the corresponding boxes.
Use a Scheduling Template From Microsoft Office
Step 1: Search
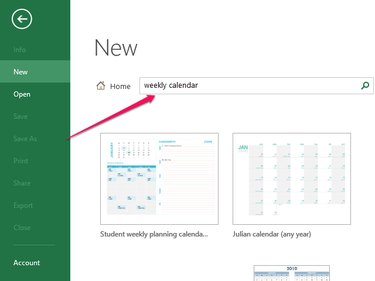
Open a new Excel document and search for a weekly calendar template.
Step 2: Choose Template

Select the template you want to use and click Create.
Step 3: Fill in Agenda
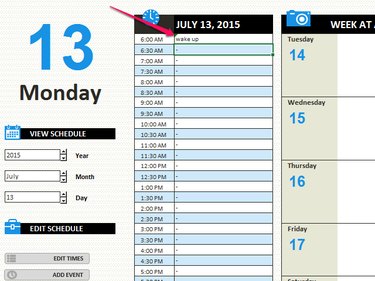
The templates in Excel are interactive. To fill in a Microsoft template, click the field you want to fill in and type your information.
Find a Template Online
Video of the Day
Step 1: Search For Templates
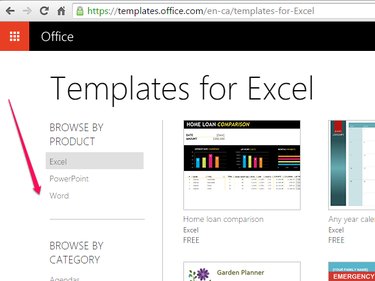
Go to the Microsoft Office website and search for templates.
Step 2: Select a Template
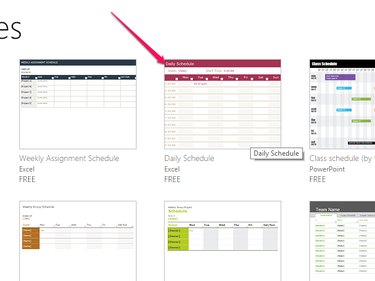
Search for the template you want to use and click the template's thumbnail picture.
Step 3: Open the Template
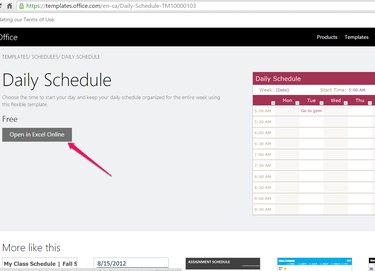
Click Open in Excel to open the template in an Excel document.
Step 4: Sign in to Excel
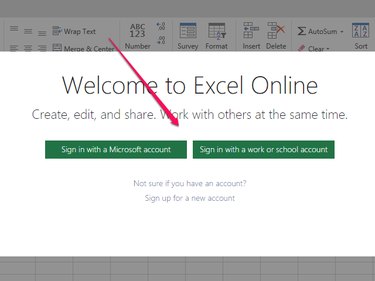
Sign in with your Microsoft account if you have one. You can also sign in with your work or school account. If you do not have an account, create a new account.
Step 5: Continue to Excel
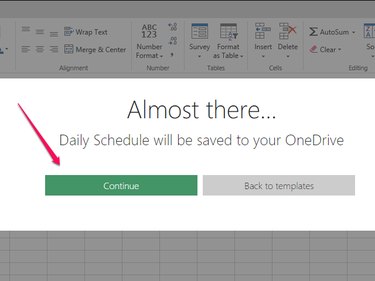
Click Continue to create your template document.
Step 6: Use Excel Online
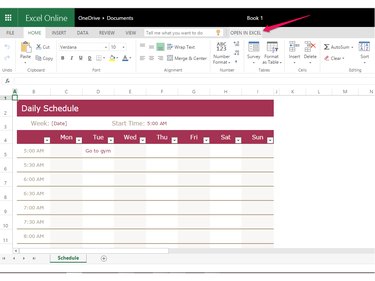
If you want to continue to use Excel Online, click the field you want to fill in and type your agenda. However, if you want to work in your Excel desktop application, click Open in Excel.
Step 7: Use Excel on Desktop
After you open your Excel desktop application, you can click the field you want to change and fill in your schedule.